A local baker recently inspired me to up my sourdough game. This person’s sourdough is 40 percent whole wheat — a percentage I’ve never even come close to reaching. I mean, I suppose I’ve made breads with similar whole wheat amounts but, for me, any bread with a substantial amount of whole wheat always seems to turn leaden and, if it’s sourdough, too tangy-sour. Of course then no one wants to actually eat a hunk of dense yuck, which ends up defeating the whole purpose of making bread in the first place.
Not good.
But this new-to-me method has yielded the best whole wheat sourdough that I’ve ever made. In fact, when we did a side-by-side taste test of both my regular white sourdough and the new whole wheat sourdough, five out of six people voted in favor of the whole wheat.
!!!!!!!!
Need I say more?
Why yes, as a matter of fact, I do! Because you, naturally, would like to make it, too, am I right, am I right?
I can’t share the exact recipe — the details are under wraps — but I have been graciously permitted to share both approximate percentages and techniques. Hopefully it will be enough to get you started down a delicious new path of whole wheaty-ness.
The main difference between this bread and my regular white sourdough is that, besides using lots of whole wheat flour, the dough is super wet — it uses a lot more water. Proportions are 40 percent whole wheat to 60 percent white bread flour, but when adding up the total weight, water makes up approximately 40 percent, the flours 50 percent, the starter 7 percent (much less than I’m accustomed to using), and the salt 1 percent. Or thereabouts. Good luck with that.
A note about the ingredients. This winter, I purchased some NuEast hard red winter wheat that’s been grown in Virginia; I grind it myself (says the little red hen). My high-gluten white flour usually comes from Costco. My starter is made with all white flour, approximately a 50% hydration. I use Morton’s coarse kosher salt. Warm tap water.
Now, for the method.
First, mix the flours and warm water together and autolyze for 15 minutes.
Then add the starter, salt, and a wee bit more water and mix on low for a good five minutes.
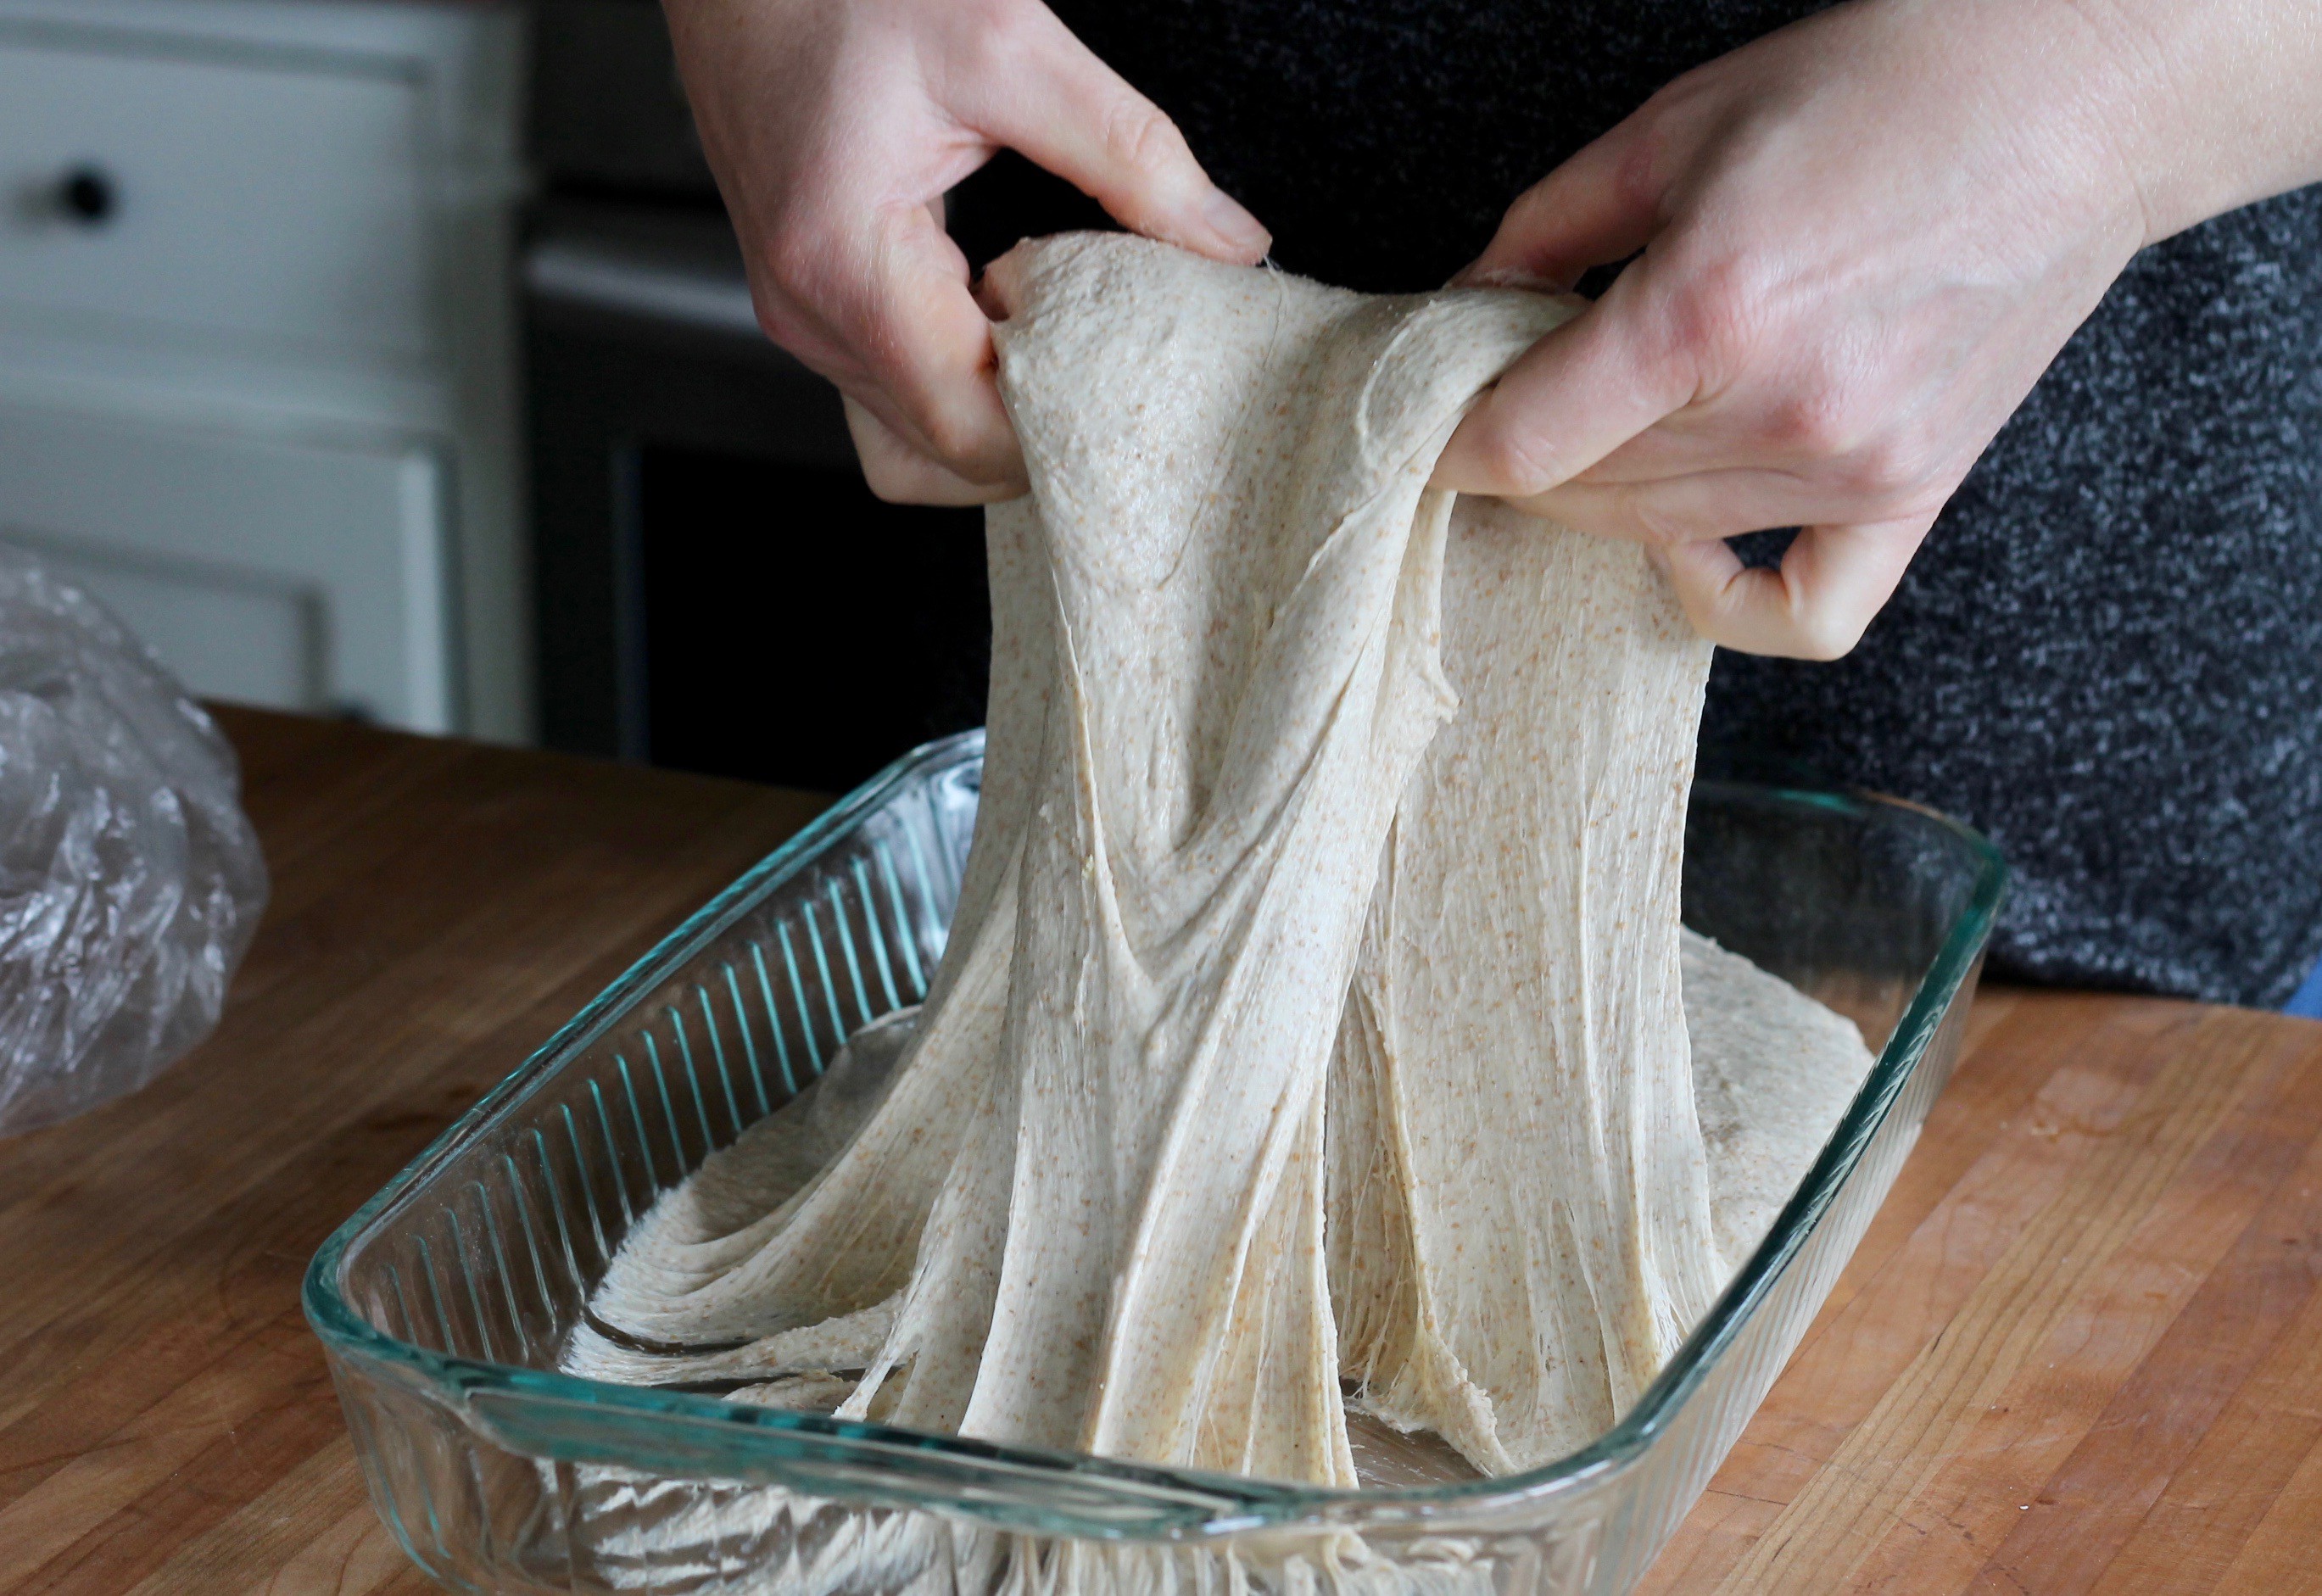
Then, and this is the different part, the dough gets poured (yes, poured — it’s wet) into an ungreased pan (I used a 9×13 pyrex pan) and rests for about five hours.
The dough’s supposed to be about 80 degrees the whole time, so I use my oven’s proof setting to warm it up and then, if it’s a cool day, I keep it in the oven the whole time. I find that once the dough’s warm, it holds its temperature fairly well.
Every hour or so, I gently lift and fold the dough (need a visual? click here). It’s impossibly wet and sticky, but by the end of the five hours, it will have thickened somewhat and be easier to handle.
Plus, it will have increased in bulk by about 30 percent.
Which is soooo cool!!!!
Now the dough is ready to be pinched in half and gently shaped and rested on the counter for thirty minutes.
Confession: I don’t do the thirty minute rest anymore. My dough is always too wet and ends up creeping across the counter most naughtily. But if your dough holds its shape, do it.
Place the shaped loaves — I just scoop them up and gently lift/plop the dough, smooth side down — into cloth-lined (and floured!) round pyrex bowls.
Cover the bowls with shower caps and let them sit at room temperature for two hours or so before transferring to the fridge for the night.
In the morning, bake! The loaves go directly from the fridge to the oven.
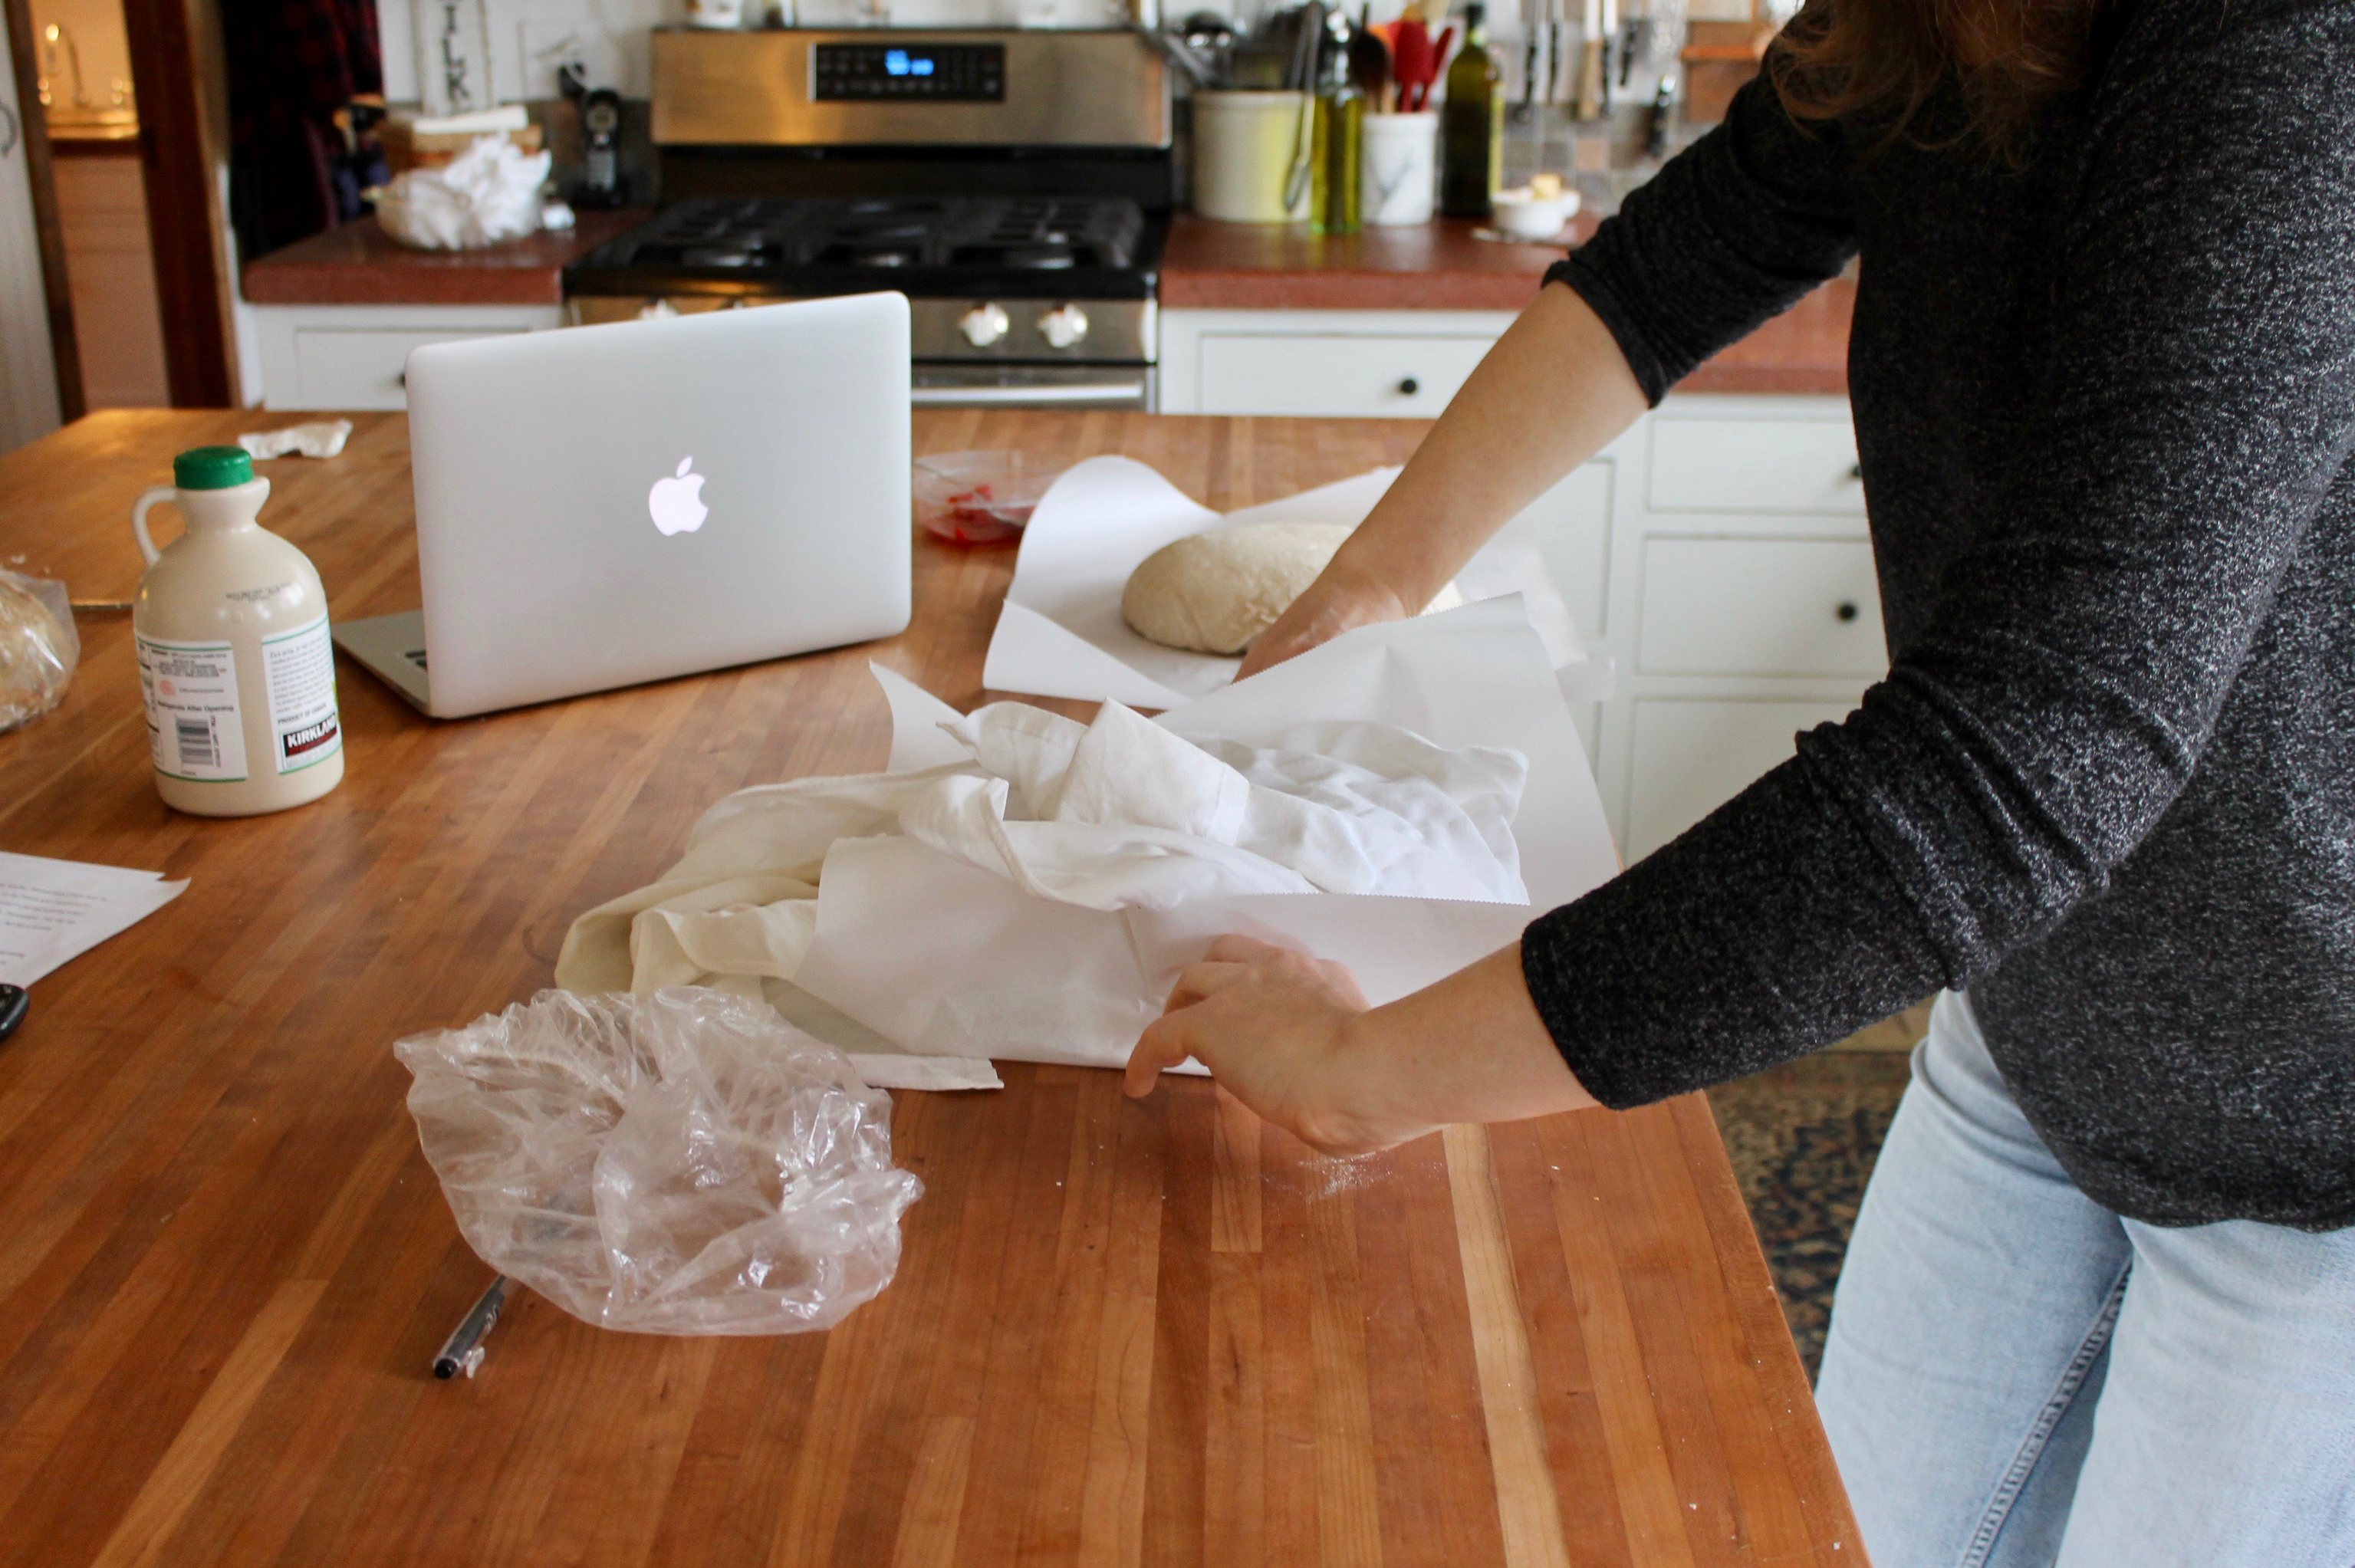
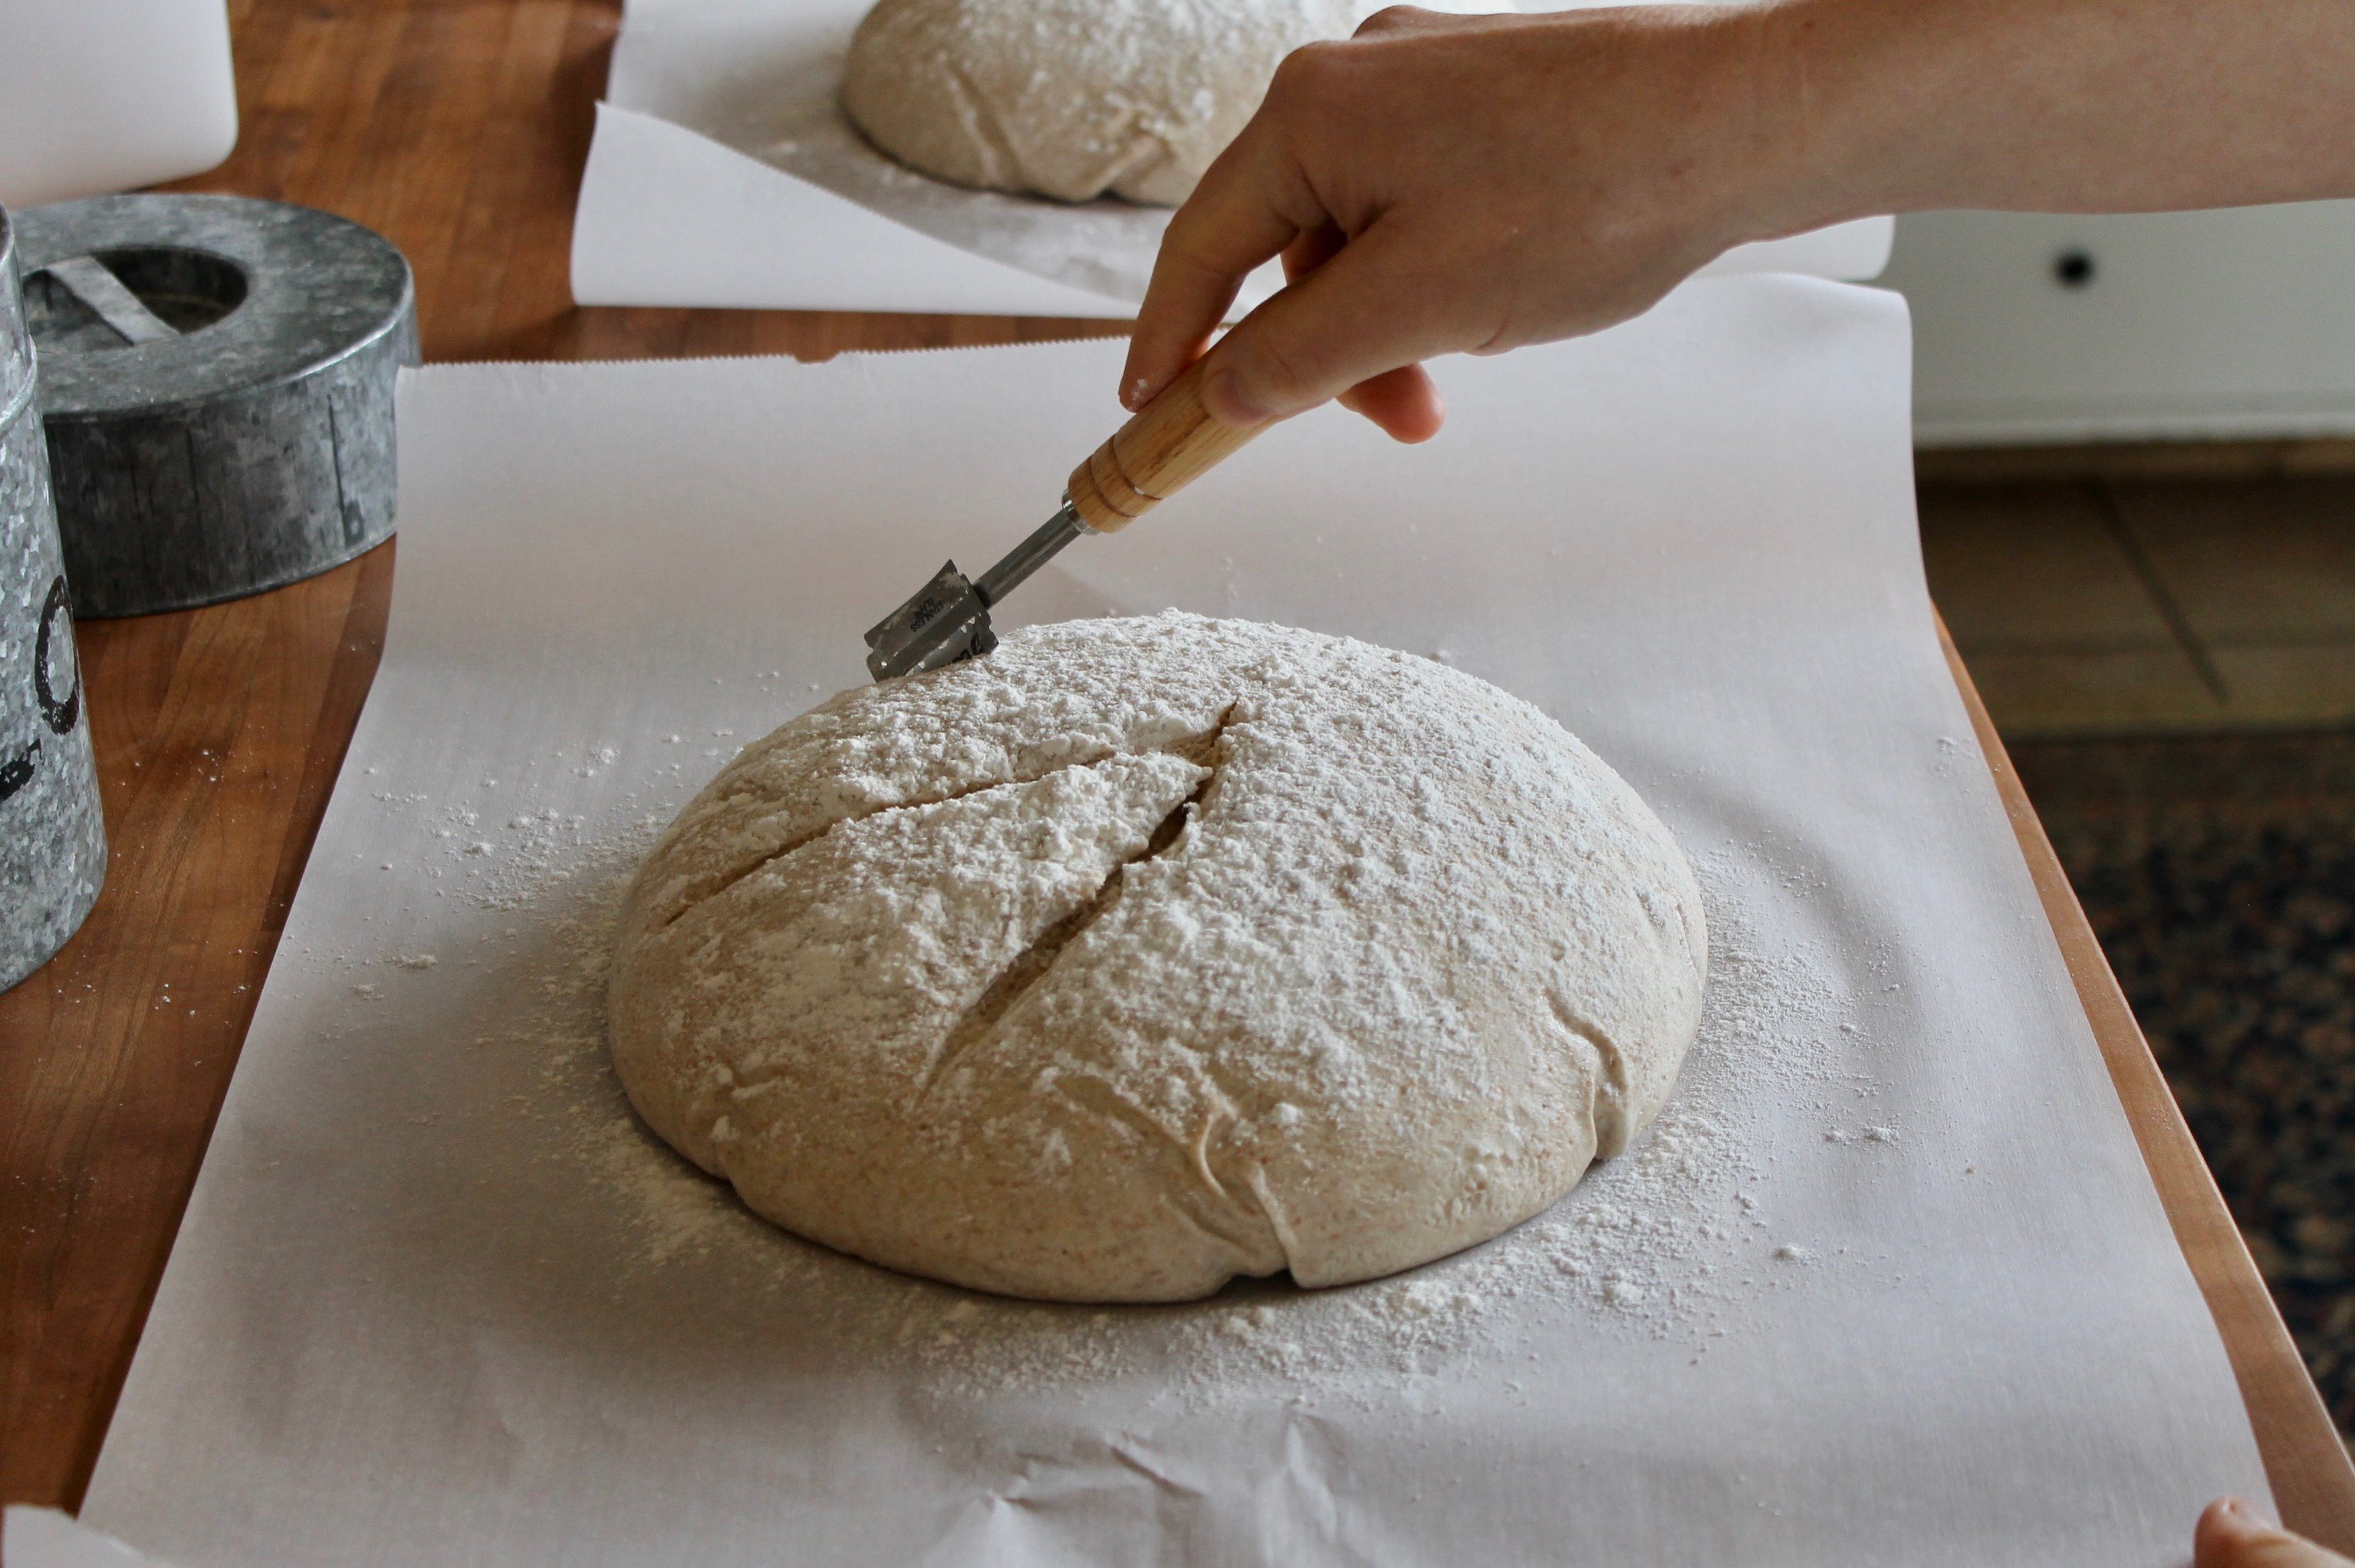
Place two Dutch ovens in the oven and preheat it to 500 degrees. Once the oven’s hot, remove the loaves from the fridge, gently invert them onto pieces of parchment paper, and flour the top of the loaves.
Score them deeply — I go over my cuts several times. (My husband got me this lame for my birthday. I love it.)
Remove one Dutch oven from the stove, gently lower the loaf into the pan, parchment paper and all. Tuck 4-6 ice cubes between the paper and pan — careful: the steam will burn you — clap on the lid and slip into the oven.
Repeat the process with the second loaf. Reduce the oven to 450 degrees and bake for 20 minutes.
Remove the lids — this is the best part because you get to see how much the dough has risen! — and reduce the heat to 400 degrees and bake another 20 minutes.
Transfer loaves to a baking rack to cool.
The final bread is both tender and chewy, only slightly sour, and deliciously full-flavored. It’s addictive and satisfying and wonderful no matter how you serve it: fresh with loads of butter, toasted, in sandwiches, French toast, etc, etc, etc. Truly, it’s a marvel.
P.S. For my regular white sourdough, I’ve taken to using this scoring and baking method. The loaves get consistently fabulously high.
Next time I do a round of baking, I want to mess with my ratios of flour and water for the white sourdough — how will the bread’s texture change if my dough is wetter, like the whole wheat bread? Ooh-la-la, such excitement!
This same time, years previous: making space, beginner’s bread, the quotidian (4.11.16), millet muffins, the greening, the quotidian (4.9.12), this slow, wet day, asparagus with lemon and butter.


7 Comments
katie
This prompted me to look back through my old baking records. We made 100% whole wheat sourdough for lots of years, it was kinda our … uh, bread and butter, if you will. And it was anywhere from 60-72% hydration, in bakers percentages. It was all much wetter than your regular home-baker recipes would have you do, but it was NOT as goopy as you describe. We would rise it in a bucket though, and give it folds about three times during the rising process. Then divide dough (let sit) shape loaves (let sit), proof on cookie trays with canvas/cloth around the loaves, and bake. No overnight. I think the higher percentage of whole wheat allows a higher hydration because the whole grains should absorb more water than white flour (think brown rice vs. white rice). I'd always wondered what was different between our techniques because you've mentioned being less happy with whole wheat breads/starters and my experience had been the opposite. This gives me some clues — which could help me on the white sourdough side of things! I'm not sure exactly where I'm going with this comment but I guess you got the gears going in my head. So thanks!
One tip that you maybe already know is that when handling/folding your dough during the first rise, wet your hands first. The wet dough won't stick to you as much that way, you'll get better folds and, hopefully a stronger dough that is easier to handle in the next steps.
Steve
I've used parchment paper in the same way and it does work great, I just like to avoid using one extra product if possible. Another method I've used is to do the final rise of a very wet dough in a greased stainless steel bowl and then just put the whole bowl in the dutch oven. It works great for holding form but in order to get a good brown crust on all sides I have to take the loaf out of the bowl halfway through baking (when I remove the lid) which is rather awkward. 🙁 According to Chad Robertson the steaming techniques are no longer needed when baking in a lidded dutch oven because plenty of moisture is trapped inside the baking vessel. You might try a side by side test and see if you can detect any difference between a dutch oven with ice and one without.
Jennifer Jo
Yes, I thought the lid WAS the solution to steaming, but then I watched a video and learned about the ice and, since then, my bread has gotten a much better loft. AND the crust isn't quite as tough as in a regular, ice-on-the-oven-floor steam situation, or when I just use a lidded Dutch oven and no ice. But you're right: I really should do a side-by-side test. I may be imagining things…
Laurie Lasala-Tuttle
Thanks for sharing your method with us. It's one I'm not familiar with, but looks quite interesting, and will try it soon!
Steve
This post is quite timely for me as I was baking sourdough bread today too! (And I need a nudge to up my whole wheat percentage.) I tried out the Basic Country Bread recipe from Tartine Bread by Chad Robertson. (By the way, the ebook version of his cookbook is available online via Hoopla if you have access to that system.). His formula for a basic country sourdough loaf is: 750g water, 200g leaven, 900g bread flour, 100g whole wheat flour, 20g salt. He goes into a lot of detailed explainations about stretching and folding and other process details of course but I think you're familiar with all that already. One interesting thing that was a little different from your method was that he instructs the baker to just dump the dough right out of the proofing baskets and into the hot dutch oven and then slash it there and put the lid on for the first 20 minutes. His recipe and method worked out great for me! 🙂
Jennifer Jo
For awhile there, I did dump the dough directly into the hot Dutch oven, but no matter how gentle I was, it was too rough and too fast and the dough deflated too much. With the parchment paper hammock, I get a much more consistent loaf. Plus, with the parchment paper I can add the ice cubes and get all that glorious steam….
Graber Neufeld
Going to have to try this for my next batch!