Last night we had an impromptu back-to-school night. This is not like me. I’m not usually very impromptu, and we don’t celebrate back-to-school in our family because of the obvious—we don’t go to school. Besides, I don’t like to think of our studies as having a beginning or an end—it feels too un-holistic for my liking. (And yes, I realize that my strident idealism borders on obnoxiousness, but I normally don’t talk about it, except for here. My blog is my airing grounds for all irritating obsessions. Do forgive me. In real life I do a fairly decent job of holding my tongue. I think.) And furthermore, we have already started some of our studies—the impression of a cut-and-dried beginning was just a fabrication for the sake of simplicity.

Anyway! So at dinner I told Mr. Handsome that I was going to take the two older kids into town to go to the library after supper and he shocked me by responding, “Can I come, too?” I did a quick mental calculation: I would have to help with the supper clean-up, get four kids spiffed up and out the door instead of two, my little hubby chore wish list (clean out the back hall, finish unpacking the clothes that are strewn about our bedroom floor, put away some of the canning equipment that is littering the downstairs bedroom) would remain untouched, and I would have the added stress of The Baby Nickel in the library. I smiled across the table at Mr. Handsome and said, “Of course!” (And then I laid down strict guidelines and expectations for how we would divide and conquer.) And we were off.
At the library we loaded my giant LL Bean tote bag, and then when that was full, our arms, with books, videos, books on tape, and magazines. On the way back to the parking garage, I ordered the kids to walk in single-file, tallest to shortest (and then with me bringing up the rear), “like baby ducks.” They all started quacking, and Mr. Handsome, who was in the lead, started flapping his arms and waggling his head. Just for the record, a family of human ducks can make a respectable amount of noise in a large, echo-y parking garage.
On our way out of town, we stopped at a gas station and I went inside to pick up a dozen donuts. When I came back out, the large box in my hand, the kids exploded with such rollicking excitement that the car wiggled from side to side.
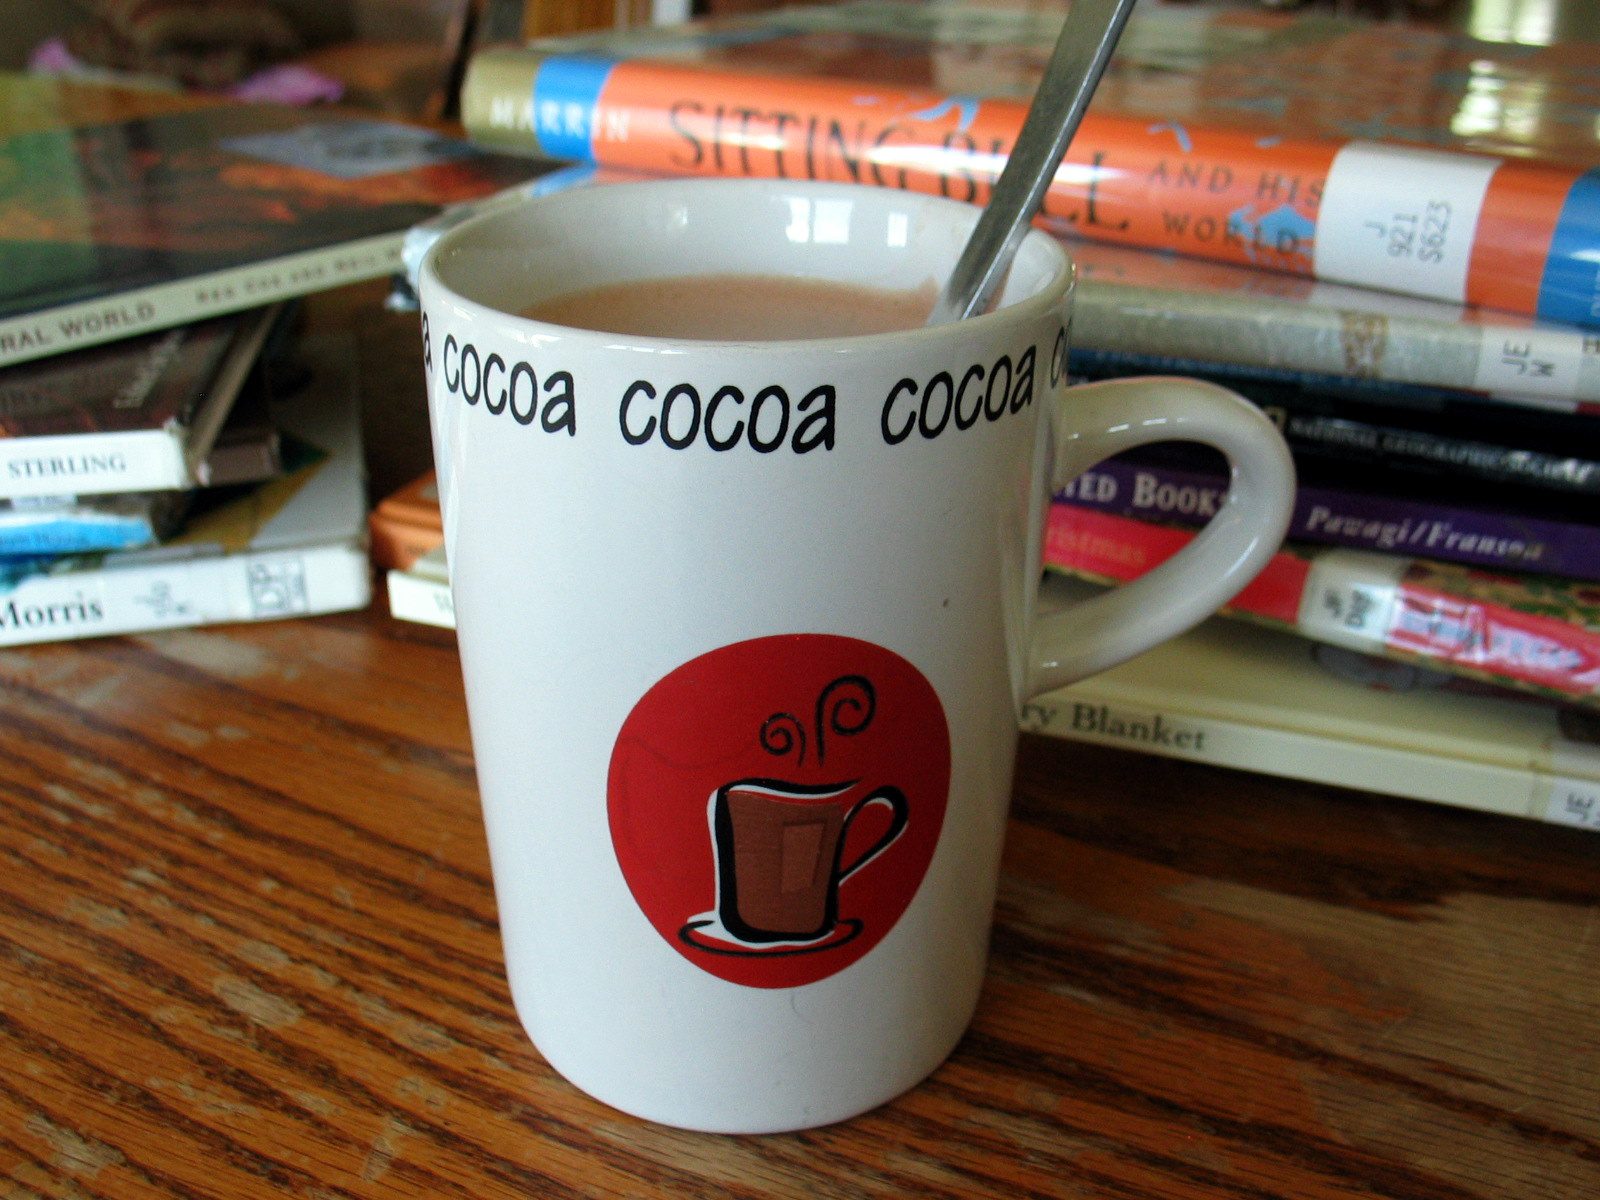
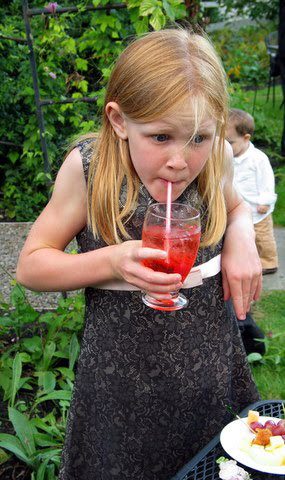
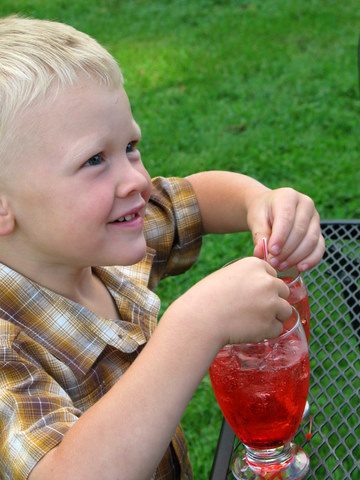
Back home they readied themselves for bed while I made a pot of hot chocolate (Mr. Handsome spiked the adult mugs with Baileys), and then I cut an assortment of donuts into quarters and divvied them out among four little plates. The kids ate and slurped until I told them they couldn’t have any more, and then they brushed teeth and piled onto the sofas with books. We all read together for a bit before hauling ourselves upstairs and tucking each other into bed.
And thus begins a new school year.
Hot Chocolate
2 tablespoons cocoa powder
2 slightly rounded tablespoons sugar
a little bit of water
2 cups milk
a pinch of salt
1/4 teaspoon vanilla
In a small saucepan, whisk together the cocoa and sugar. Add a little bit of water till you have a thick sauce.
Heat the chocolate sauce, stirring steadily, until it boils. (Boiling the mixture ensures that the final product will be creamy smooth, not grainy.) Slowly add the milk, whisking all the while. When the hot chocolate is hot enough for you (don’t boil it), remove the pan from the heat and add the salt and vanilla. Stir one more time before pouring the chocolate into mugs.
Serves two.
About One Year Ago: Family Photo Shoot. The picture of us up there in the right hand corner of the blog is one year old. I need to get a new picture up there…sometime.