I’m leaving tomorrow morning for the annual soiree at my aunt’s house. My aunts, cousins, mother, sister-in-law, cousins-in-law, plus a couple mutual family friends, all of us, descend upon my aunt (a.k.a. Dr. Perfection) for a day and a half. The itinerary stays mostly the same from year to year: Saturday lunch on the veranda, made and served by Dr. P herself, an afternoon activity (last time it was bike riding and this year we’ve been told to bring our “yoga clothes”), quite probably a Neighborhood Garden Tour (in other words, a walk), dinner at a fancy-schmancy restaurant, a late Sunday morning breakfast revolving around breads from a local bakery (again on the veranda), and then send-off. During the down time, we talk and read magazines, and we’ve (or certain people who will remain anonymous) have been known to do make-overs, try on wigs, and stuff our bras with the decorative globes that sit atop the living room hearth. The whole shebang is entirely worth the four-hour drive there and back.

I realize that my weekend plans have the potential to arouse some feelings of jealousy in the breasts, both ample and otherwise, of my readers, and I sincerely hope that all of you have a Dr. Perfection in your life, or some version of her. However, if you have a ho-hum weekend looming in front of you, two days packed full with menial tasks, meals of leftovers, and churchy activities, then my sincere wishes aren’t going to cut it. But maybe these waffles will?

Cornmeal Whole Wheat Waffles
Adapted from the August 2009 issue of Gourmet magazine.
These are, quite possibly, the best waffles I have ever had. They are tender, light, moist (without being wet), and rich. But maybe even better than the taste (if that’s possible), is the super-easy method. There is no egg-separating or egg white-beating in the recipe, and everything gets mixed up the night before so that in the morning, when you wake up all bleary-eyed and dopey, you only need to add a quarter teaspoon of baking soda to the mixture before ladling the batter into the waffle iron. Heck, they’re easy enough to be weekday waffles!

I substituted whole wheat pastry flour for part of the white flour; next time I plan to replace all of the white flour with whole wheat. I imagine that a couple tablespoons of flax seed meal would be a nice addition.
These waffles are rich, there is no doubt about it. If that bothers you, instead of cutting back on the butter in the waffles (they really are perfect as is), just refrain from putting butter on top of the finished waffle.
2 1/4 teaspoons yeast
½ cup warm water
2 eggs, beaten
2 cups milk
2/3 cup yellow cornmeal
2/3 cup whole wheat pastry flour
2/3 cup all-purpose flour
1 teaspoon sugar
1 ½ teaspoons salt
1 stick butter, melted and cooled a little
1/4 teaspoon baking soda
Stir together the yeast and warm water in a small bowl and set aside to rest for 5-10 minutes.
In a mixing bowl, whisk together the eggs and milk. Add the flours, cornmeal, sugar, and salt. Add the yeast mixture. Stir in the melted butter.
Cover the bowl with plastic (or a shower cap) and transfer to the refrigerator.
Go to bed.
Wake up.
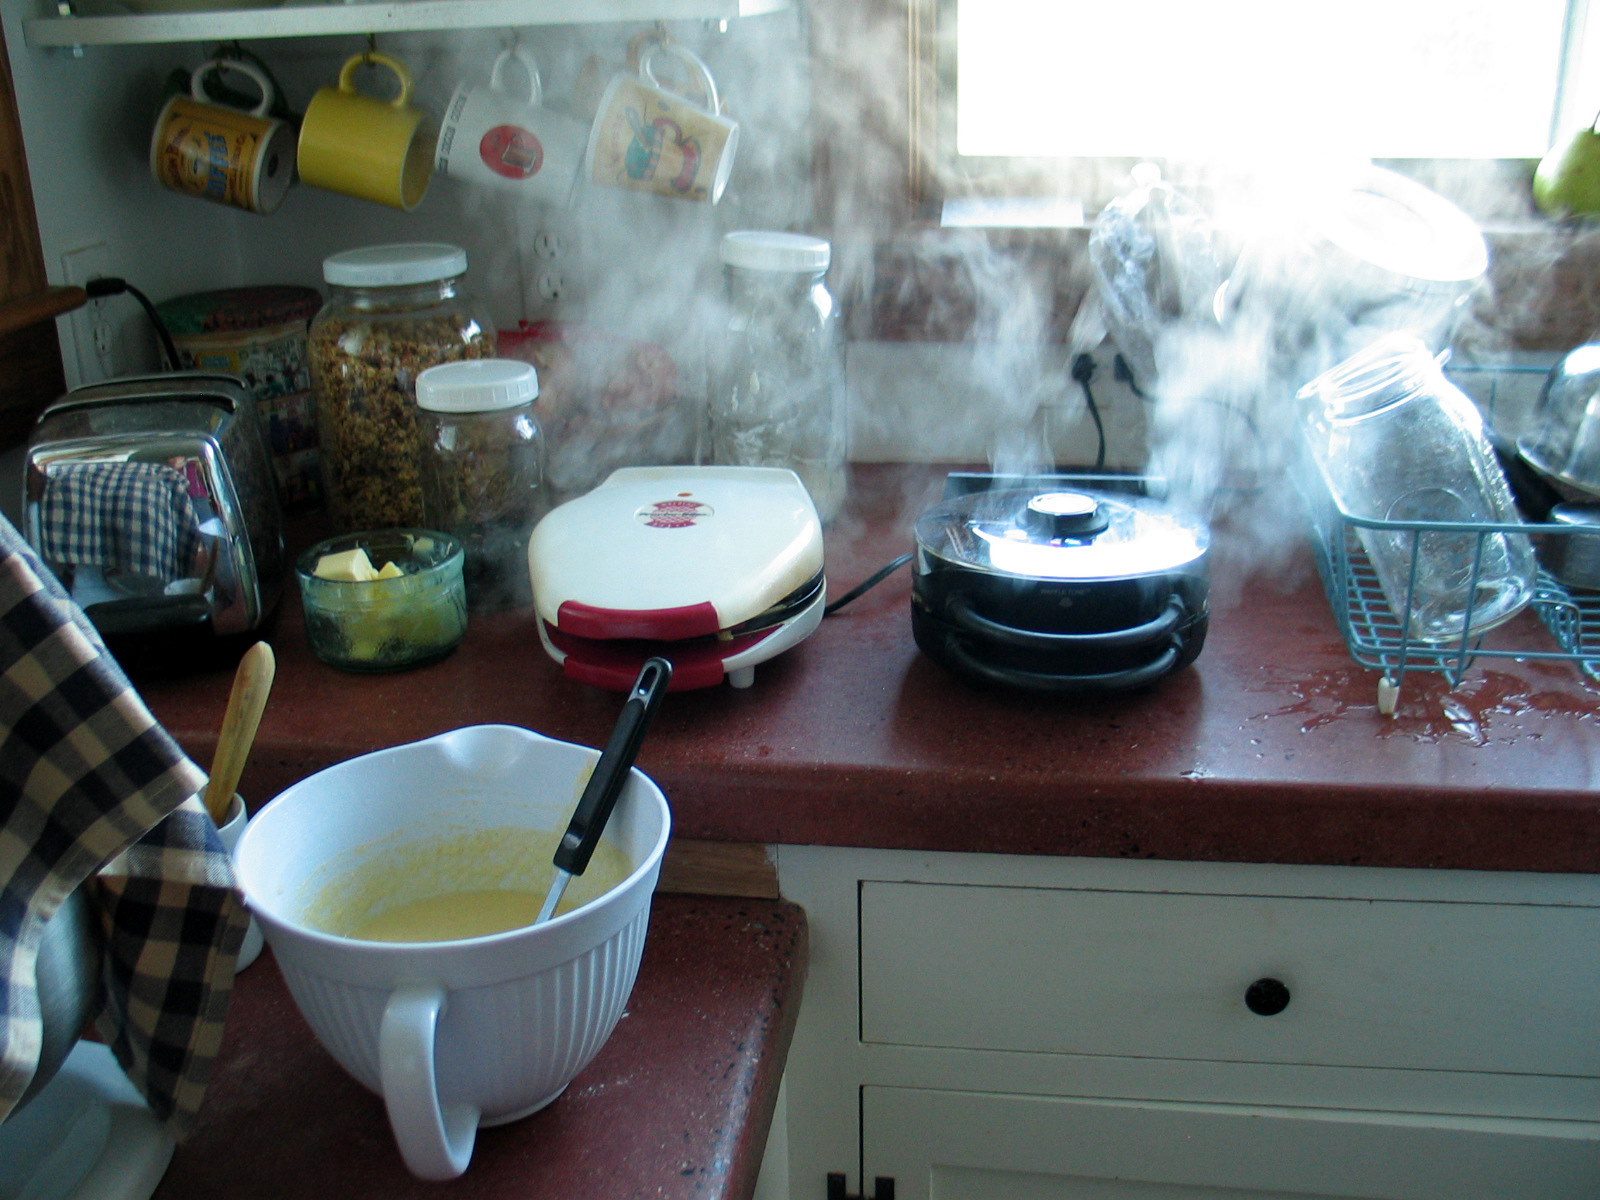
Heat up the waffle iron(s). Add the quarter teaspoon of baking soda and whisk well.
Make waffles.
Serves about four people.
Note: I am submitting this recipe to Wild Yeast Spottings.
About One Year Ago: Hard knocks (don’t click on the link if the sight of blood makes you turn green and dry heave).