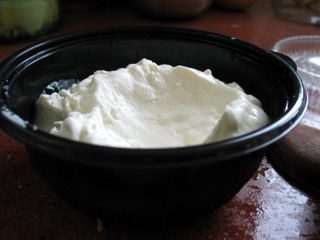
• Done easily enough

    Lately I’ve been reading—both in current cooking magazines and on the web—a lot of recipes that call for Greek yogurt. Apparently this new food is all the rage (it may be an old rage for all I know, but it’s new to me and in this case, that’s what matters). Naturally, I was curious and I wanted to know what all the hoopla was about. So, in my periodic runs to the grocery store, I began to pause in front of the yogurt section, carefully raking my eyes back and forth over the rows of little cartons, searching for the new food wonder but never finding it.

    That is, until several weeks ago. There! Up on the top shelf was a small selection of Oikos Greek Yogurt, a 5.3 ounce container for a dollar eighty-nine (if I’m remembering correctly). I picked up the small blue-and-white carton and studied the label, pondering the wisdom of such a purchase. Eventually I heaved a regrettable sigh and put it back—it was just too much money for too little yogurt.

    However, the very next time I went shopping and passed the yogurt section, I glanced up at the Greek section as was my custom and stopped short. “Reduced for quick sale,” the sign read. “Fifty cents.” Apparently I wasn’t the only one who had thought the yogurt an extravagant purchase! I snatched up three or four of the little darlings and tripped merrily on to the peanut butter.

    Back home, I tore off the foil seal and spooned some yogurt into my mouth. It was yogurt, but thicker and creamier—it was like sour cream, but yogurt. Amazing. I mixed some of the yogurt into a baking recipe where it served its purpose well (but because I didn’t make the same recipe with regular plain yogurt, I can not say if it was any better or worse), and the rest we dolloped into our bowls of spicy split-pea soup.
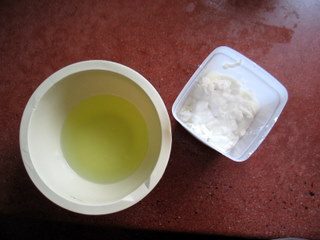

    I had read somewhere that Greek yogurt was cultured with a variety of different bacteria, more than regular yogurt. But I read somewhere else that it was just drained regular yogurt. I didn’t think I could do much about the bacteria part, but I figured I could drain my yogurt easily enough. So I did. And guess what? I got Greek yogurt. (I also got a couple cups of whey. Now I understand why it’s so expensive in the store—it’s yogurt in concentrate form. One quart of regular yogurt yields two cups of Greek yogurt.)
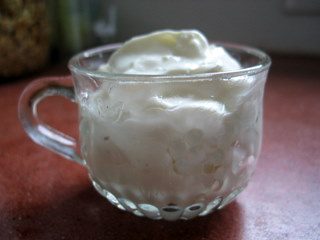

    Greek Yogurt

    I’ve only done this with my homemade yogurt, so I don’t know if you can do it with store-bought. If you try it with the store yogurt, please report back—I’d like to know how it turns out.

    Take care not to drain the yogurt for too long because then you’ll get yogurt cheese.

    By “cheesecloth” I don’t mean a porous, loosely woven cloth, but a thin cloth with a regular weave. In other words, not a fuzzy tea towel, but something that is woven tightly enough that the yogurt won’t ooze through.
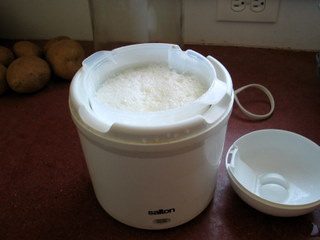

    1 quart homemade yogurt, freshly made and still warm
    A cheesecloth (or other thin tea towel)
    A thick rubber band
    A wooden spoon
    Some hooks from which to hang the bag of drippy yogurt
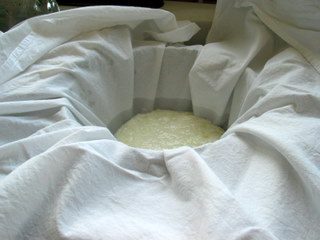

    Place a colander in the sink and line it with the cheesecloth. Dump the warm yogurt into the cheesecloth. Gather up the ends of the cheesecloth and fasten it shut with the rubber band (as you would fasten a ponytail), looping it over three or four times.
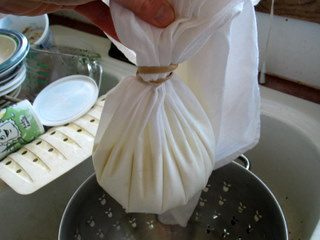

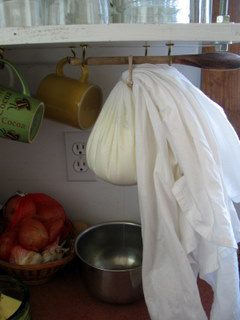
    Stick a wooden spoon through two of the rubber bands segments, and then lay the wooden spoon over two hooks (I use vacated coffee mug hooks) so that the bag of yogurt is hanging down, dripping whey all over your counter. Remedy the problem by quickly placing a quart-sized bowl under the bag of yogurt to catch the whey (if you’re smart, you’ll slip an empty bowl under the bag of yogurt before you transport it to the hanging station). Let the yogurt drip into the bowl for one to two hours, or until the whey has mostly stopped trickling out.

    Take down the bag of yogurt, remove the rubber band, and scrape the yogurt into a pint container. Cover the container tightly with a lid and store it in the refrigerator. Toss the whey, or use it in baking, or feed it to the dog.

    Eat the yogurt plain, or use it in baking or as a garnish for soups and salads. Use it any place that you might use sour cream (though I’m not sure how it would hold up to stove-top cooking—I think it would probably curdle).

    Yield: About two cups Greek yogurt.

    About One Year Ago: Oatmeal Bread.
  • No more excuses

    Shortly after my birthday, a box from Amazon arrived in the mail. In it were three cookbooks, courtesy of my mother: The Perfect Scoop by David Lebovitz, and The Pie and Pastry Bible and The Bread Bible, both by Rose Levy Beranbaum. I promptly started giggling gleefully, and then I had to whoop and holler too, just to release all that pent-up giddiness.

    I’ve been poring through the cookbooks, patting sticky notes on the pages of recipes that appeal to me and then jotting down the special ingredients on those same bits of paper, the better to make my future grocery lists. I love immersing myself in another person’s style of cooking, gradually catching on to their rhythms and methods, getting inside their minds so to speak. And of course I’m learning new information that, when added to some basic kitchen ingredients, gets transformed into something edible, and if I’ve done it right, delicious. In those cases, I’m not the only one who benefits from that birthday box of books.


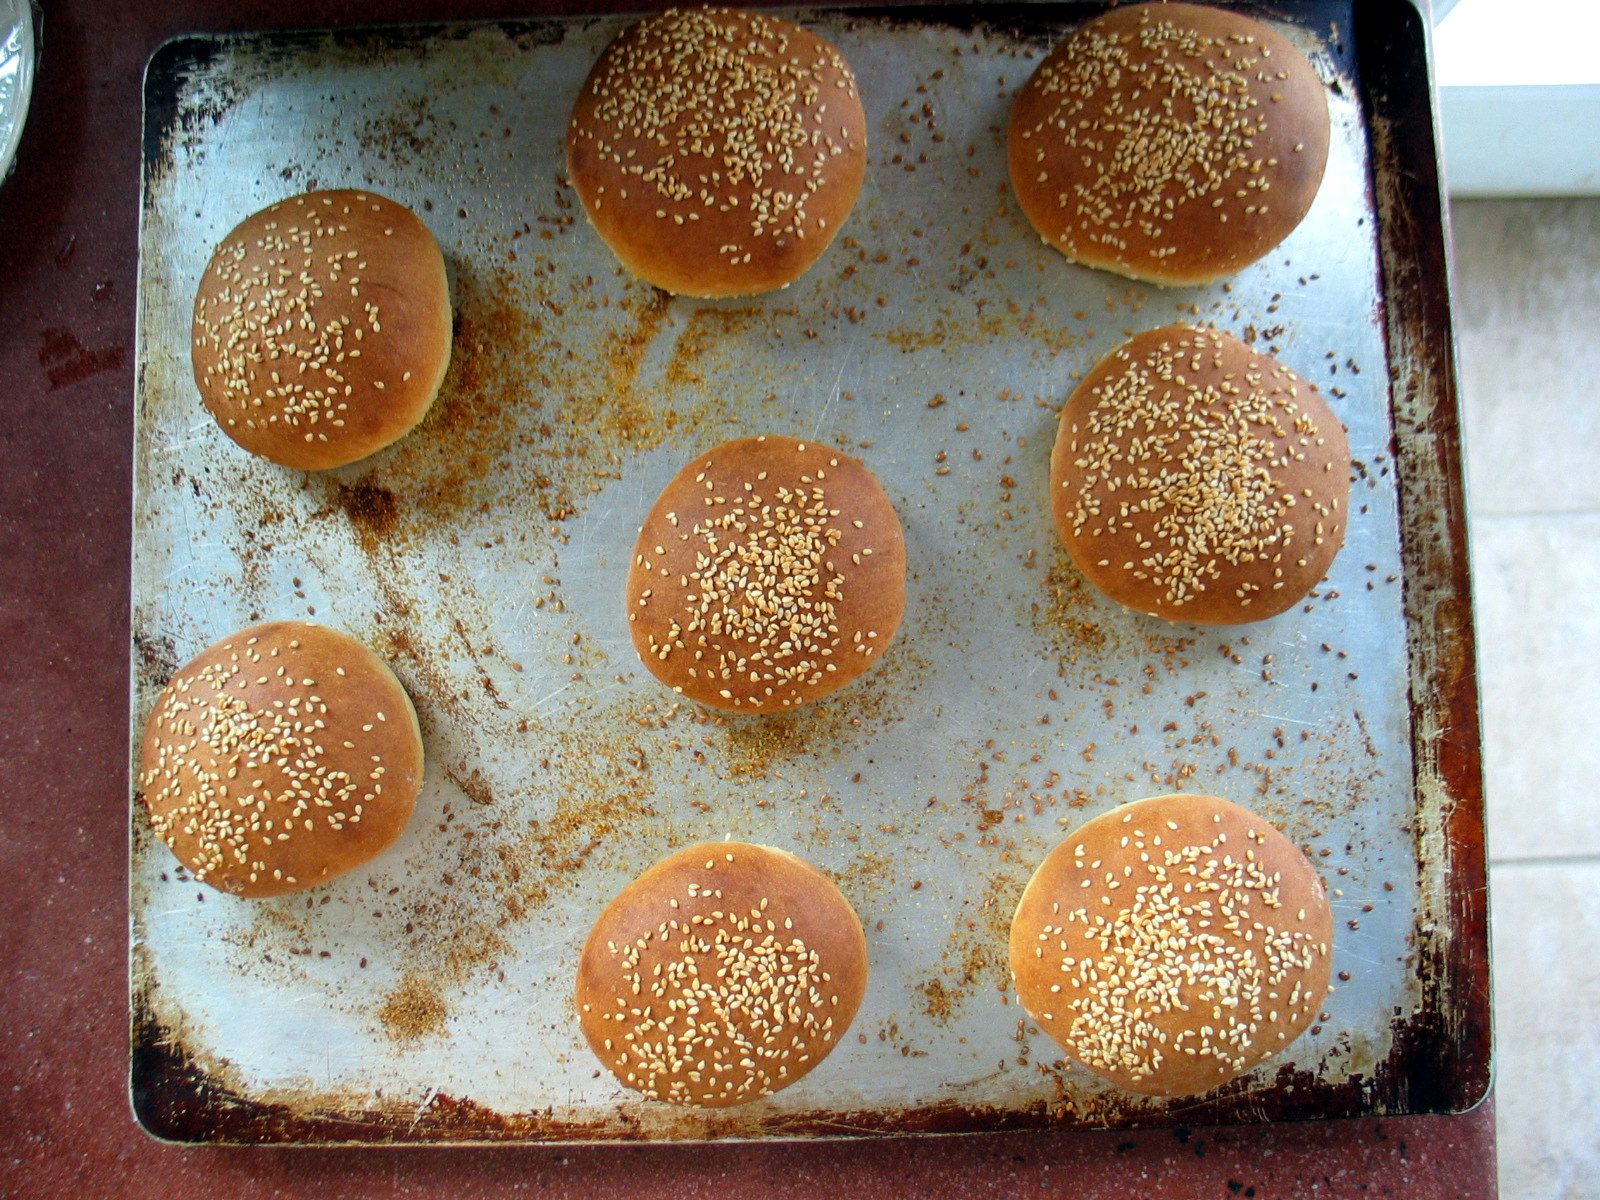
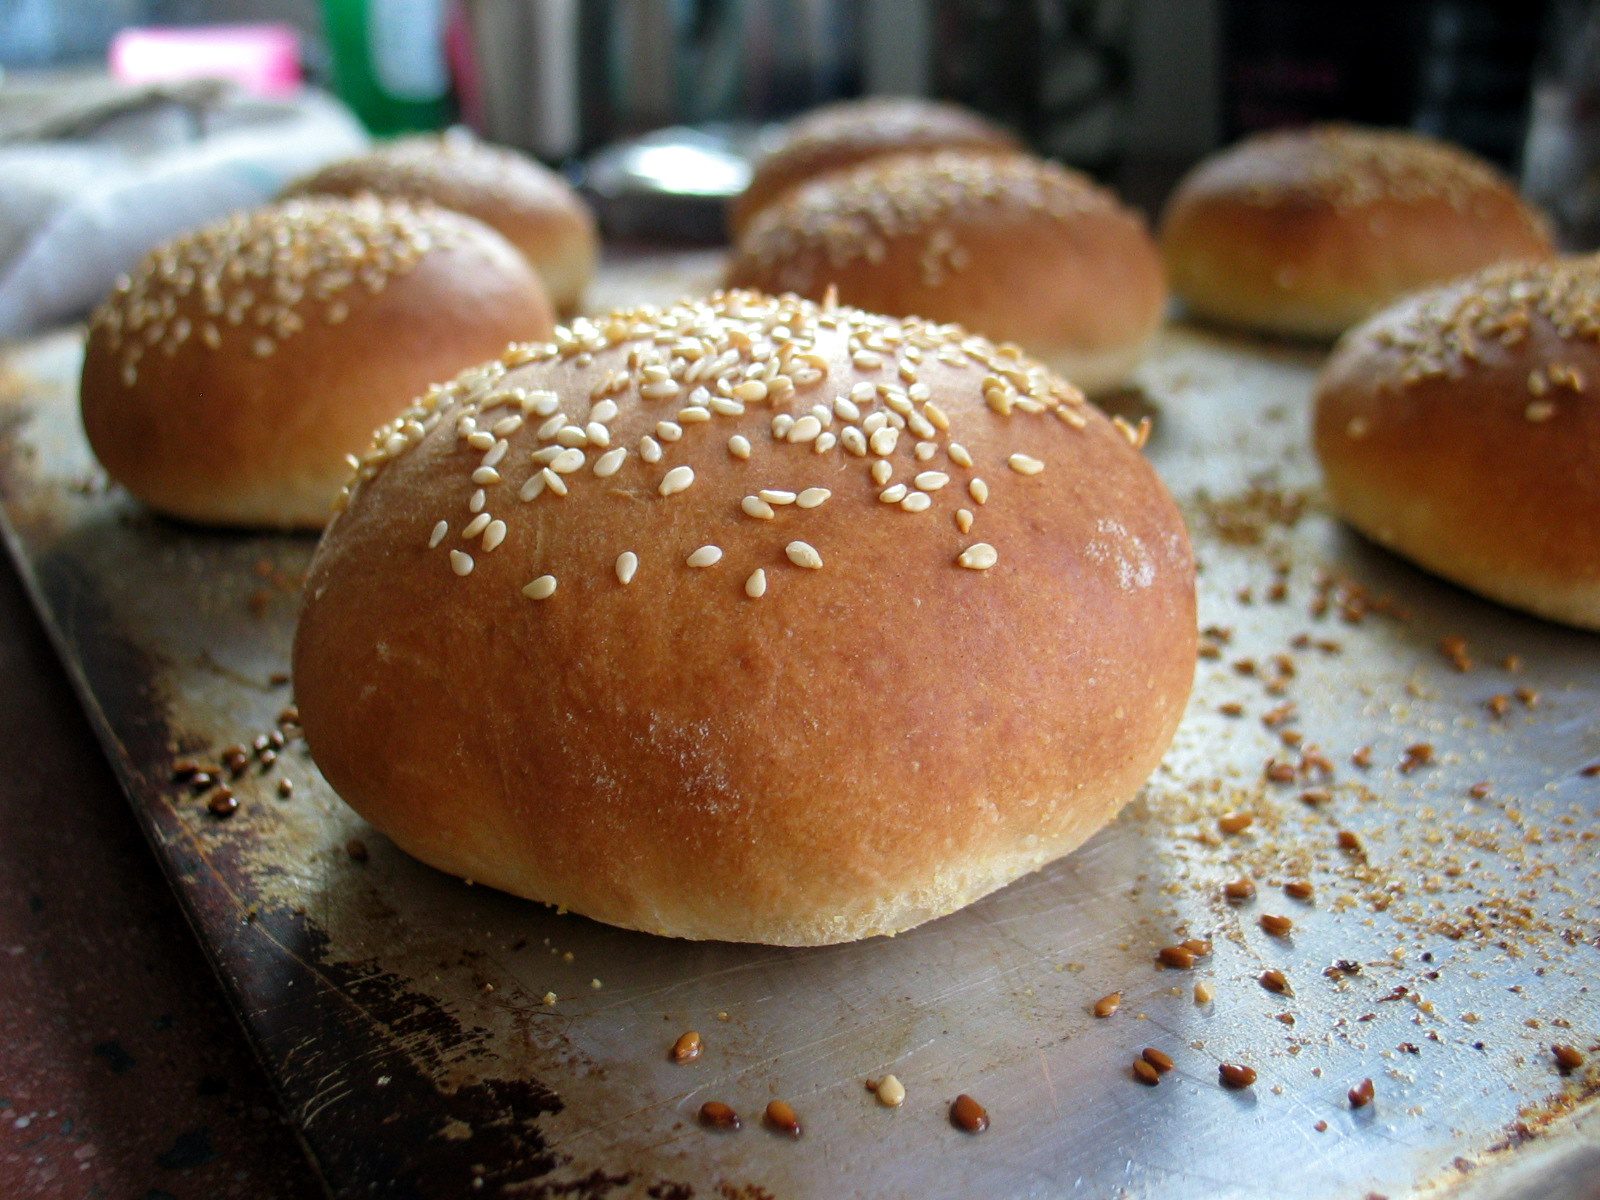
    Yesterday I made hamburger buns.


    I’ve made my own hamburger buns before, but the resulting buns were always too bready and heavy and no one really liked them, so it just wasn’t worth the effort. As a result, when we eat our burgers and dogs and sloppy joes, they’re usually couched in cheap white buns (once in a while, in a moment of extravagance, I do purchase the more expensive brand of fortified air).


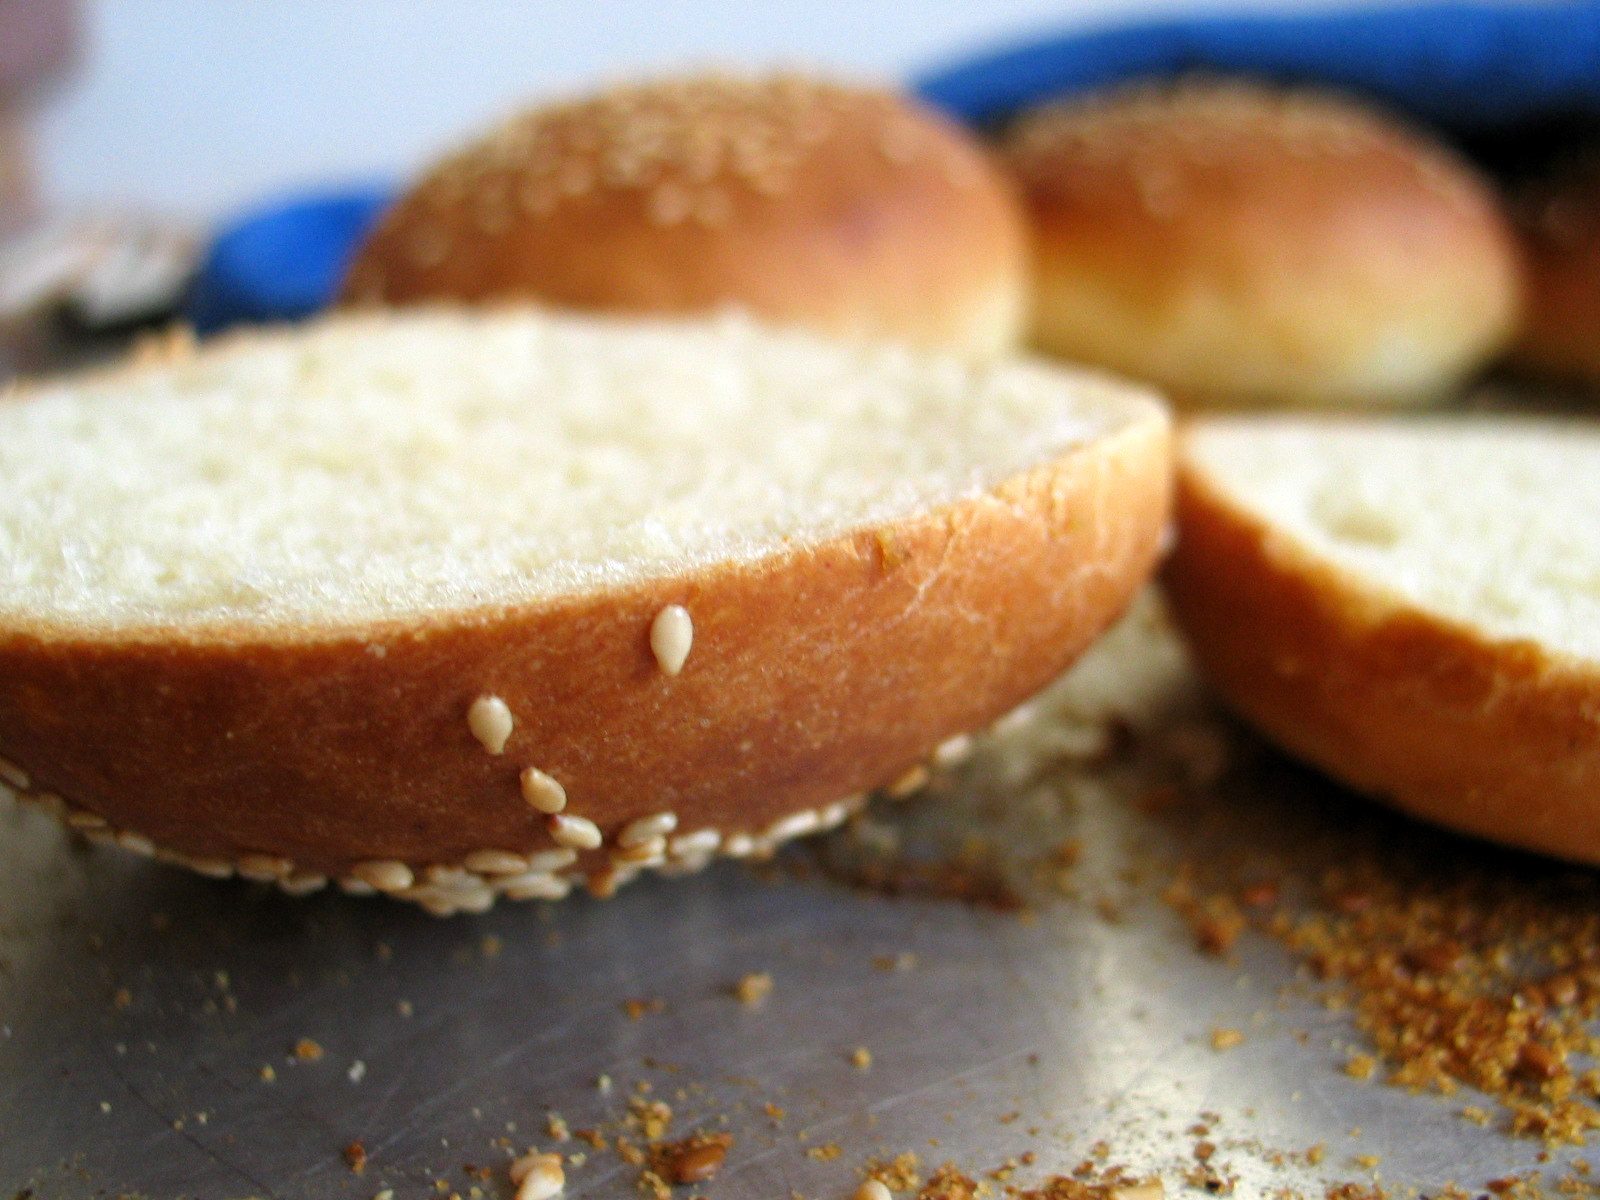
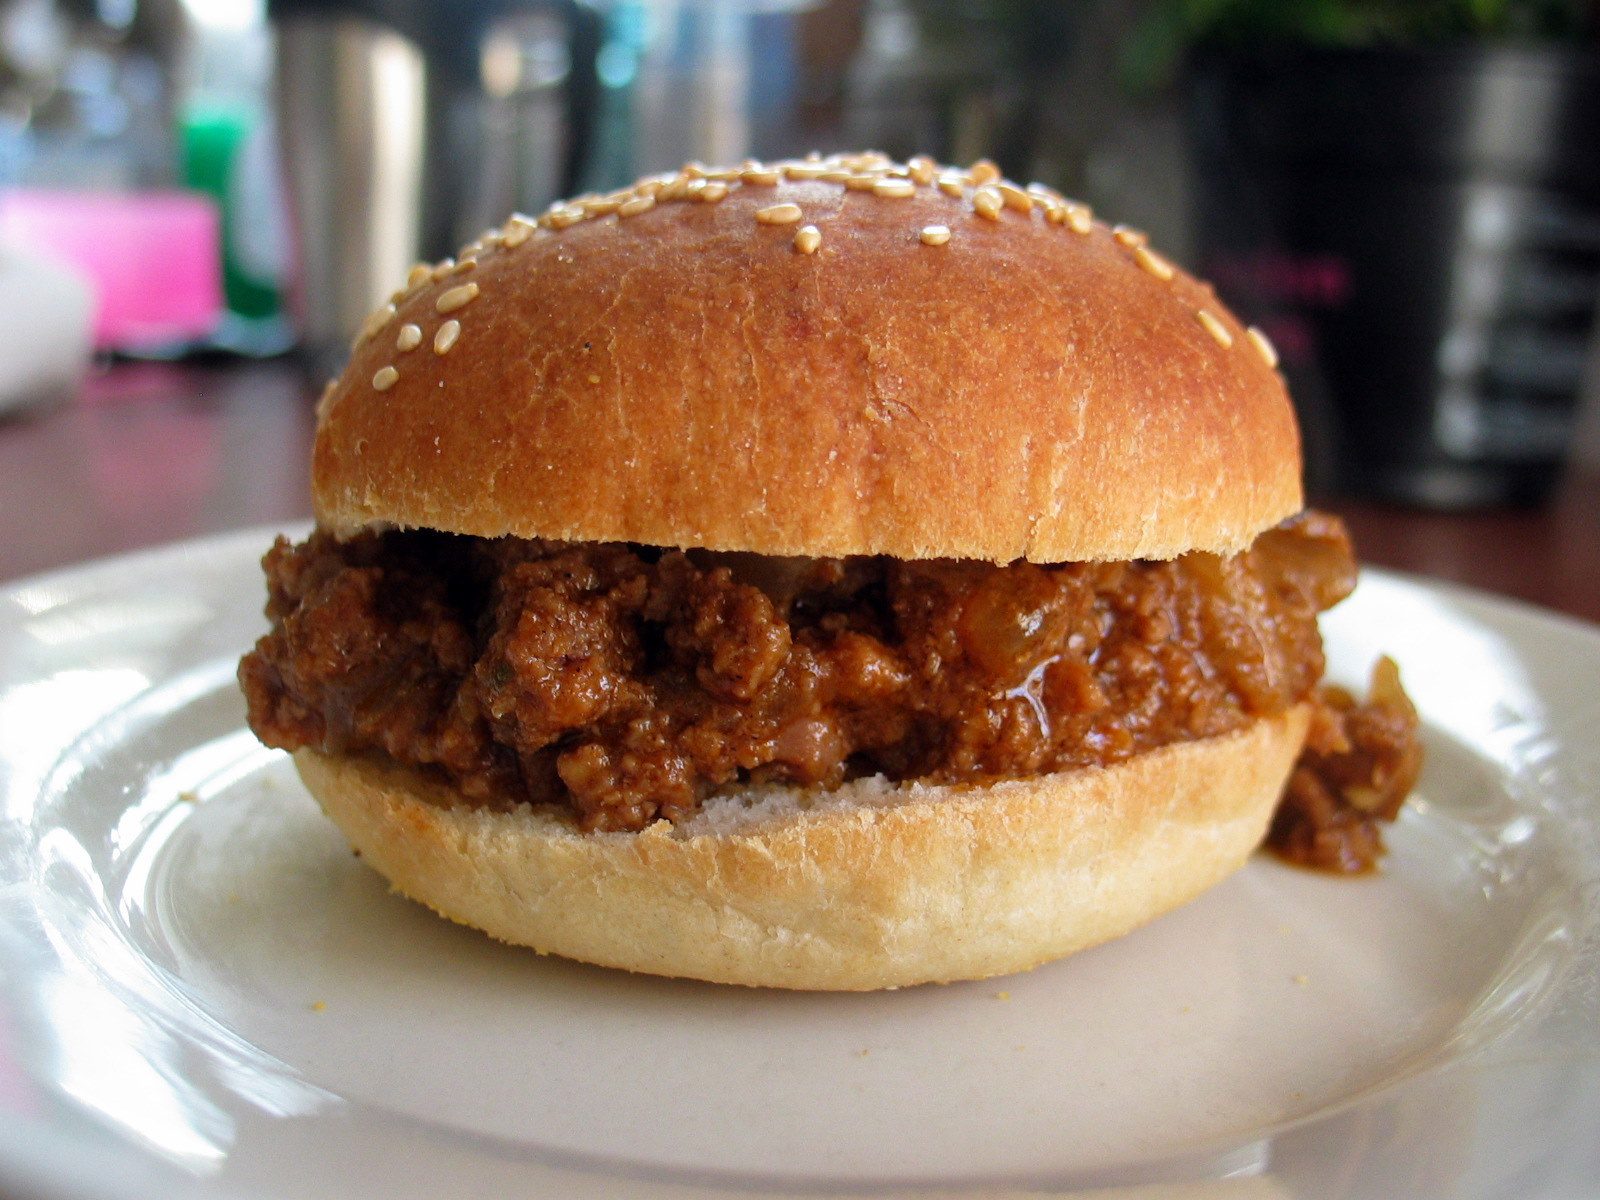
    But after last night’s dinner—sloppy joes on homemade buns and bowls of vegetable soup—I no longer have an excuse to buy those chemically-laced buns from the store. I now can make something better, much, much better—light-as-air homemade hamburger buns. I am totally impressed with myself.


    (My kids were genuinely ecstatic. Yo-Yo came out to the kitchen and peeked under the cloth at tray of cooling buns and then ran out of the room yelling to his siblings, “Hey, guys! Mom made buns for supper! She made the buns for the sloppy joes!” Based on their level of enthusiasm, you would think I’ve never made bread before…)


    Light-As-Air Hamburger Buns
    Adapted from The Bread Bible by Rose Levy Beranbaum

    This bread is not a healthy bread, nor does it pretend to be, but it certainly is a step up from store bought buns, no doubt about it. Rose quotes Michael Betterberry, publisher of Foods Arts magazine, as saying, after tasting this bread, “‘Mmmm. . . . This is what Wonder Bread, in its soul, really always wanted to be!’”

    Rose’s recipes are fussy, but she has a reason (always has a reason) for why she does what she does. However, I cut out some steps and meshed methods and the bread still came out fabulous.

    4 ½ cups plus 1 ½ tablespoons (1 pound and 7 ounces) all-purpose flour, divided
    1 3/4 scant cups (14.3 ounces) cool water
    2 tablespoons plus 1 teaspoon (1 ½ ounces) honey
    1 ½ teaspoons yeast, divided
    1/4 cup dry milk
    9 tablespoons butter, softened
    2 ½ teaspoons salt
    1/4 cup sesame seeds, optional

    For the sponge:
    Combine 2 1/4 cups plus 2 ½ tablespoons (12 ounces) flour, the water, honey, and 3/4 teaspoons yeast, stir vigorously, cover the bowl with a shower cap and set aside.

    For the dough:
    In another bowl, whisk together the remaining flour (2 cups plus 3 tablespoons or 11 ounces), the dry milk, and the remaining 3/4 teaspoon yeast. Sprinkle it over the top of the sponge mixture, spreading it out evenly, but not mixing it in. Cover with the shower cap and set aside for one to four hours.

    Mixing the dough:
    Add the butter to the dough and mix (either with a sturdy wooden spoon or with a Kitchen Aid mixer) till combined. Let the dough rest for 20 minutes.

    Add the salt and mix vigorously for 7 to 10 minutes (a Kitchen Aid is a lovely creation). The dough will be sticky.

    Grease another mixing bowl with oil or butter and dump the sticky dough into it. Cover with the shower cap and set in a warm place to rise till double.

    Baking the buns:
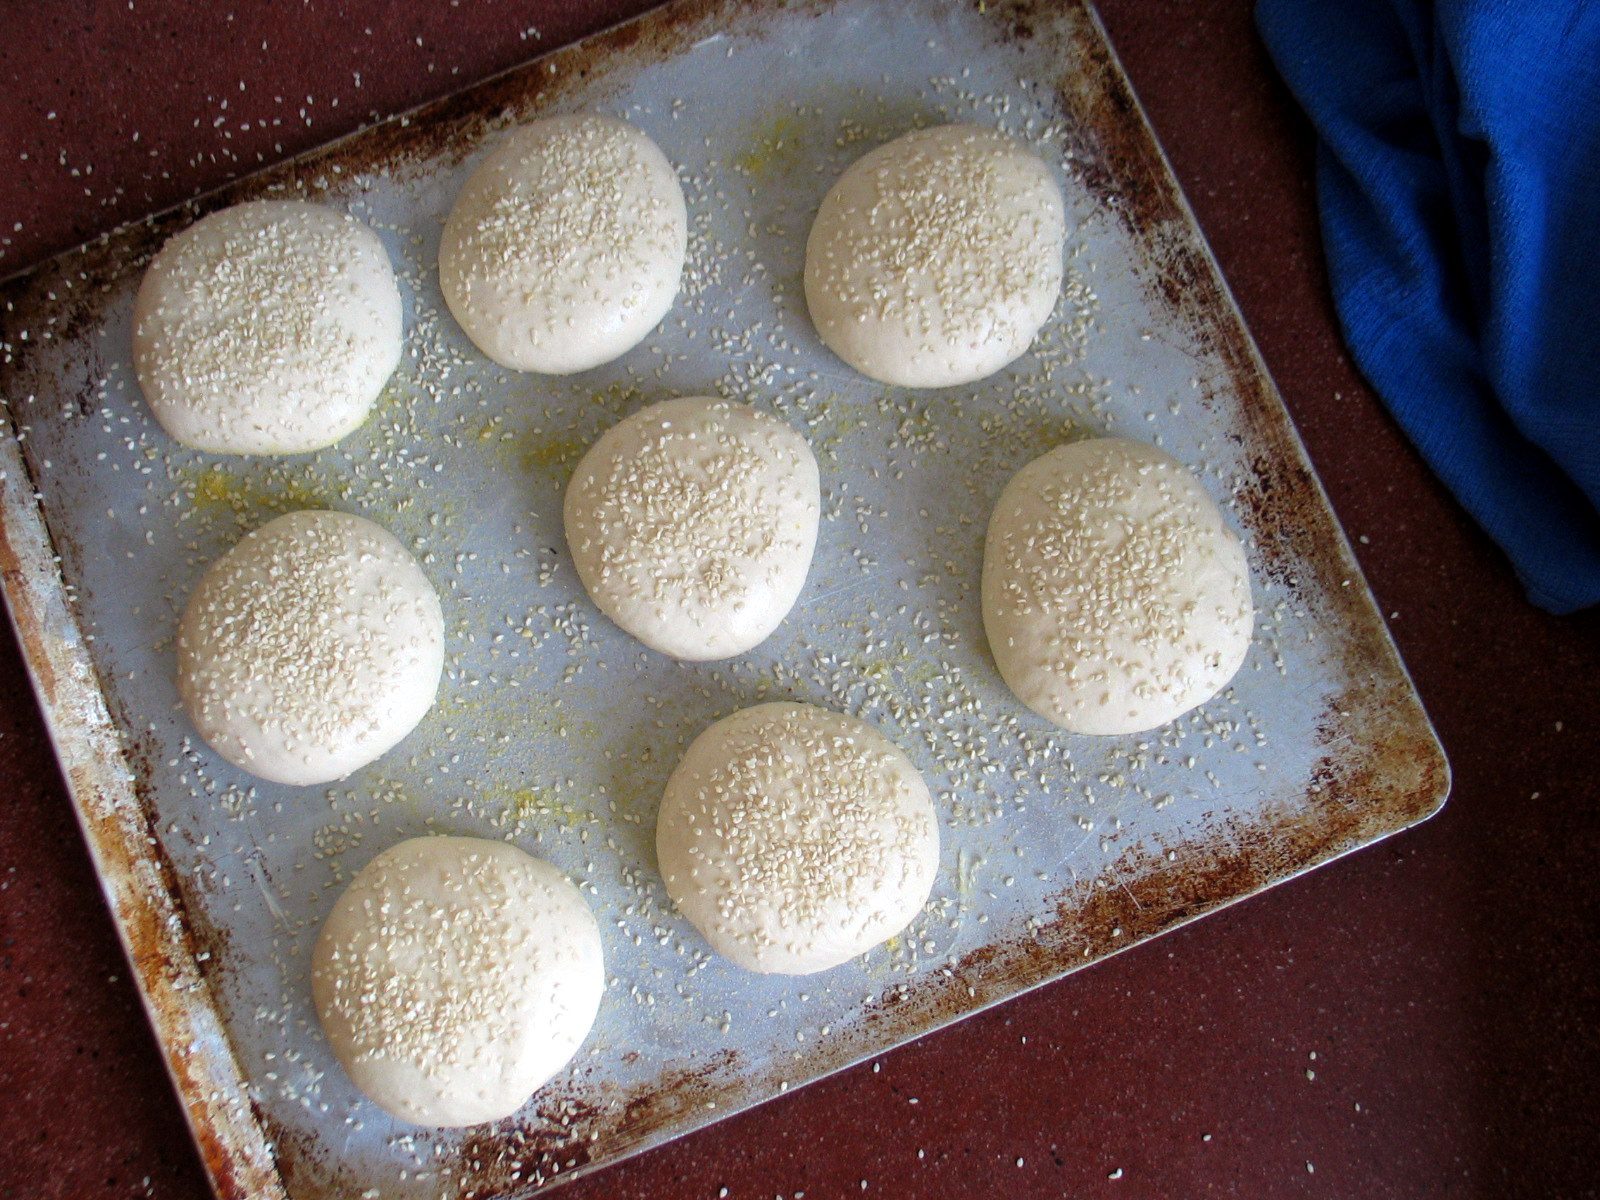
    When the dough has risen, dump it out onto a well-floured counter. Using a knife, divide the dough into 16 pieces. With light hands (don’t overwork the dough—you want to keep as much air in the dough as is possible), quickly shape the dough into buns and place them seam-side down on a baking sheet that has been greased and then sprinkled with cornmeal. Pat the buns down so they are somewhat flat. Do not overcrowd the buns (I only had eight buns on each baking sheet)—you want them to rise out and up, not up and into each other.

    Cover the buns with a towel and let them rise for 45 to 60 minutes, or until doubled. If using the sesame seeds, spritz the buns with water and sprinkle them lightly with the seeds.

    Bake the buns for 15 to 20 minutes (rotating the pans after the first ten minutes) in an oven that has been heated to 400 degrees. Cool the buns completely before slicing (the dough is so tender that it will mush if you cut them while they’re still warm).

    These are best eaten fresh. If you are not going to eat them within a few hours of baking, cool them to room temperature and then package in plastic bags and freeze. Thaw at room temperature and serve immediately (you may briefly warm them in the oven).

    Sloppy Joes
    Much adapted from the March 2009 issue of Country Living magazine

    I sometimes add 2 tablespoons of tempero in place of, or in addition to, the onion and garlic. If using tempero, omit the salt.

    2 pounds ground hamburger
    1 medium onion, chopped
    6 cloves garlic, minced
    4-6 teaspoons chili powder
    1 teaspoon dry mustard
    ½ teaspoon paprika (I used smoked paprika)
    ½-1 teaspoon salt
    1/4 teaspoon ground ginger
    2/3 cup ketchup
    2 tablespoons Worcestershire sauce

    Put the hamburger, onion, and garlic in a large kettle and cook till browned. Stir in the remaining ingredients, reduce the heat to low, and simmer for 20-30 minutes.

    Serve on airy rolls.

    Note: I am submitting this post to yeastspotting.

    About One Year Ago: Ideas and Suggestions, in regards to reading material, fruit juice in granola, and pumpkin.

  • Cleaning up

    I’m cleaning up the blog—it’s gotten a little messy over there on the side.

    Here’s the 2009 Food Preserved List, for posterity:

    Rhubarb: 3 1/2 pints jam; 7 pints, frozen
    Spinach: 18 pints, frozen; 5 10-oz bags, frozen
    Strawberries: 12 quarts, sliced with sugar; 5 1/2 pints, dried
    Peas: 8 pints, frozen
    Snow Peas: 1/2 pint, frozen
    Snap Peas: 5 1/2 pints, frozen
    Red Raspberries: 8 1/2 pints, frozen
    Swiss Chard: 7 quarts, frozen
    Broccoli: 7 1/2 quarts, frozen
    Basil: 12 recipes pesto (11 pints), frozen; 2 pesto tortes, frozen
    Garlic Scapes: 1 pint pesto, frozen
    Zucchini: 10 1/2 pints relish, canned; 7 pints, frozen; 2 gallons, soup, frozen
    Garlic: 21 heads, braided
    Green Beans: 49 quarts, frozen; 24 quarts, canned
    Oregano: 4 recipes “pesto” rub, frozen
    Peaches: 46 quarts, canned; 7 pints (runny) jam, canned
    Applesauce: 102 quarts of Summer Rambo, canned; 39 quarts of Ginger Golds, canned
    Sweet Pickles: 15 quarts and 2 pints, canned
    Corn: 36 quarts and 64 pints, frozen
    Beets: 11 pints pickled, canned
    Roma Tomatoes: 8 quarts and 1 pint red wine sauce, canned; 15 quarts and 11 pints and one-half pint salsa, canned; 5 quarts and 4 pints stewed, canned; 17 pints pizza sauce, canned; 6 quarts oven-roasted, frozen
    Juice Tomatoes: 23 quarts and 1 pint juice, canned; 15 quarts and 9 pints stewed, canned
    Nectarines: 2 pints jam, canned; 3 quarts dried
    October Sky Beans, dry: 1 pint for seed, frozen
    Nicaraguan Red Beans, dry: 3/4th five-gallon bucket
    Apples, dried: 18 quarts
    Grape juice: 25 quarts, canned
    Cherokee Trail of Tears black beans, dry: about ½ gallon
    Butternuts: A few measly ones
    Chickens: Butchered 34, about 20 were for us

    ***

    Notes to self:
    *Don’t make garlic scape pesto again. It’s too strong and no one likes it.
    *Never grow garlic again. It all rotted. It’s cheaper (and lots easier) to get it from the grocery store.
    *Plant more black beans, three times as much.
    *Double the applesauce. That means buy eight bushels. Summer Rambo is good and has the best yield.
    *Stayman apples (October) are good for fresh eating, but too dry and mushy for baking. When dried, they taste grainy and draw your mouth. They store beautifully.
    *Jonathan apples (September?) are good for baking, but they don’t store very well.
    *Empire apples (October) are delicious baked and dried.
    *Double the rhubarb patch and double the harvest.
    *Plant fall lettuce because you crave greens in the fall.
    *Grow a small row of sweet potatoes.
    *Grow potatoes and don’t let them catch blight next time.
    *Six basil plants should be enough.
    *Plant yellow sweet corn instead of white. Yellow is more visually appealing. The bi-color might be nice.
    *Plant lots and lots of yellow cooking onions and less Vidalia.
    *Do more oregano “pesto” rub, enough for at least eight roast chickens.
    *You’ve always had more success growing flat-leafed parsley. If only you could remember that.
    *12 Roma plants and 12 juice tomato plants was a perfect amount. You even had some to share.
    *Plant the same kind of heirloom green beans that you did last year, but don’t plant them too early. Use a full pound.
    *If you’re going to plant mustard greens, it might be nice if you actually use them.
    *Two hills of zucchini is perfect.
    *Plant six hills of cucumbers.
    *You can not successfully grow butternut squash. Give up, darling.
    *It’s time to plant a new bed of strawberries.
    *Prepare a plot for blueberry bushes. Do it right this time.
    *The leeks were a failure.
    *The kids don’t like canned green beans. But you do.
    *Buy two bushels of nectarines and make lots of tarts.
    *You’ll want four bushels of peaches.
    *A basket of plums might be nice.
    *Plant hull peas, please.

    About One Year Ago: A leftover creation.