When we were in Pennsylvania last week, my aunt served fresh loaves of her homemade sourdough. Nutty with whole wheat, they were gorgeously rustic, and the bread itself was light and chewy. When I inquired after it, she straightaway launched into a passionate saga, the gist of which was this:
KNEADING IS FOR THE BIRDS.
Her method is basic. Simply mix up the ingredients and then every couple hours or so, fold the dough over a few times. Before bed, shape the dough into loaves and refrigerate. The next morning, bake. I had more questions, but since I wasn’t talking much (no voice, remember), I couldn’t ask them.
Back home, I switched to a chain of emails, interspering my questions — all the why’s, how’s, and what for’s — with play-by-play details of my baking experiments. The first batch was inedible — even the steers had trouble — but it went uphill from there.
It’s amazing, really, how forgiving bread is. All the things I once thought were in stone — never tear the dough! keep the salt separate from the yeast! don’t bump risen dough! knead for a long time to develop the gluten! — have been, at one time or another, challenged. Bottom line: When it comes to bread, you can get away with an awful lot. As long as it turns out good, you can pretty much do whatever you want.

Note: With sourdough, even with the no-knead version, there is a learning curve. (This is what I keep telling my mother who finally, after fifteen years of watching me make sourdough, has decided to give it a go herself.) Plan on a full week of baking, just to understand the process and become familiar with the the dough — it’s a living, breathing thing, remember, and, as with any relationship, it takes time to develop trust and form a connection. Be patient and persistent, and more attentive than feels proper. In no time at all, you should — fingers crossed — be consistently knocking it out of the park.
No-Knead Sourdough Bread
Adapted from my aunt Valerie’s recipe and method.
Don’t have any starter? No worries! Your options are as follows:
a) Go to the best bakery in your area and ask if they’ll sell you some. (Here’s one — except, guess where they got their first starter? That’s right: ME! ‘Course, I have no idea if the original starter is still the one they are using….)
b) Order it online (though since I’ve never done that myself, I can’t vouch for the product).
c) If you live close, ask me for some!
d) Make your own.
Updated, January 11, 2019:
*For a more textured, wholegrain bread, add 2 cups whole wheat bread flour, 2/3 cup rough-cut oats (rolled or steel-cut), 1/4 cup millet, and 1/4 cup flax seed, and then enough bread flour to make the require 1000 grams.
*Mix the dough in the morning. Around lunch time, knead the dough for a minute, keeping it in the bowl and without adding more flour (or only a small dusting, if you must). The dough will be soft and supple. Cover and let rise during the afternoon, stirring it down (or briefly kneading) once or twice. Around supper time, divide the dough and shape into loaves, placing dough directly into the baking pans (or into greased bowls, or floured baskets, from which they will be dumped when it’s time to bake). Let the dough rise to double (about two hours), and then bake. Without the overnight fridge proofing, the bread is slightly less sour, and it gets a lot more height.
*Warning: if you allow the dough to rise in the Dutch oven and then bake it with the lid on, it will stick to the pan. Solution: grease the Dutch oven!
400 grams (1¾ cups) starter
1000 grams (8 cups) of bread flour, about three cups of which is whole wheat pastry flour
20 grams (4½ teaspoons) salt, Morton’s Kosher, coarse
575 grams (2½ cups) cool water
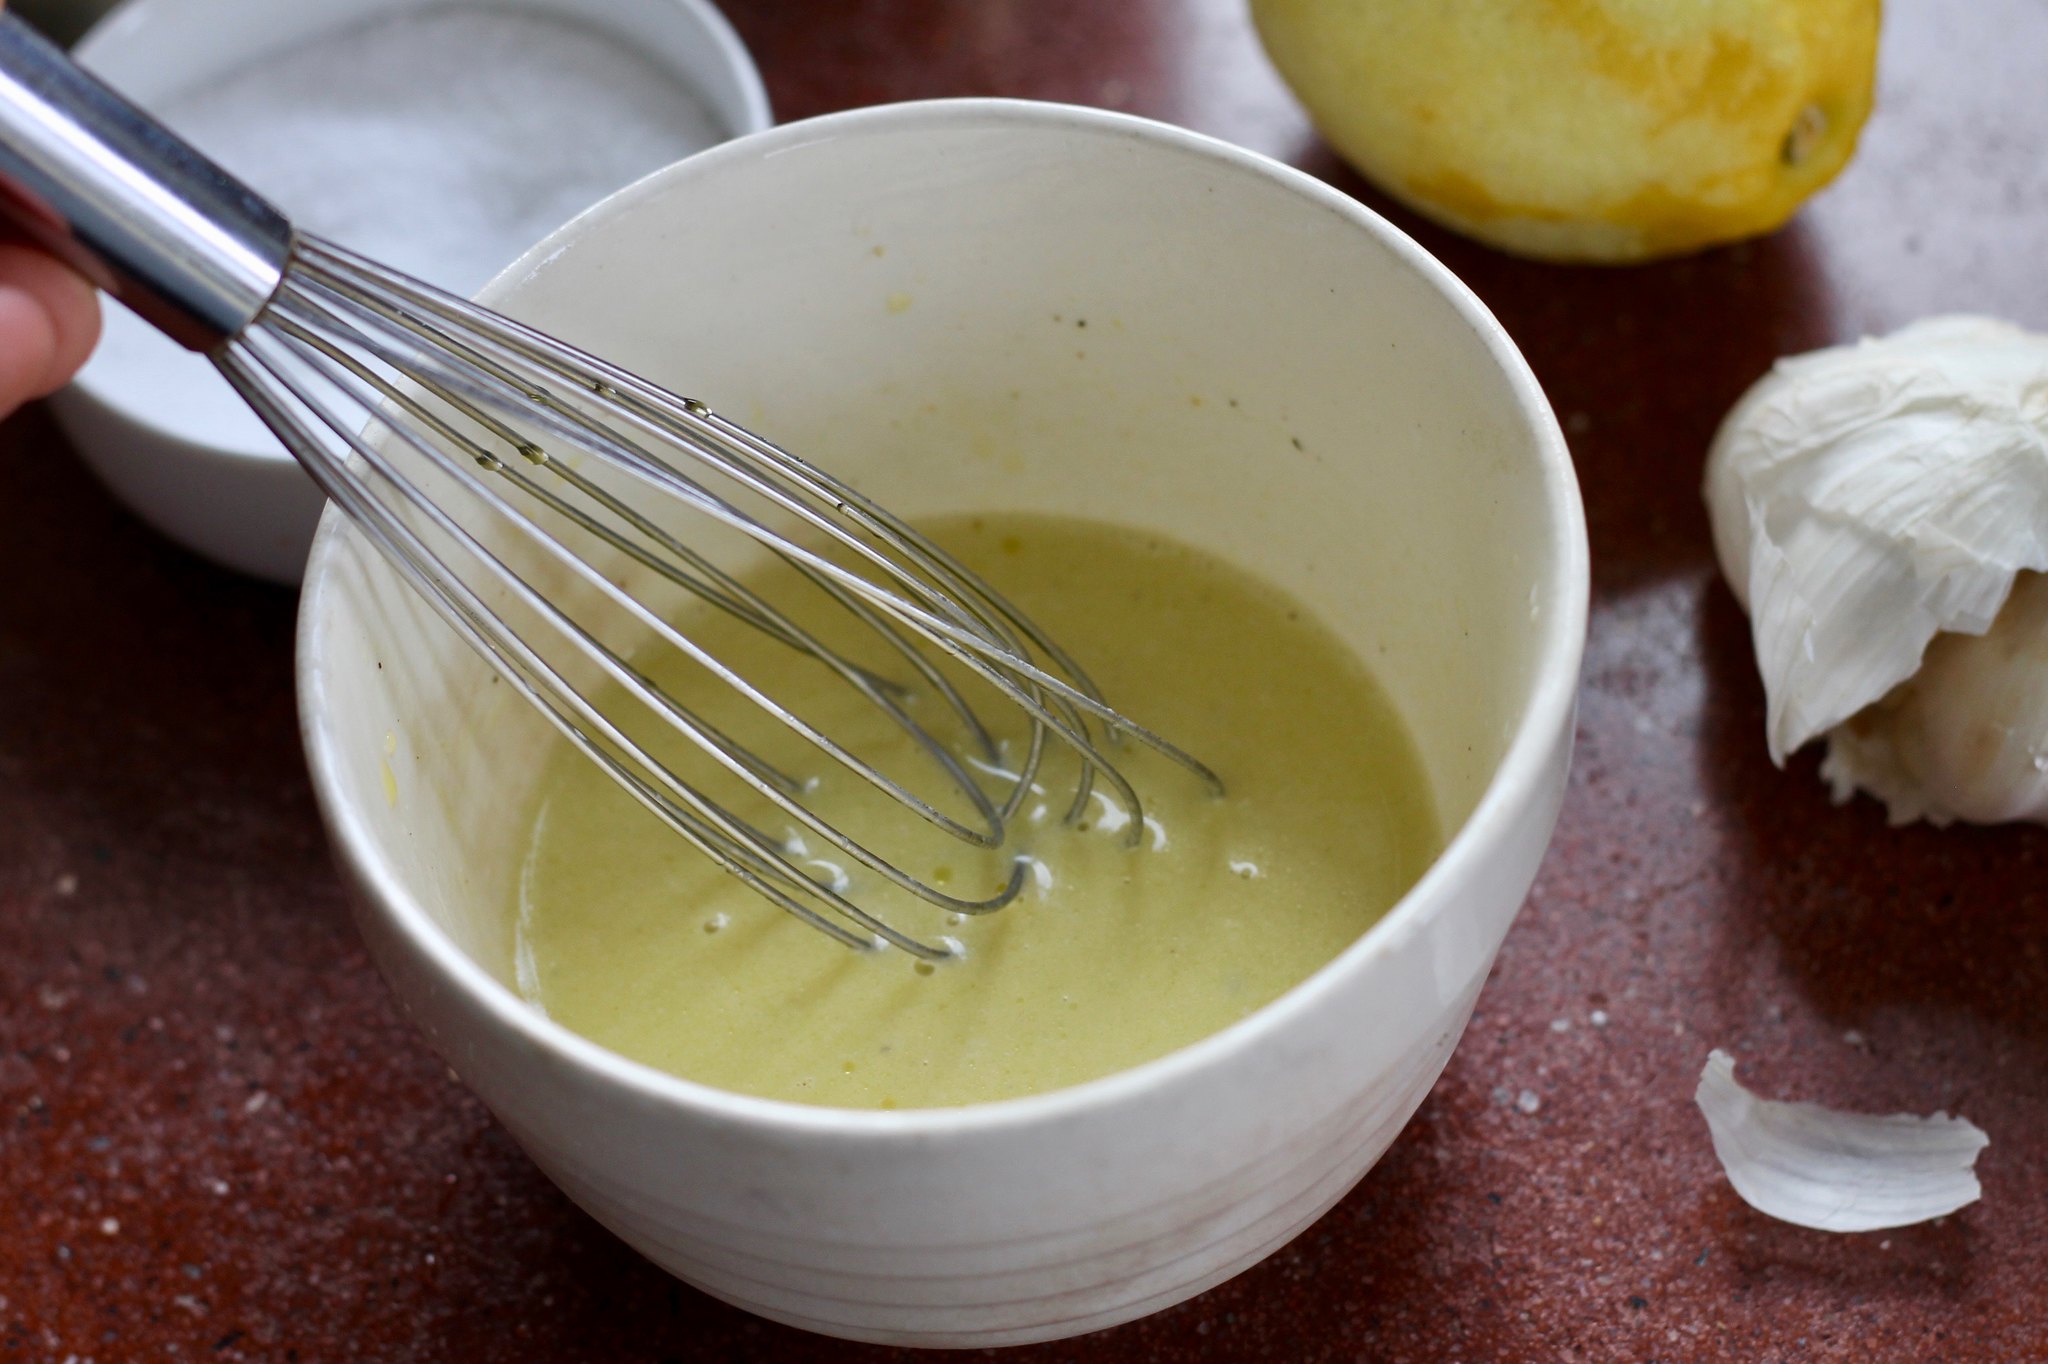
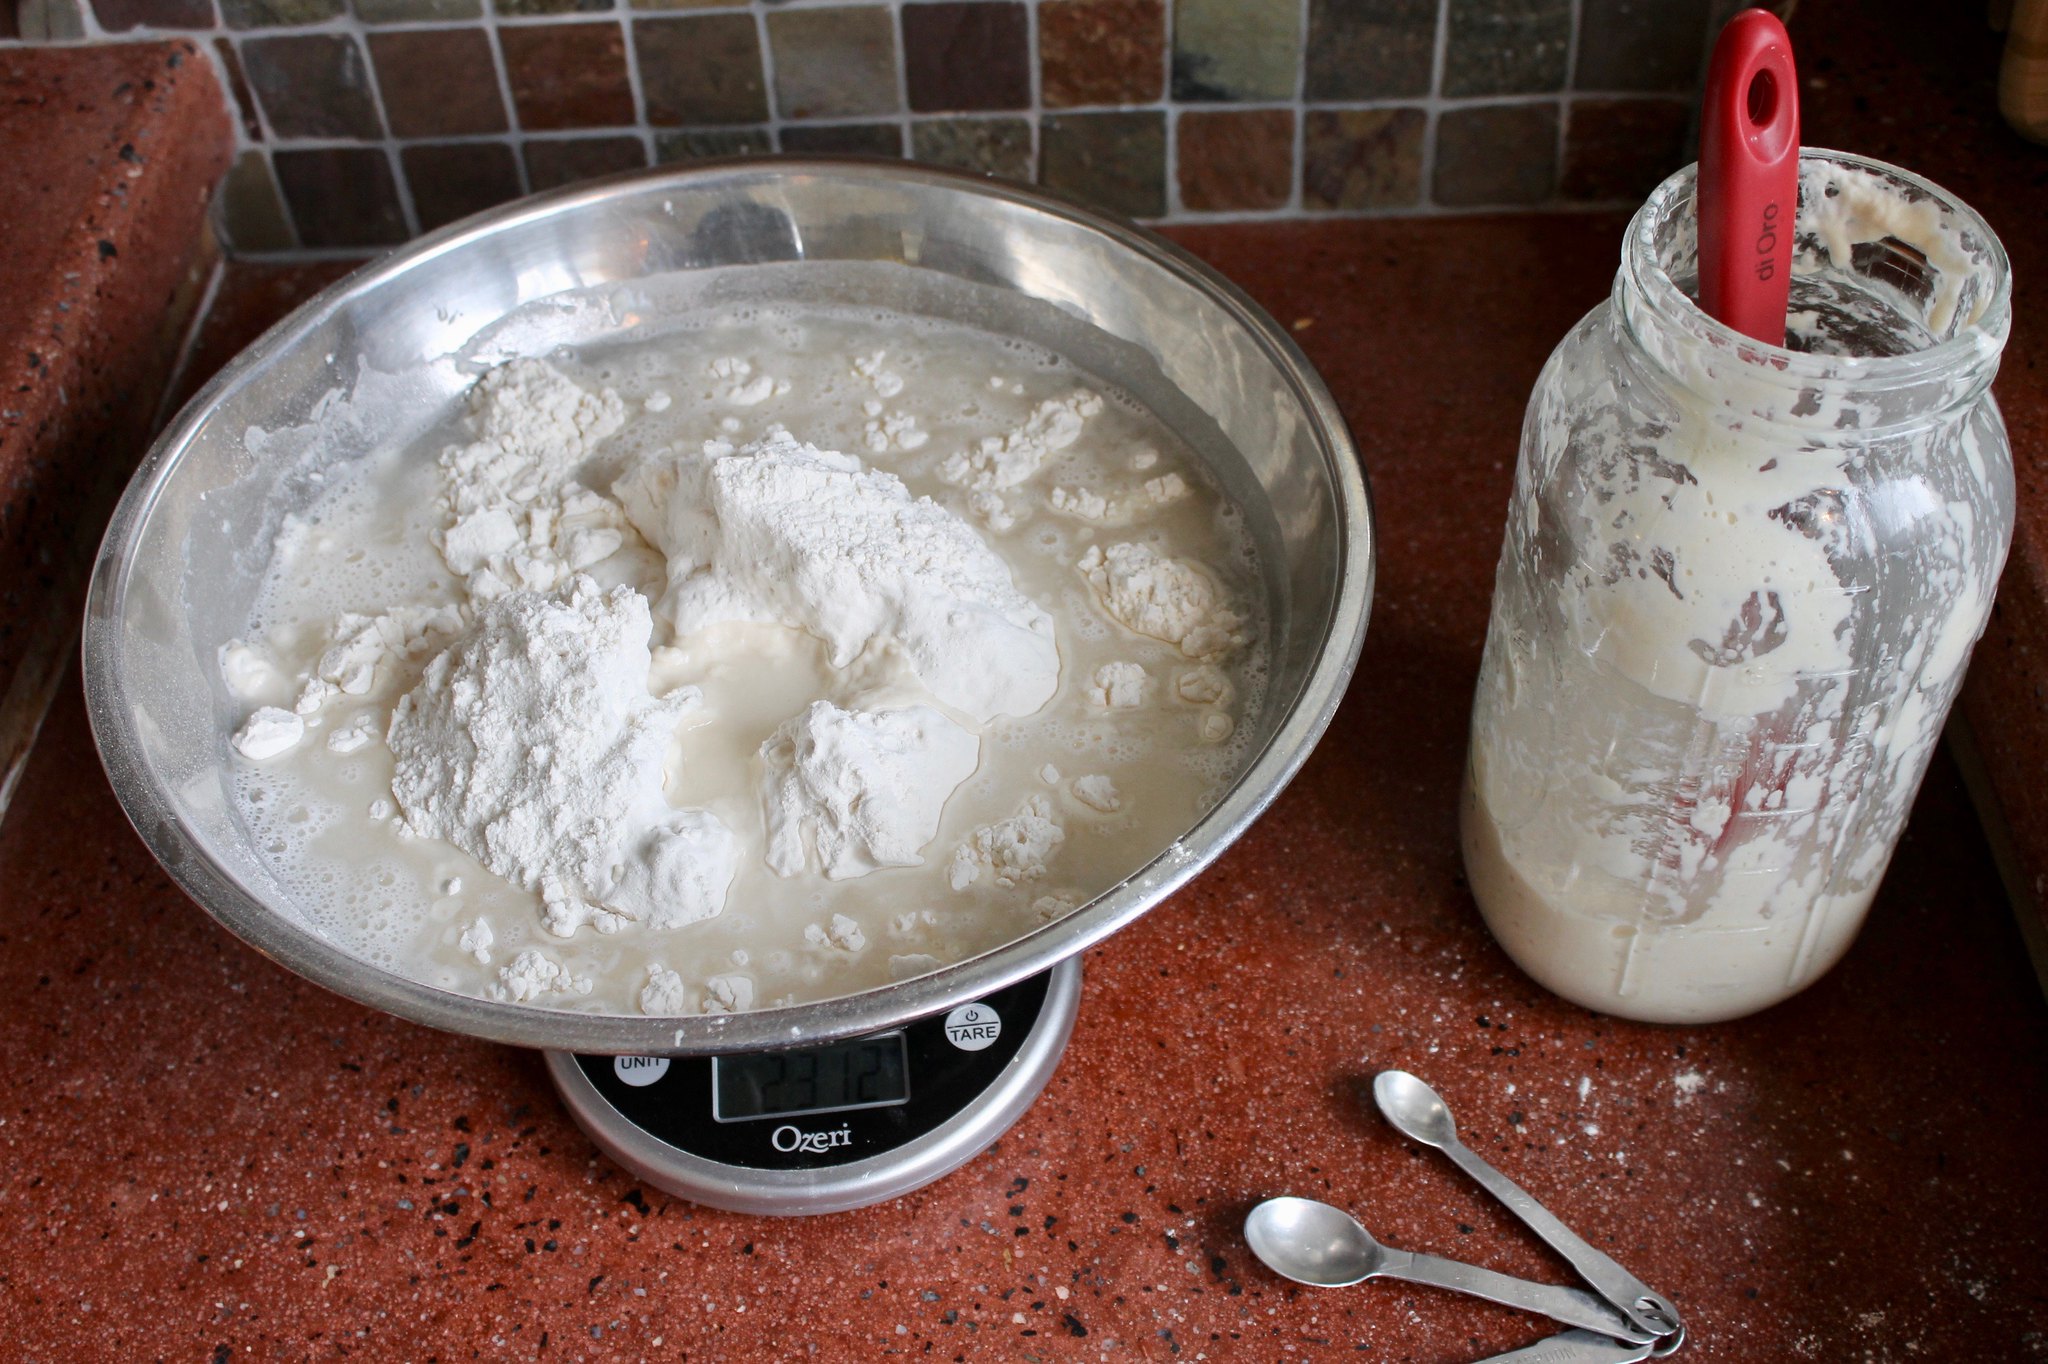
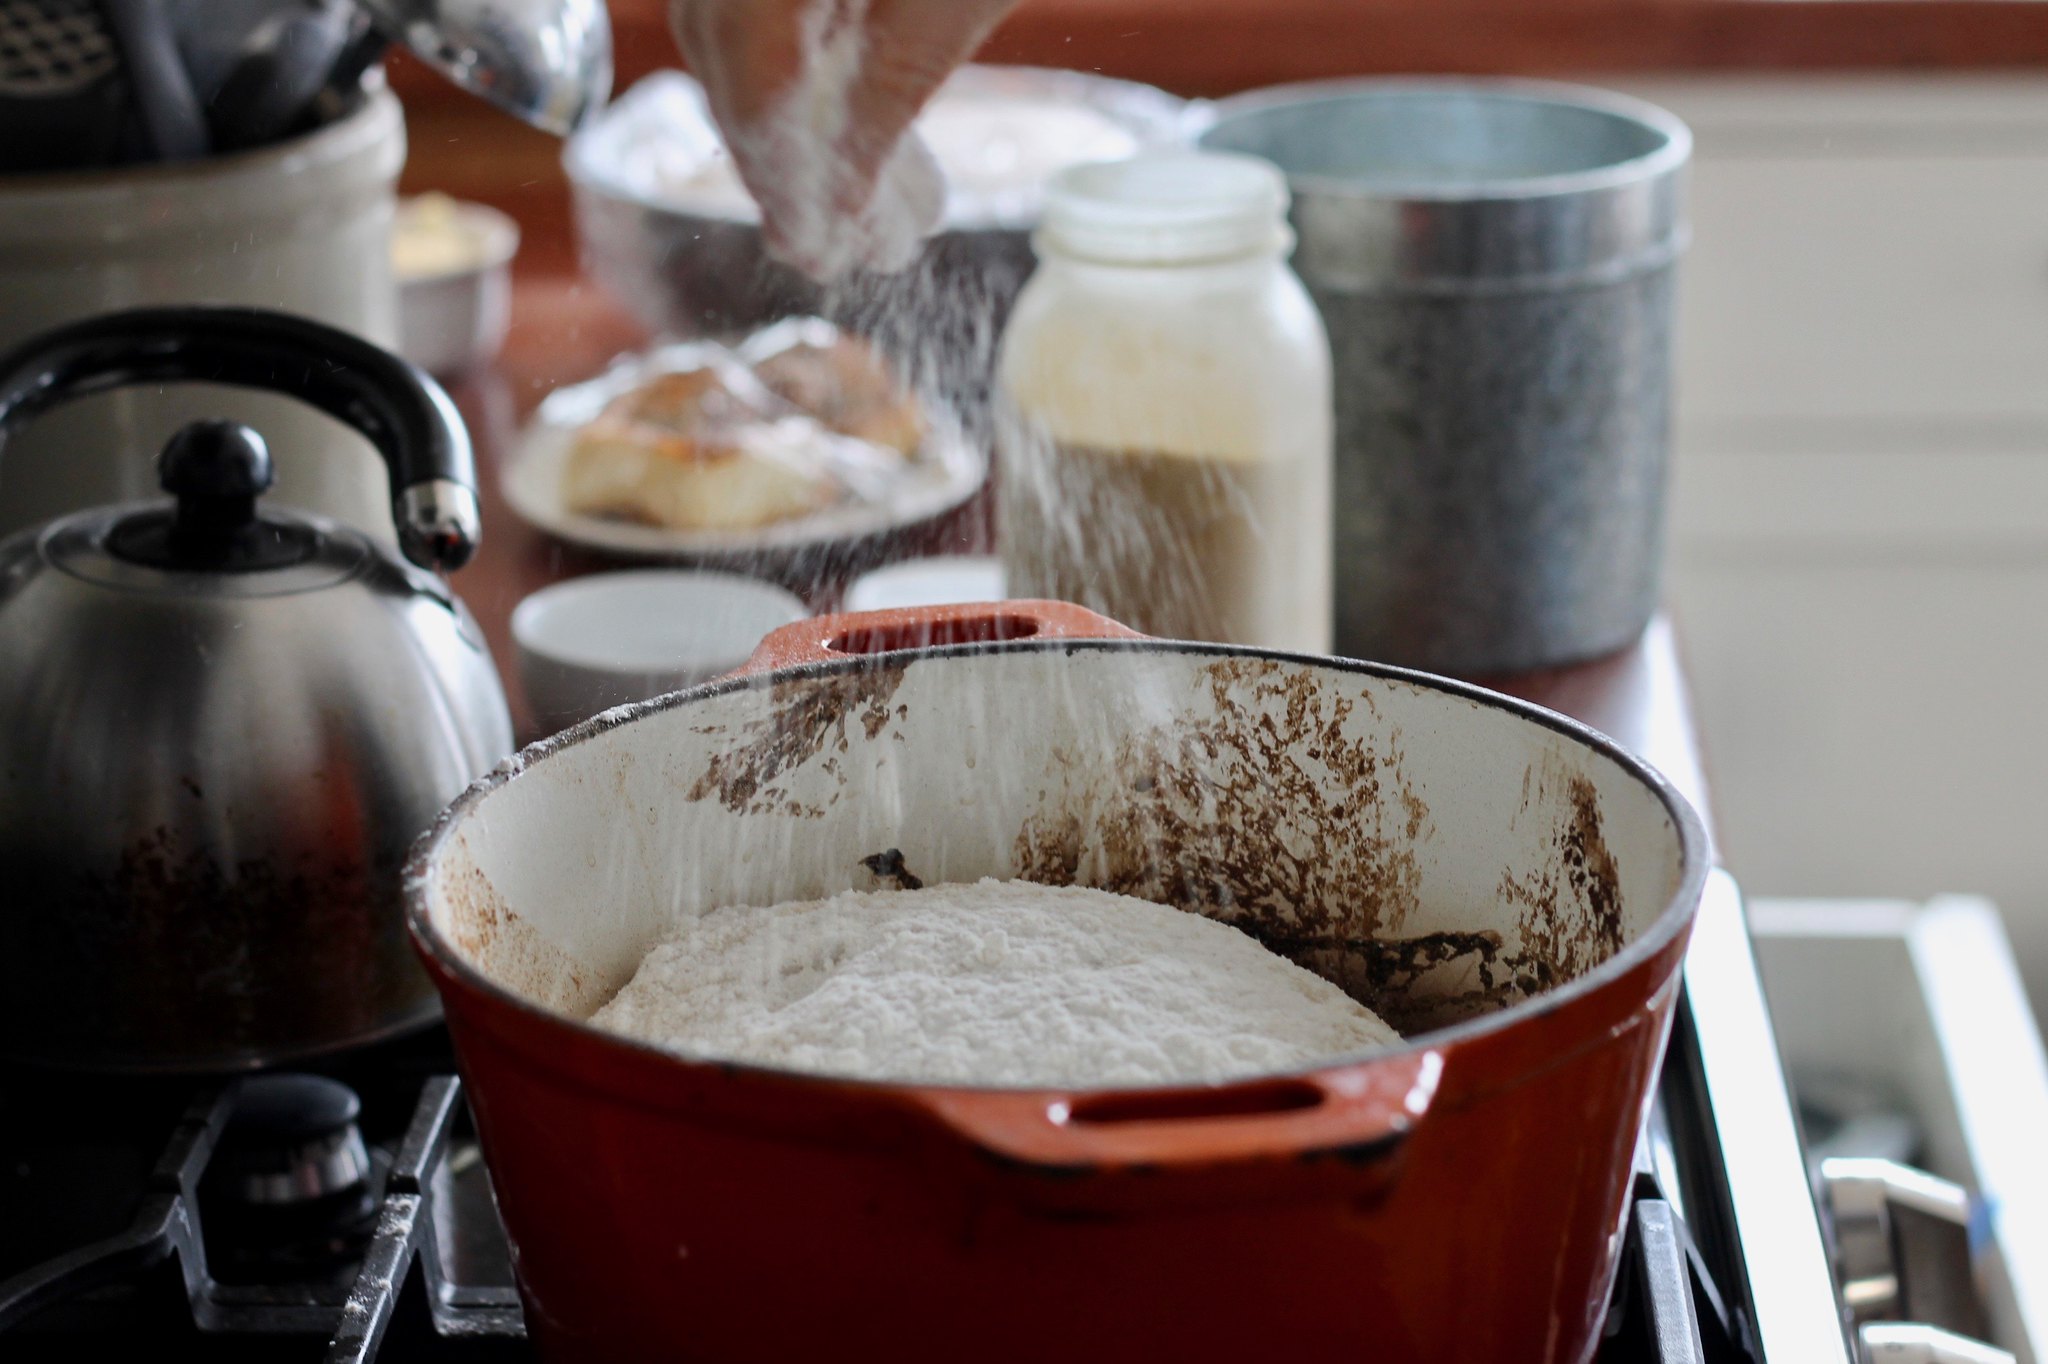
Measure the starter into a mixing bowl. Add the flour. Scoop some of the measured flour into a separate bowl, add the salt, and mix well. Return the flour and salt to the mixing bowl and lightly toss with the flour to combine. Measure in the water.
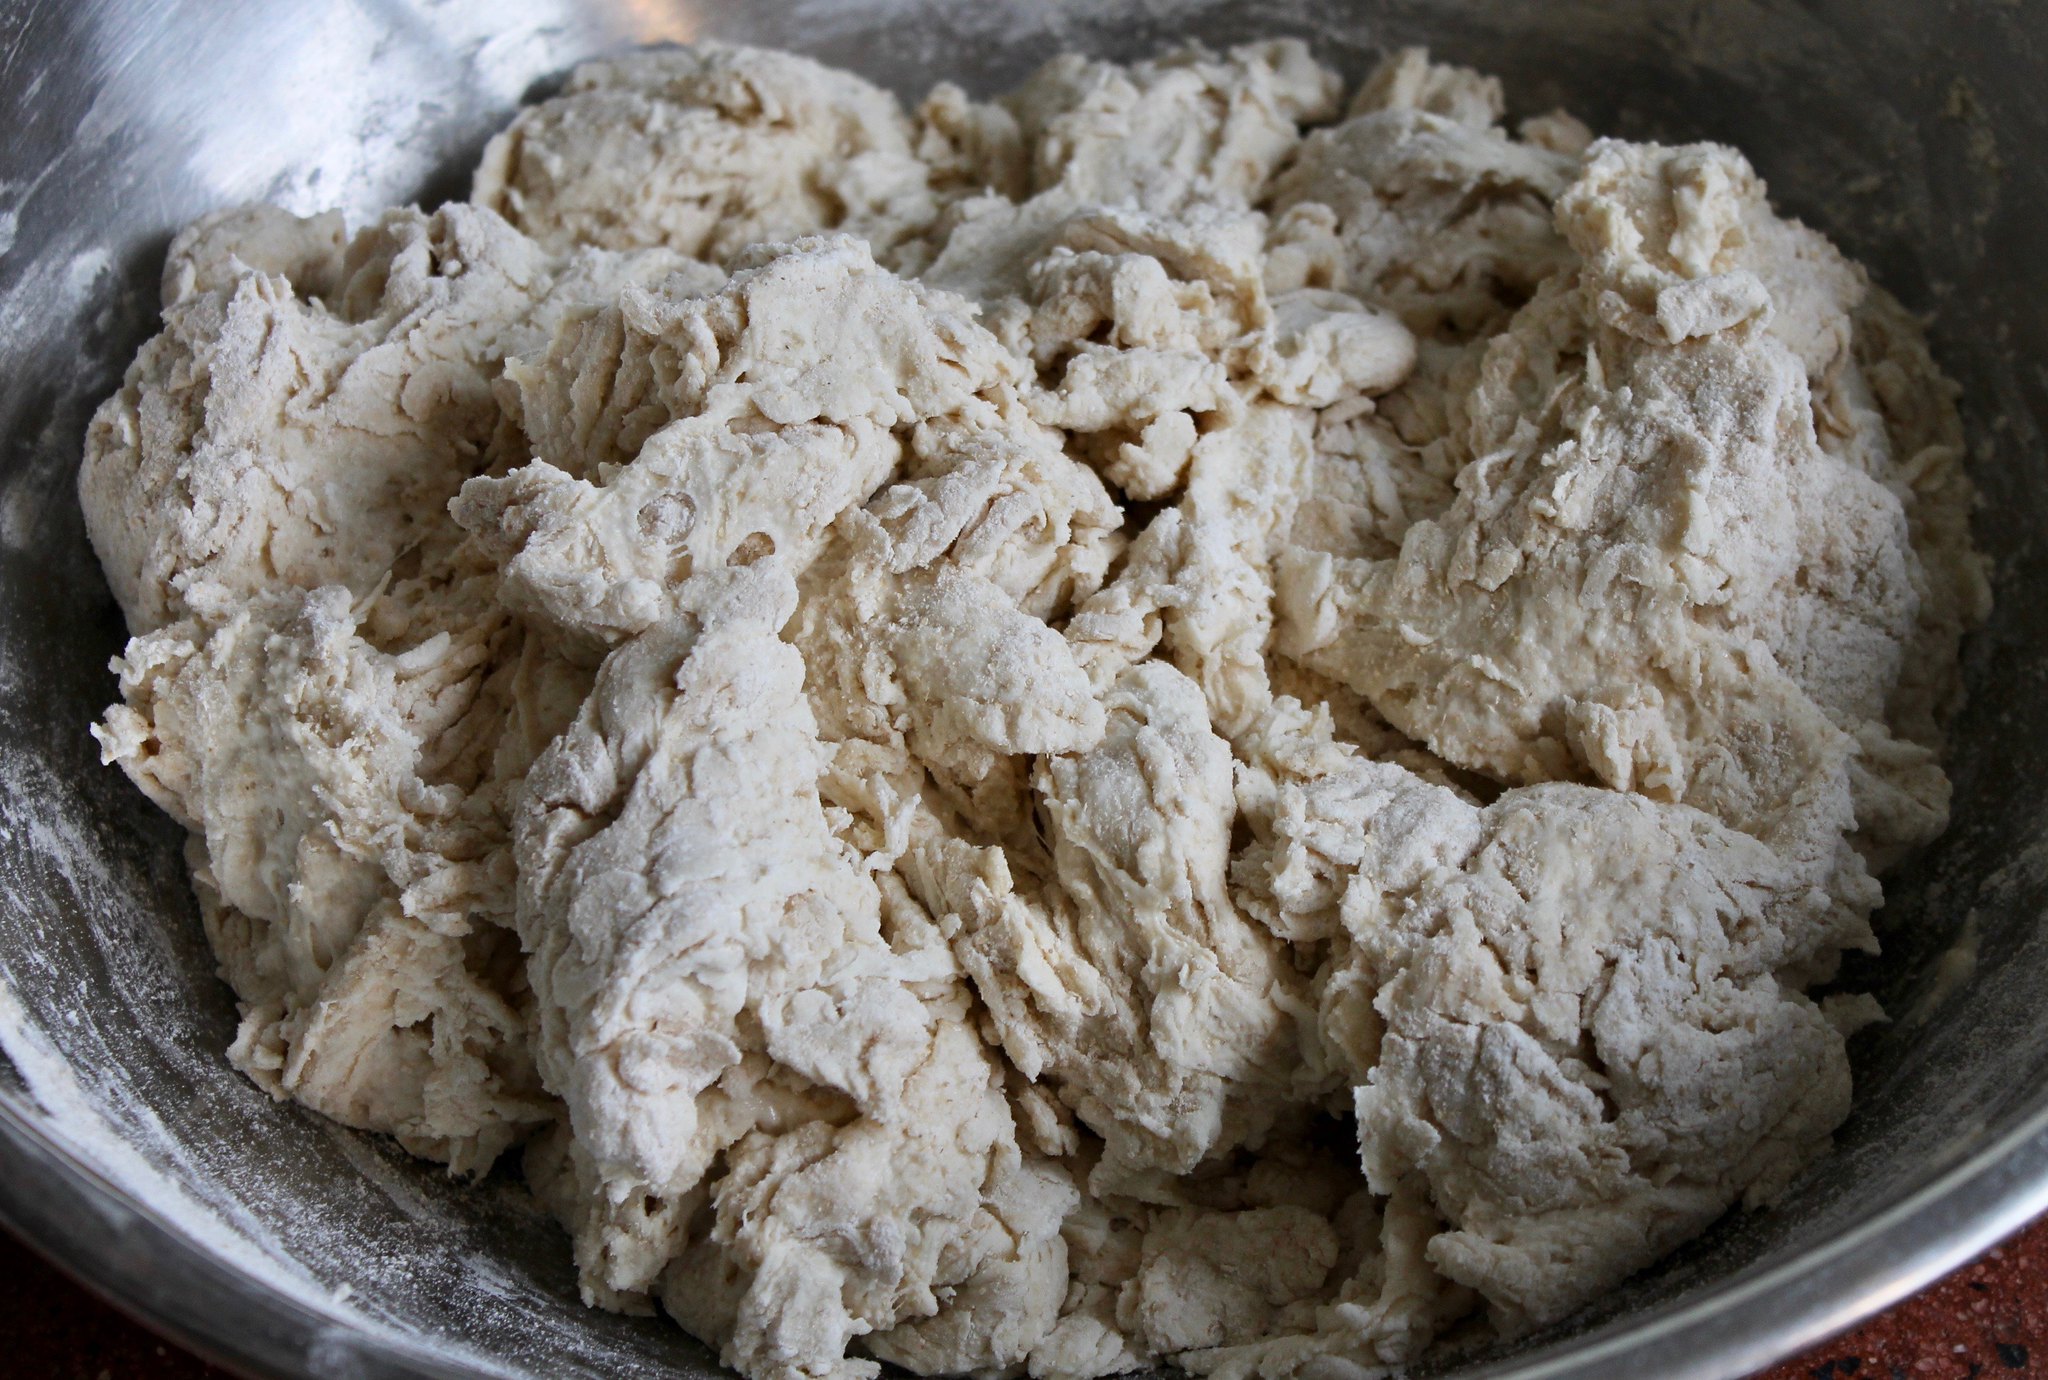
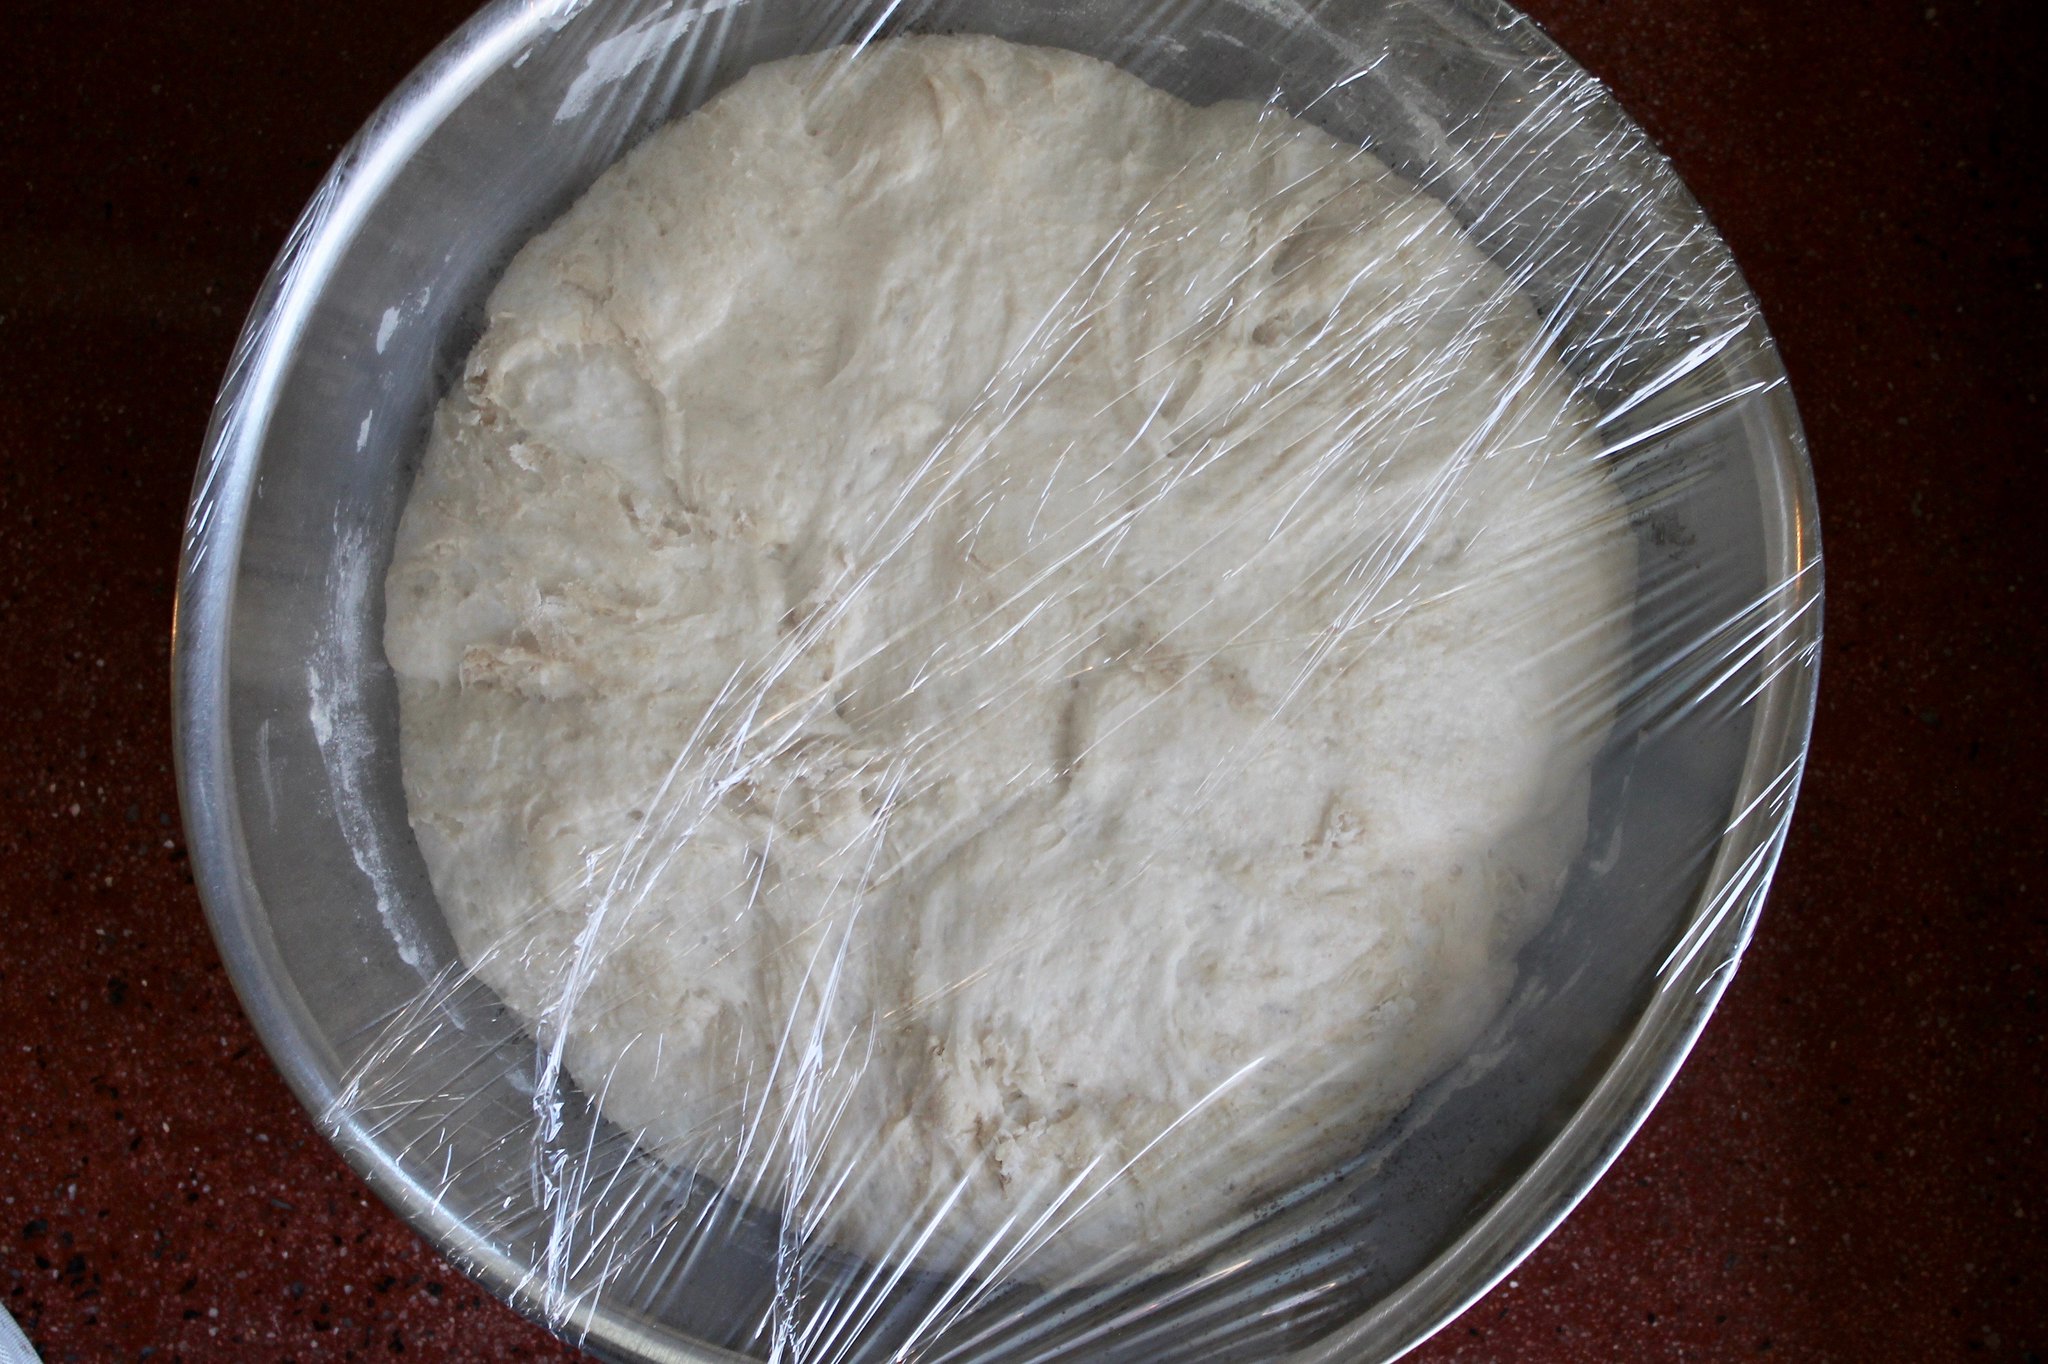
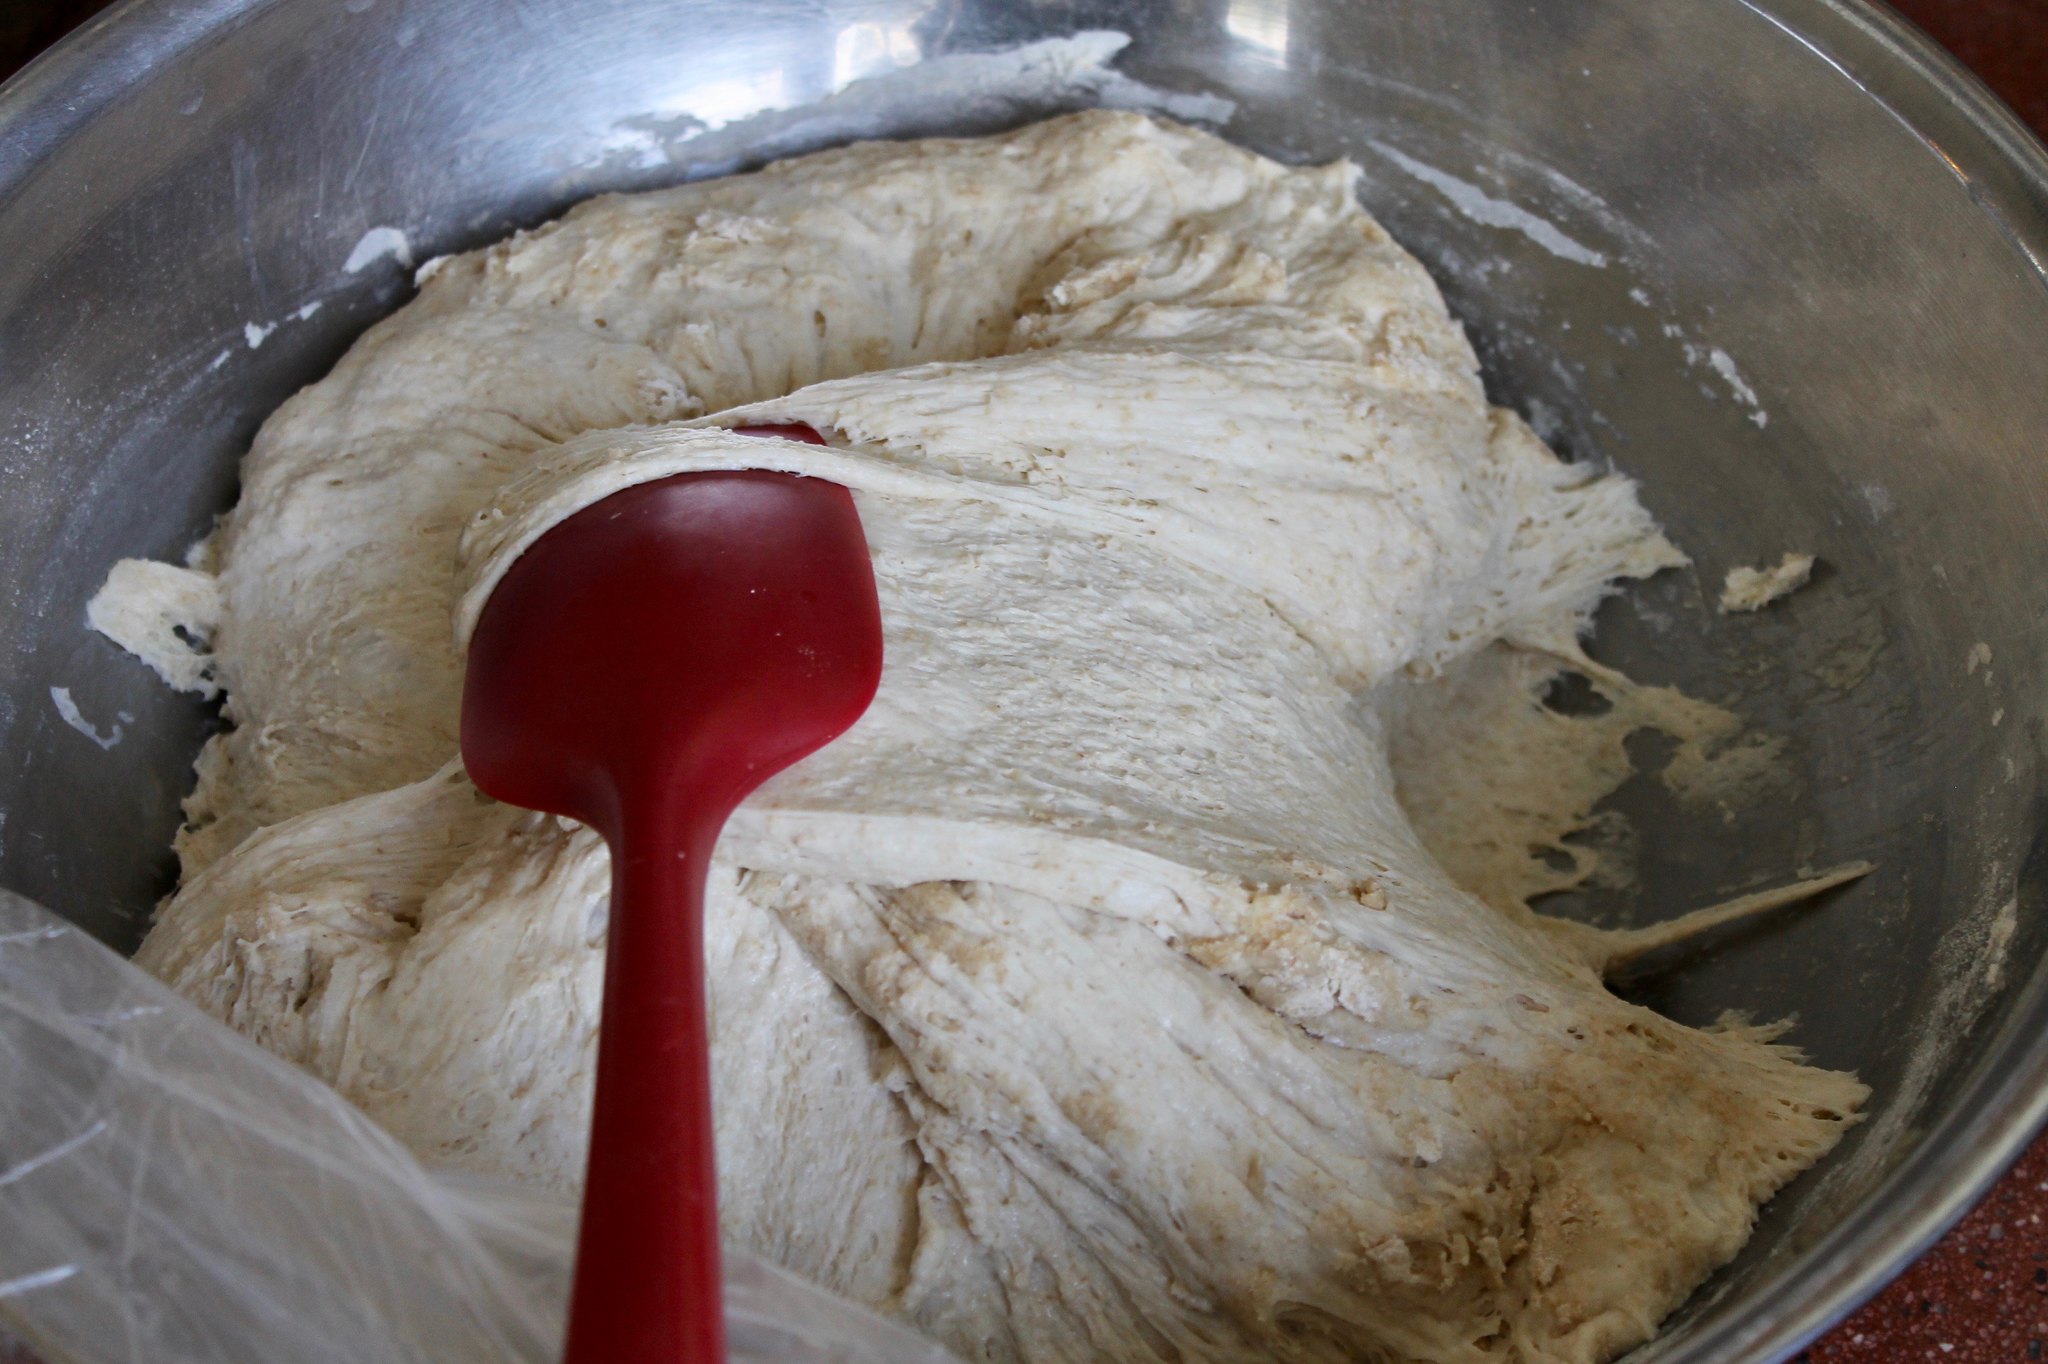
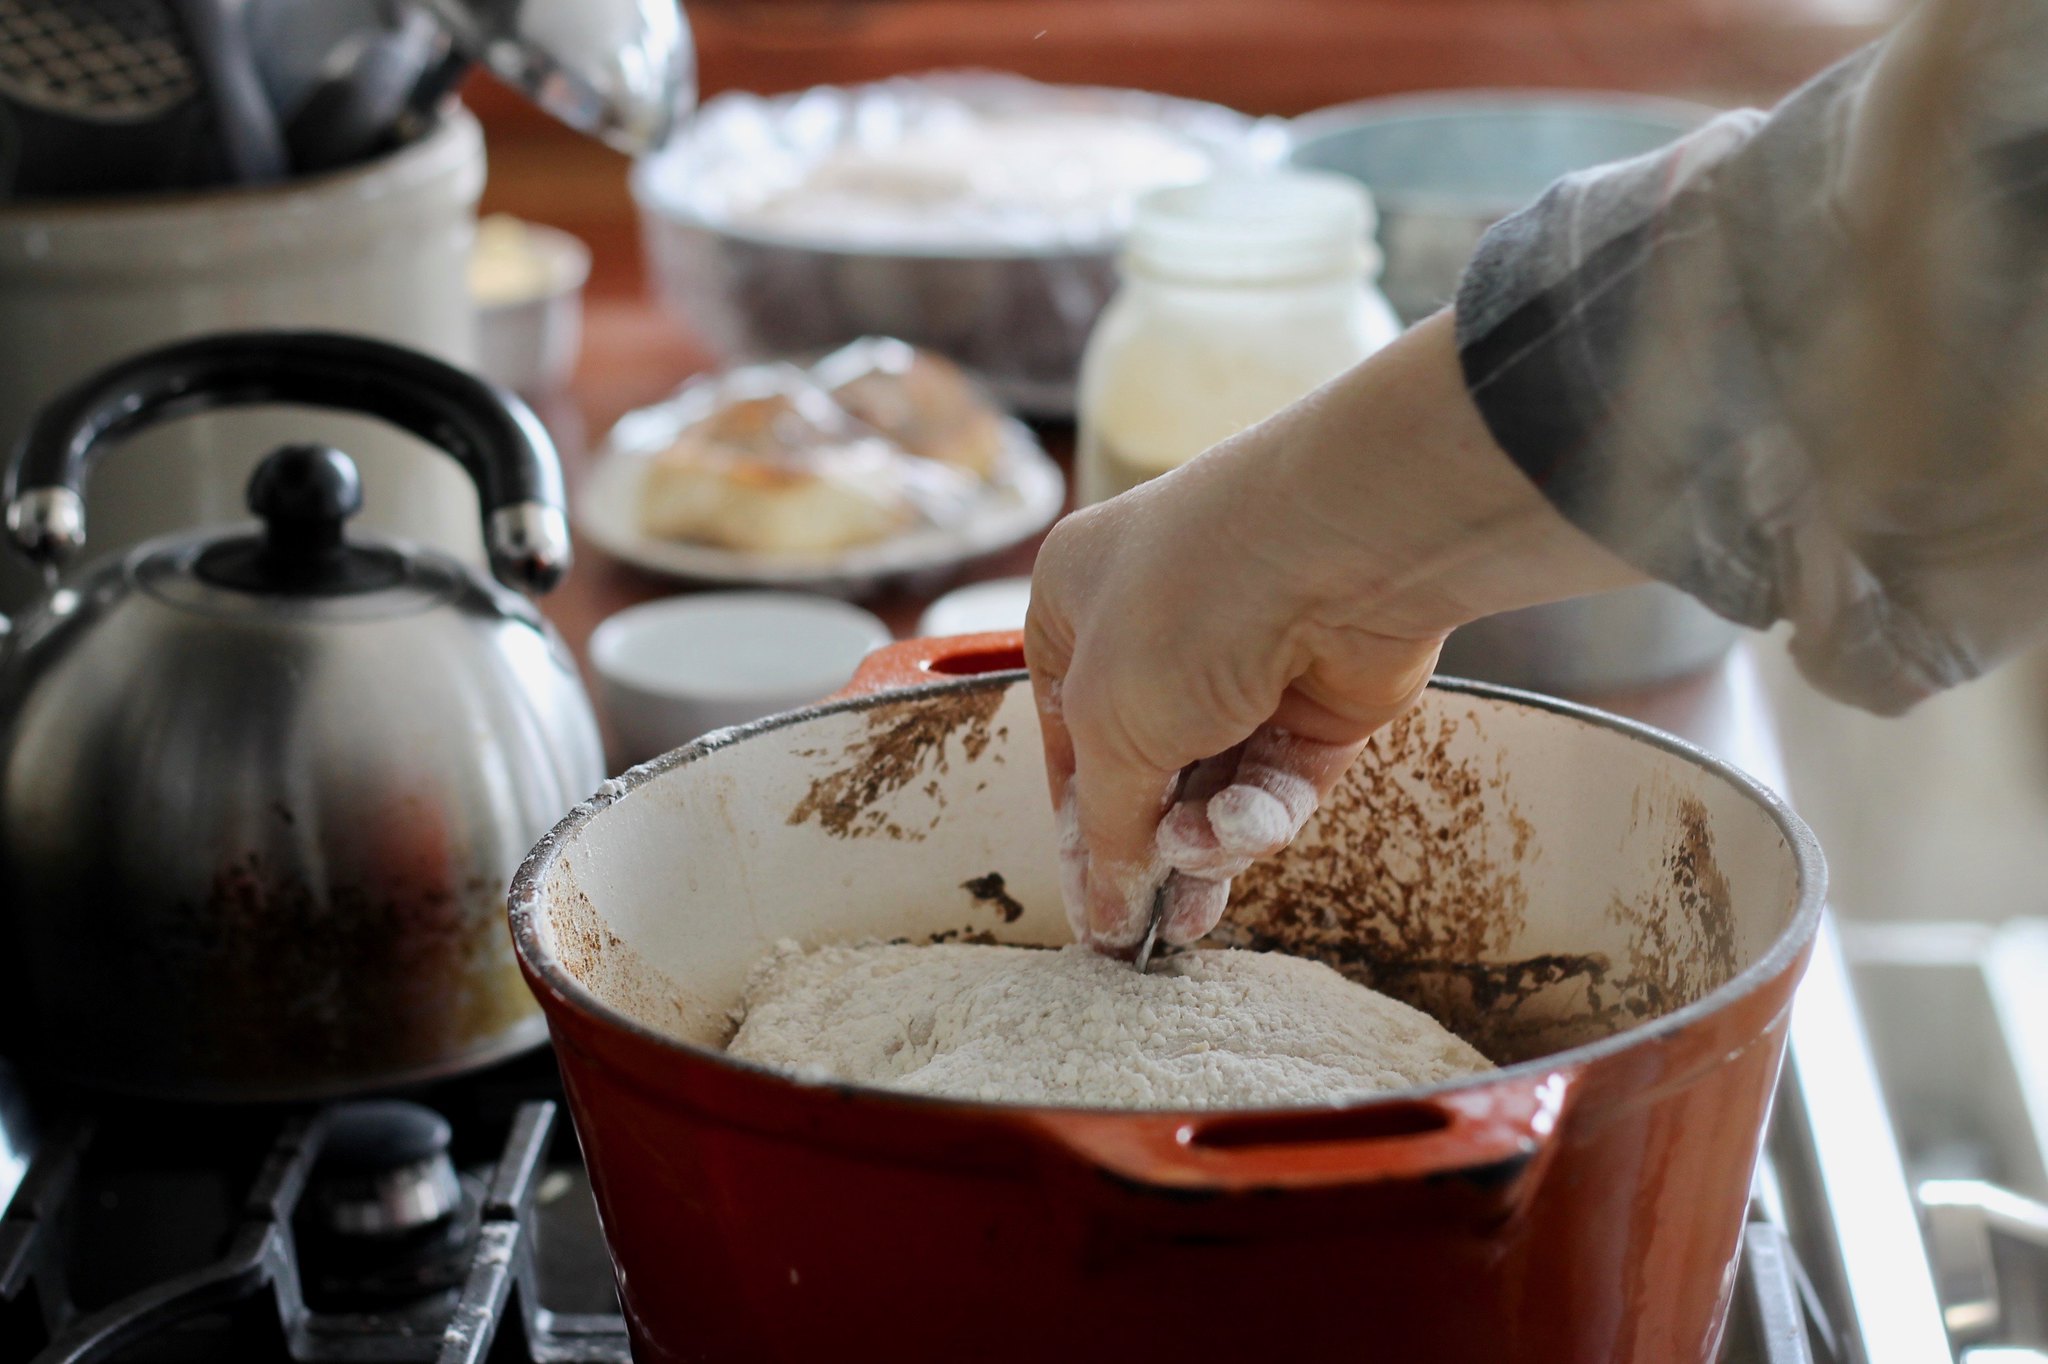
With a sturdy spoon, stir the dough until it is coming together, but still shaggy. There should be no rifts of dry flour lingering on the bottom and sides of the bowl, but the dough itself will look dry and powdery with streaks of sourdough showing through in places. Cover with a plastic and let set at room temperature.
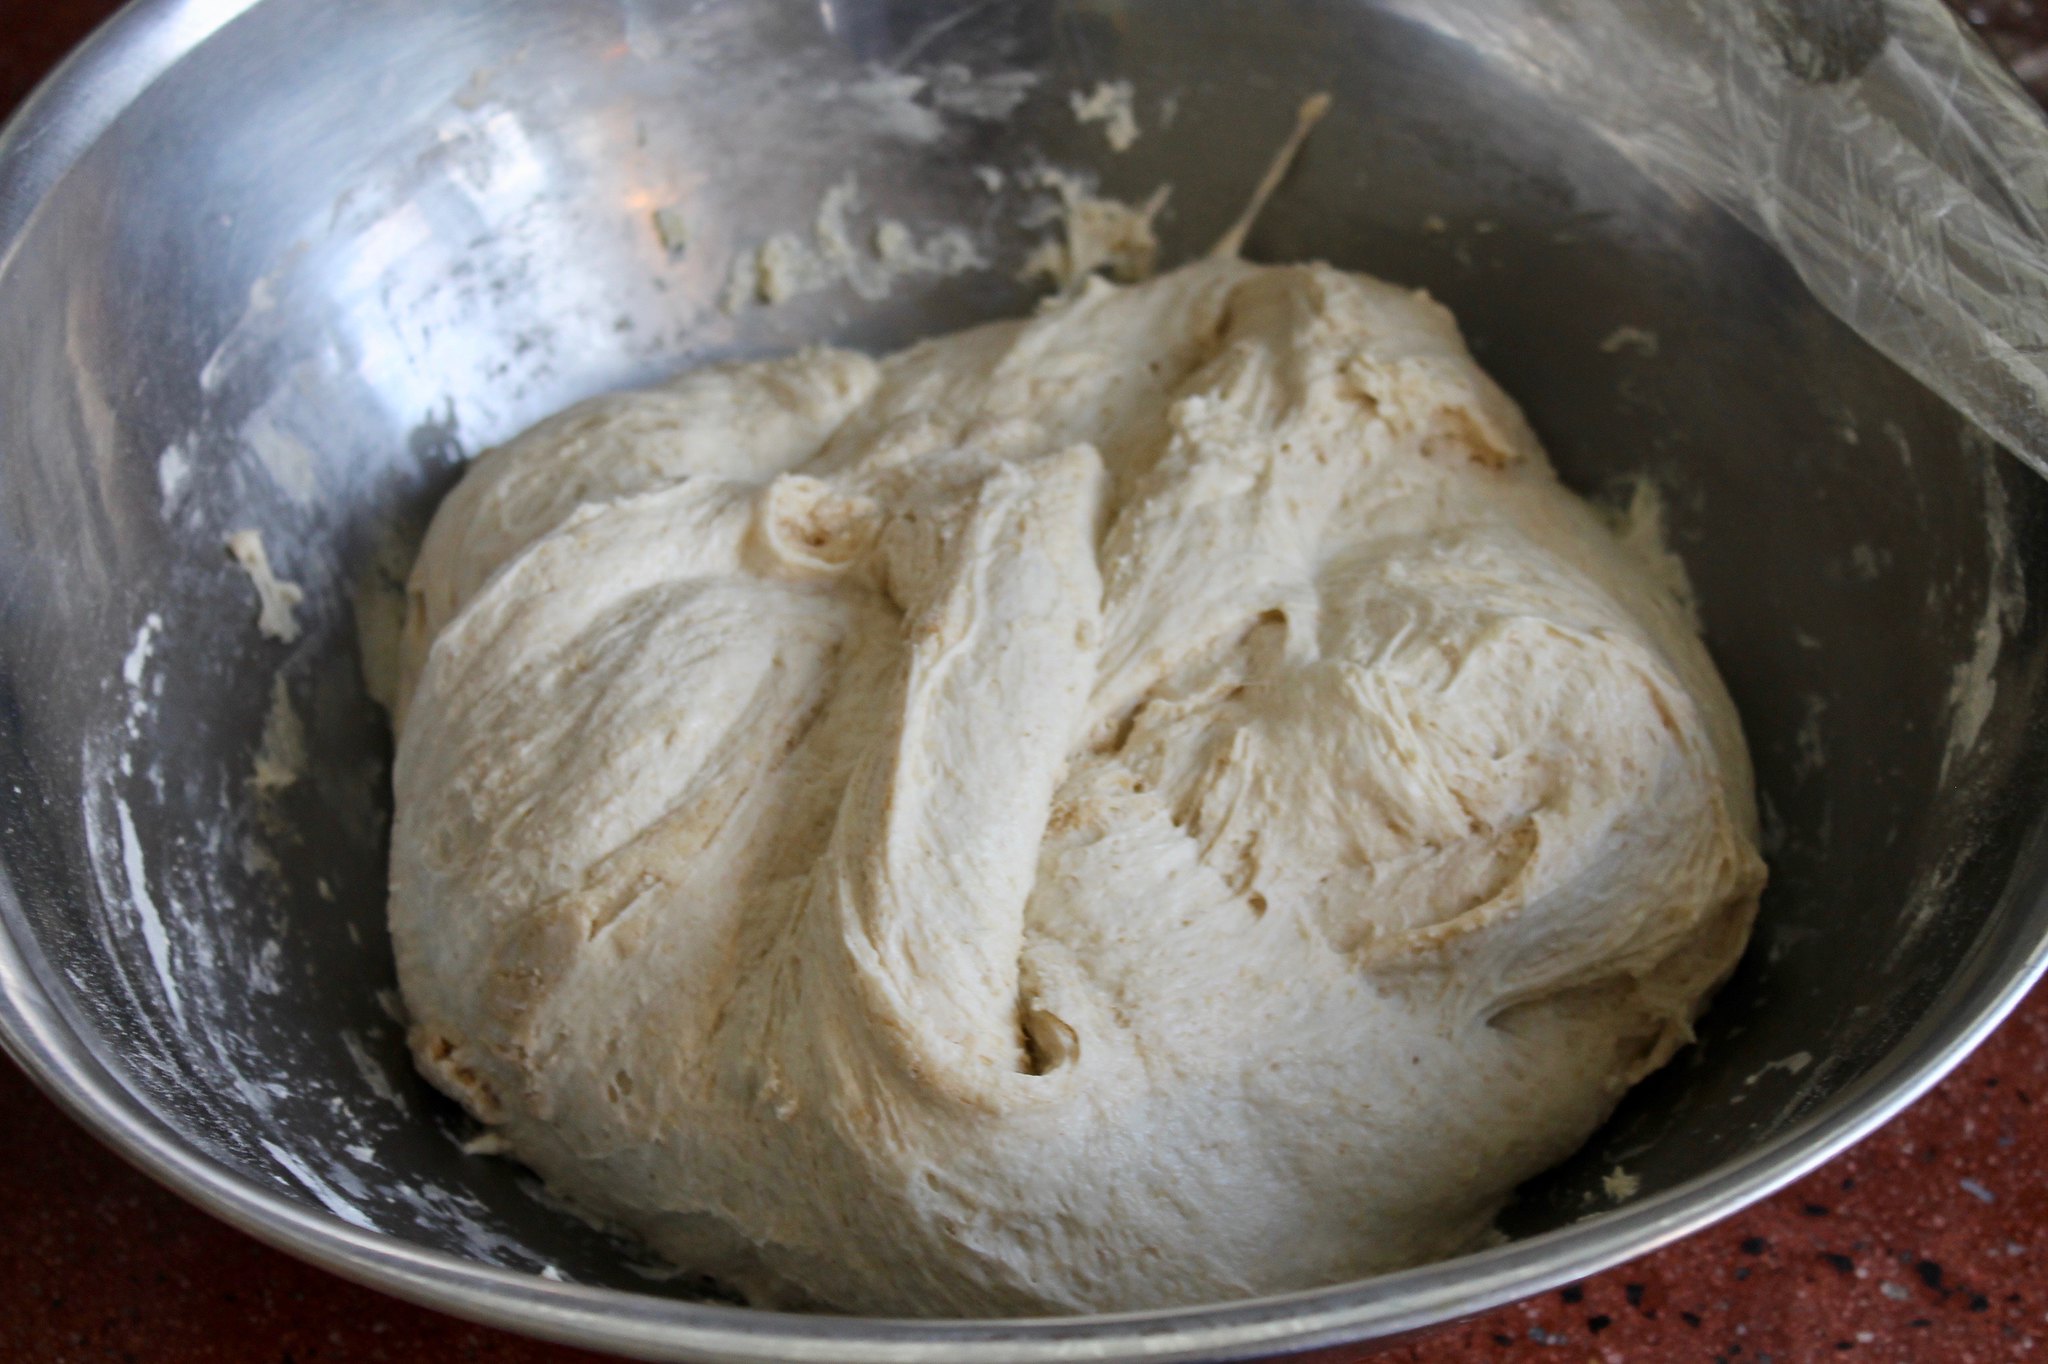
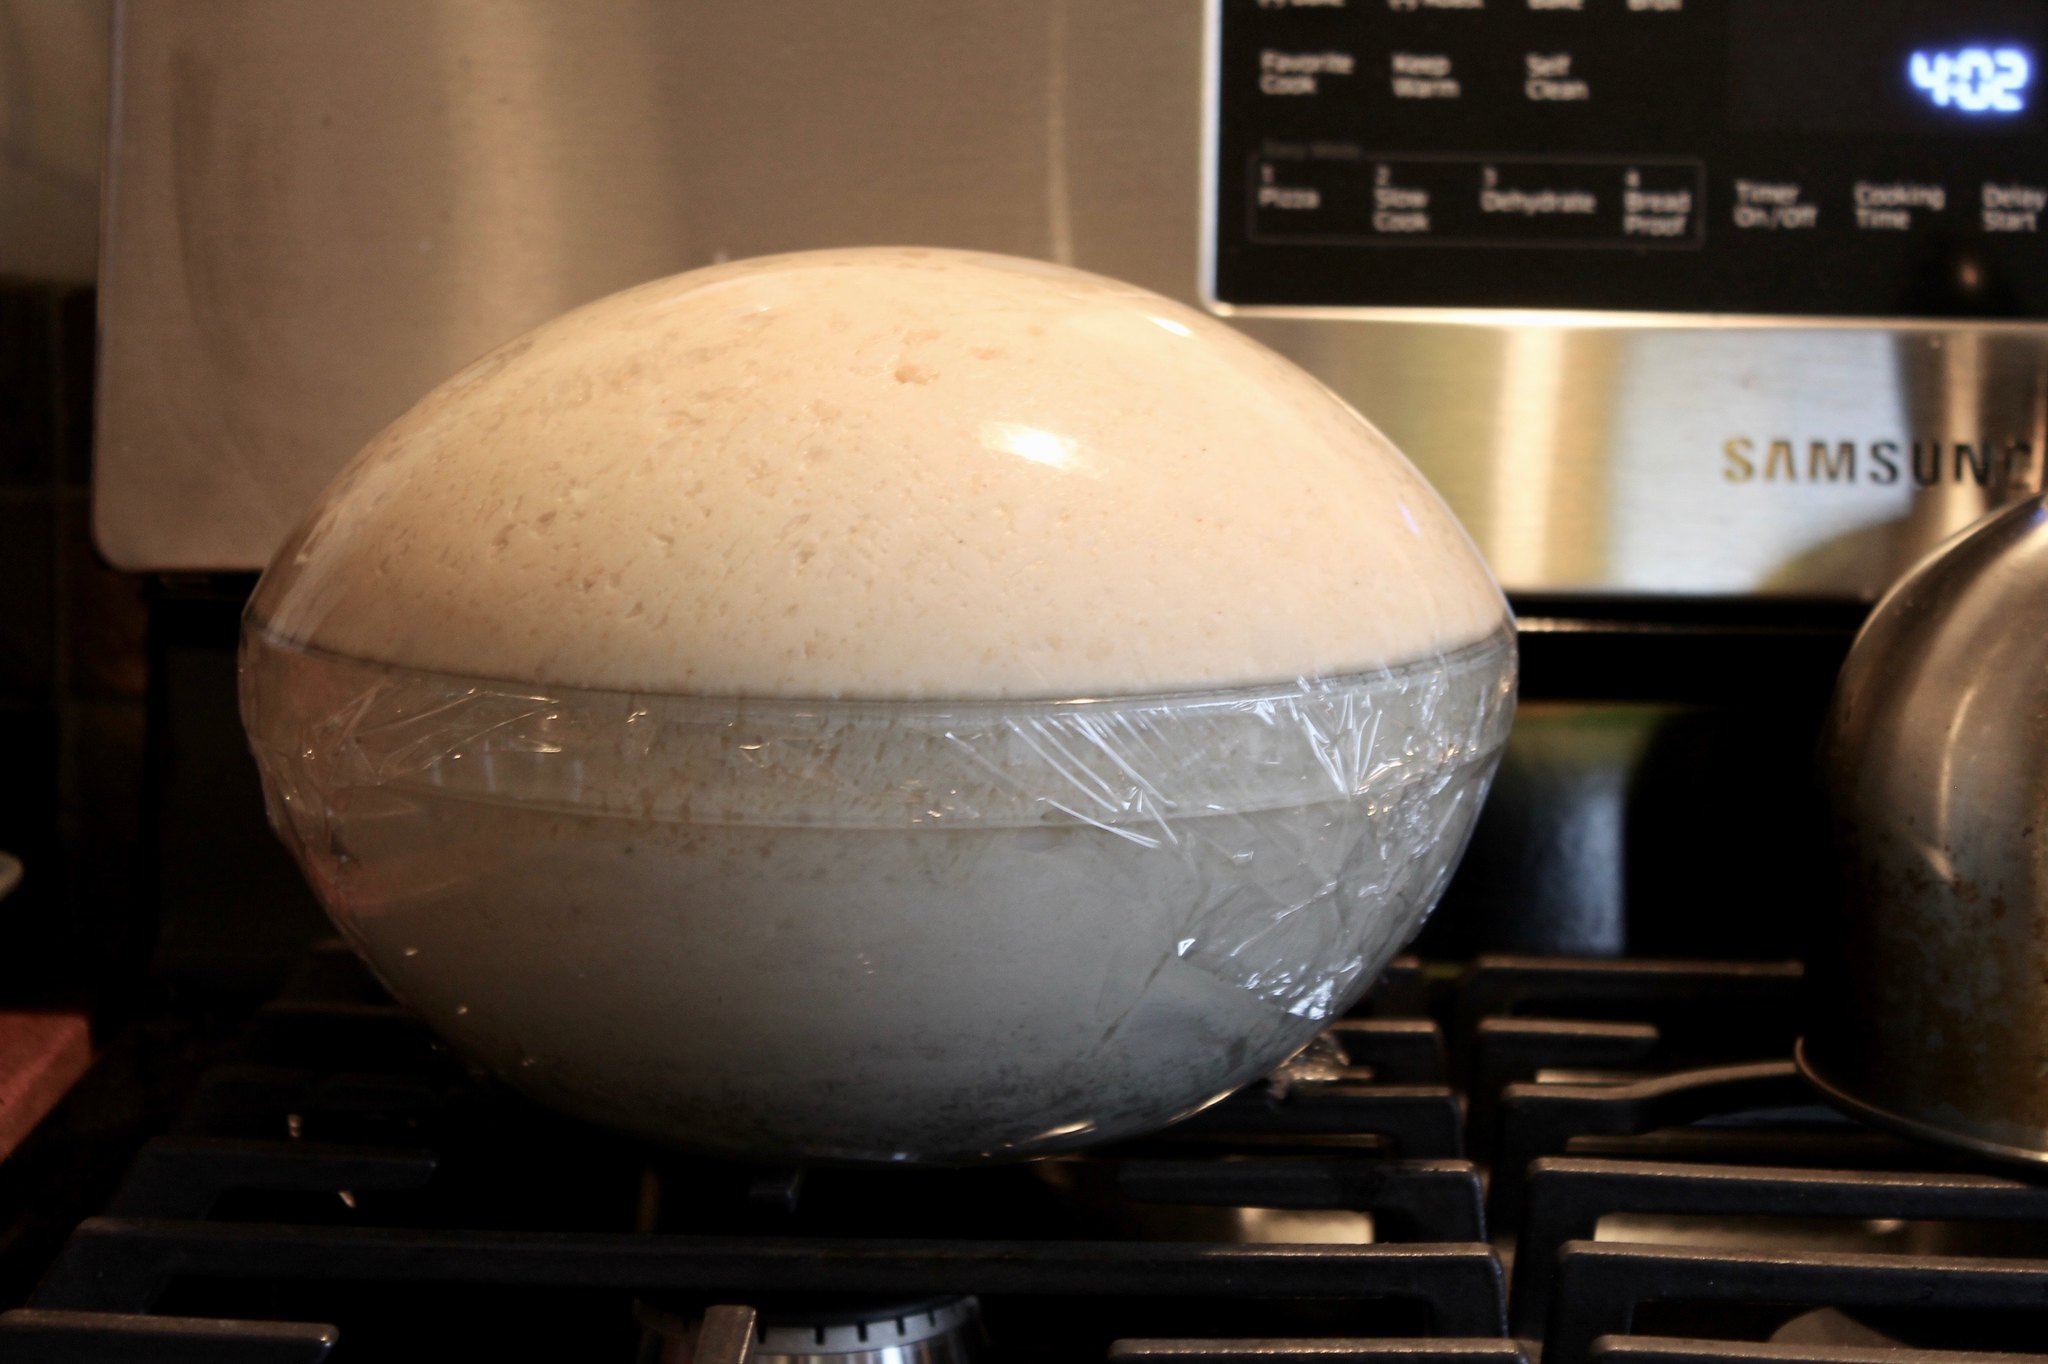
After about four hours, the dough should be noticeably puffy. Taking a firm spatula, fold the dough into the center of the mound, working your way around the bowl and making a smooth-ish ball in the center. There will still be rough, scabby patches of dry flour in the dough — ignore them. They will eventually get eaten by the rest of the dough. Cover the bowl with the plastic and let sit at room temp.
Every couple hours or so, repeat the folding process. As the day wears on, the dough will rebound more quickly after each folding, rising faster. The dry bits will disappear and the dough will become amazingly supple and stretchy.
After supper, fold the dough once more and let it rest for about an hour, just until it’s beginning to puff. Carefully, gently, so as to knock out as little of the air as possible, cut the dough in half and gently smooth into a ball and set into a smaller, well-buttered bowl with the rough side facing up. Cover each of the smaller bowls with plastic and let rest at room temperature until nicely risen. Transfer the bowls to the fridge to proof overnight.
In the morning, remove the dough from the fridge about 30-45 minutes before baking, just long enough to take the chill off.
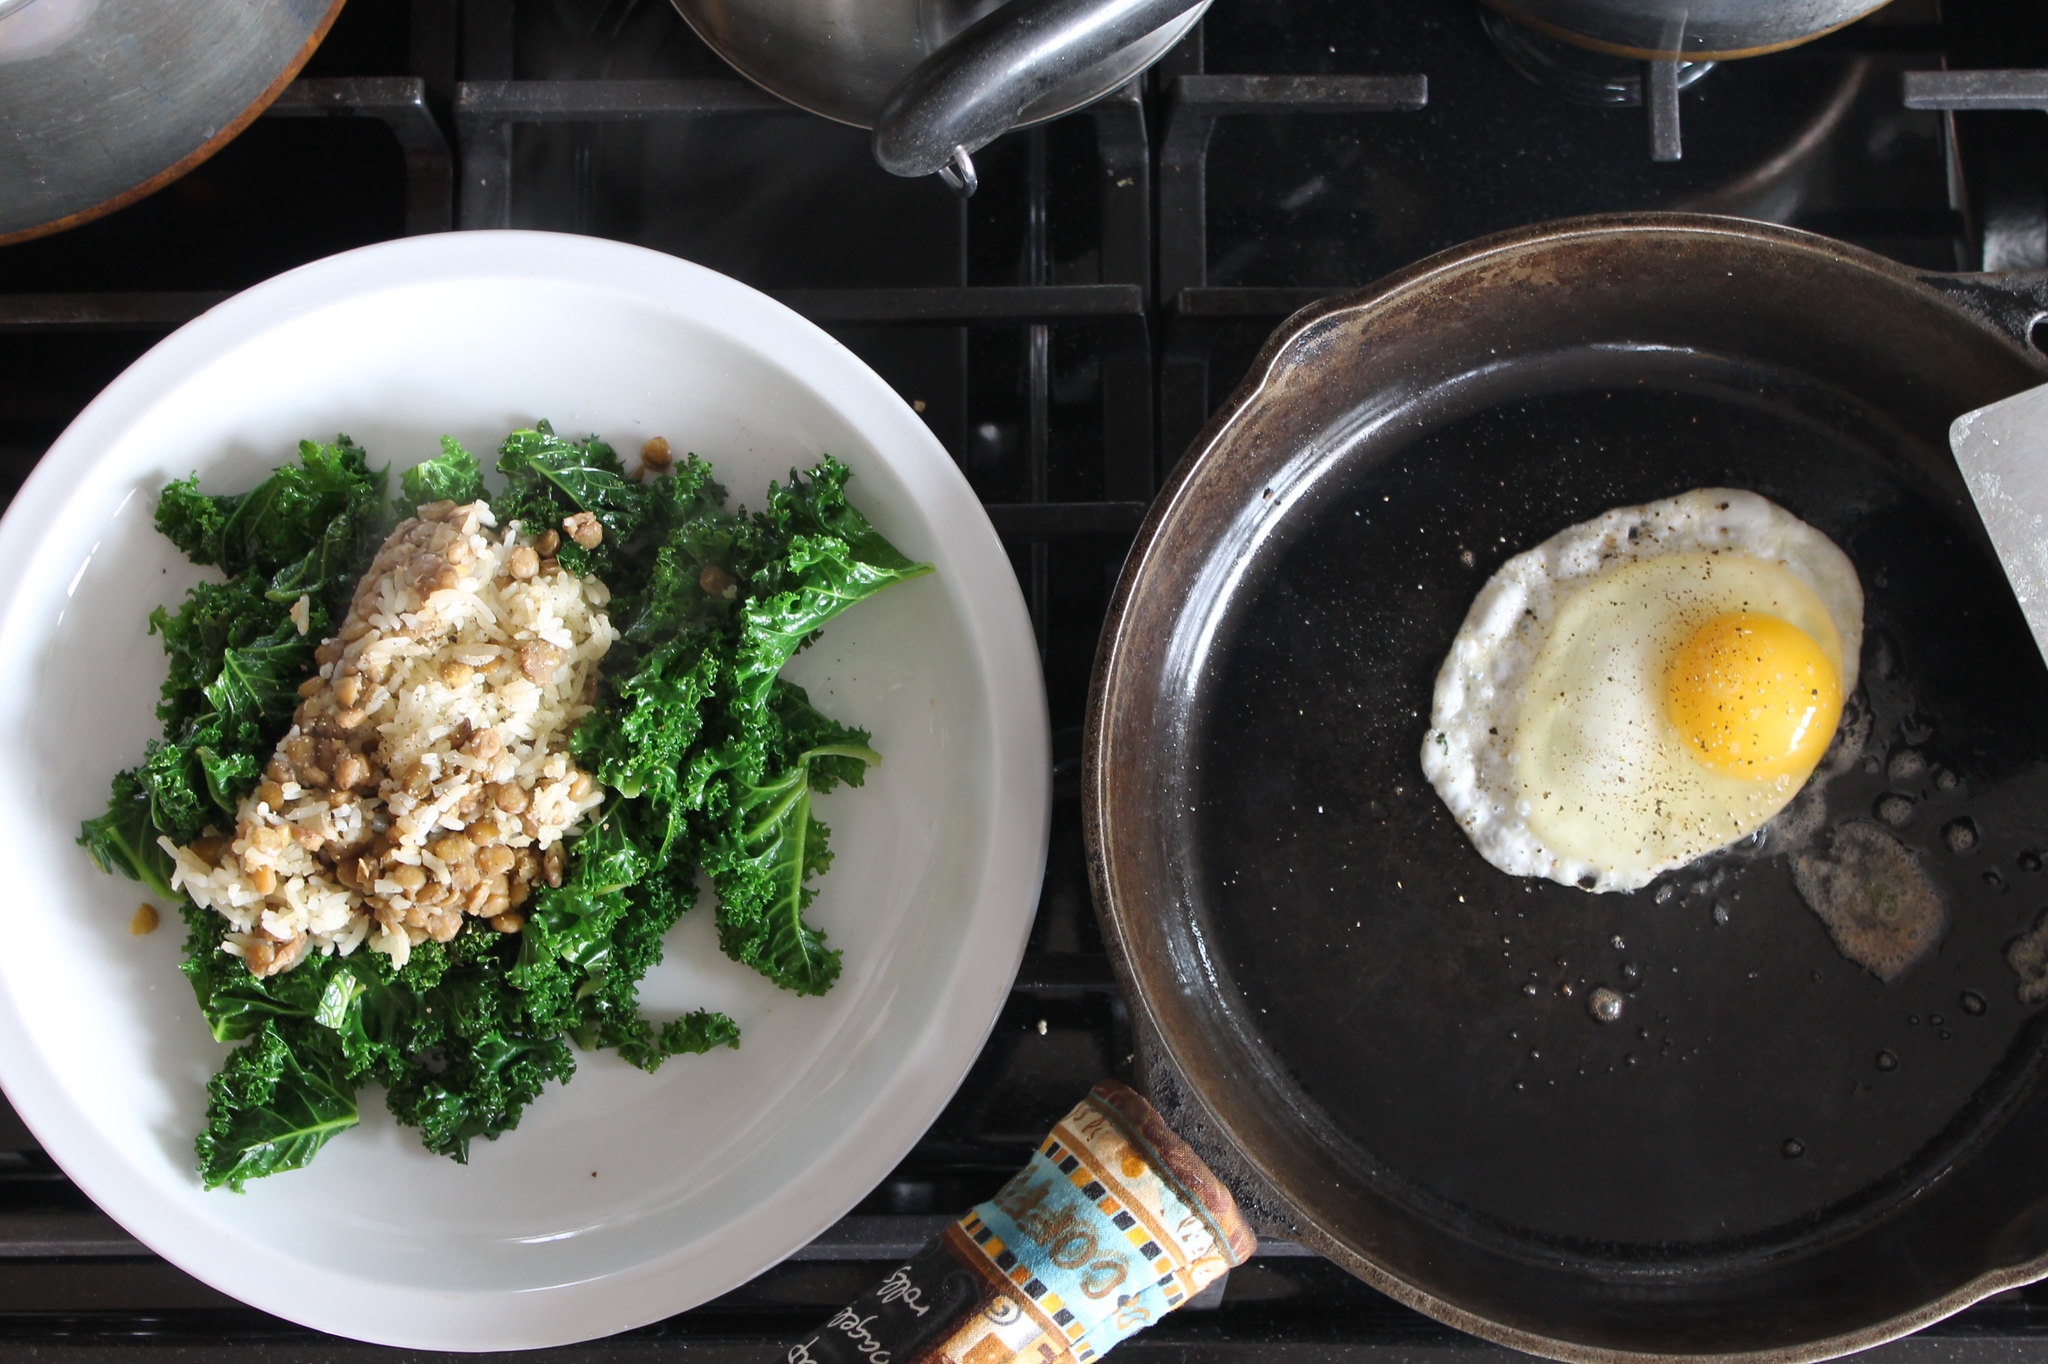
There are many ways to bake the bread (regular loaf pans, baking stone, cast-iron skillet with an inverted stainless steel mixing bowl for a lid), but I’ve been using my cast-iron Dutch oven.
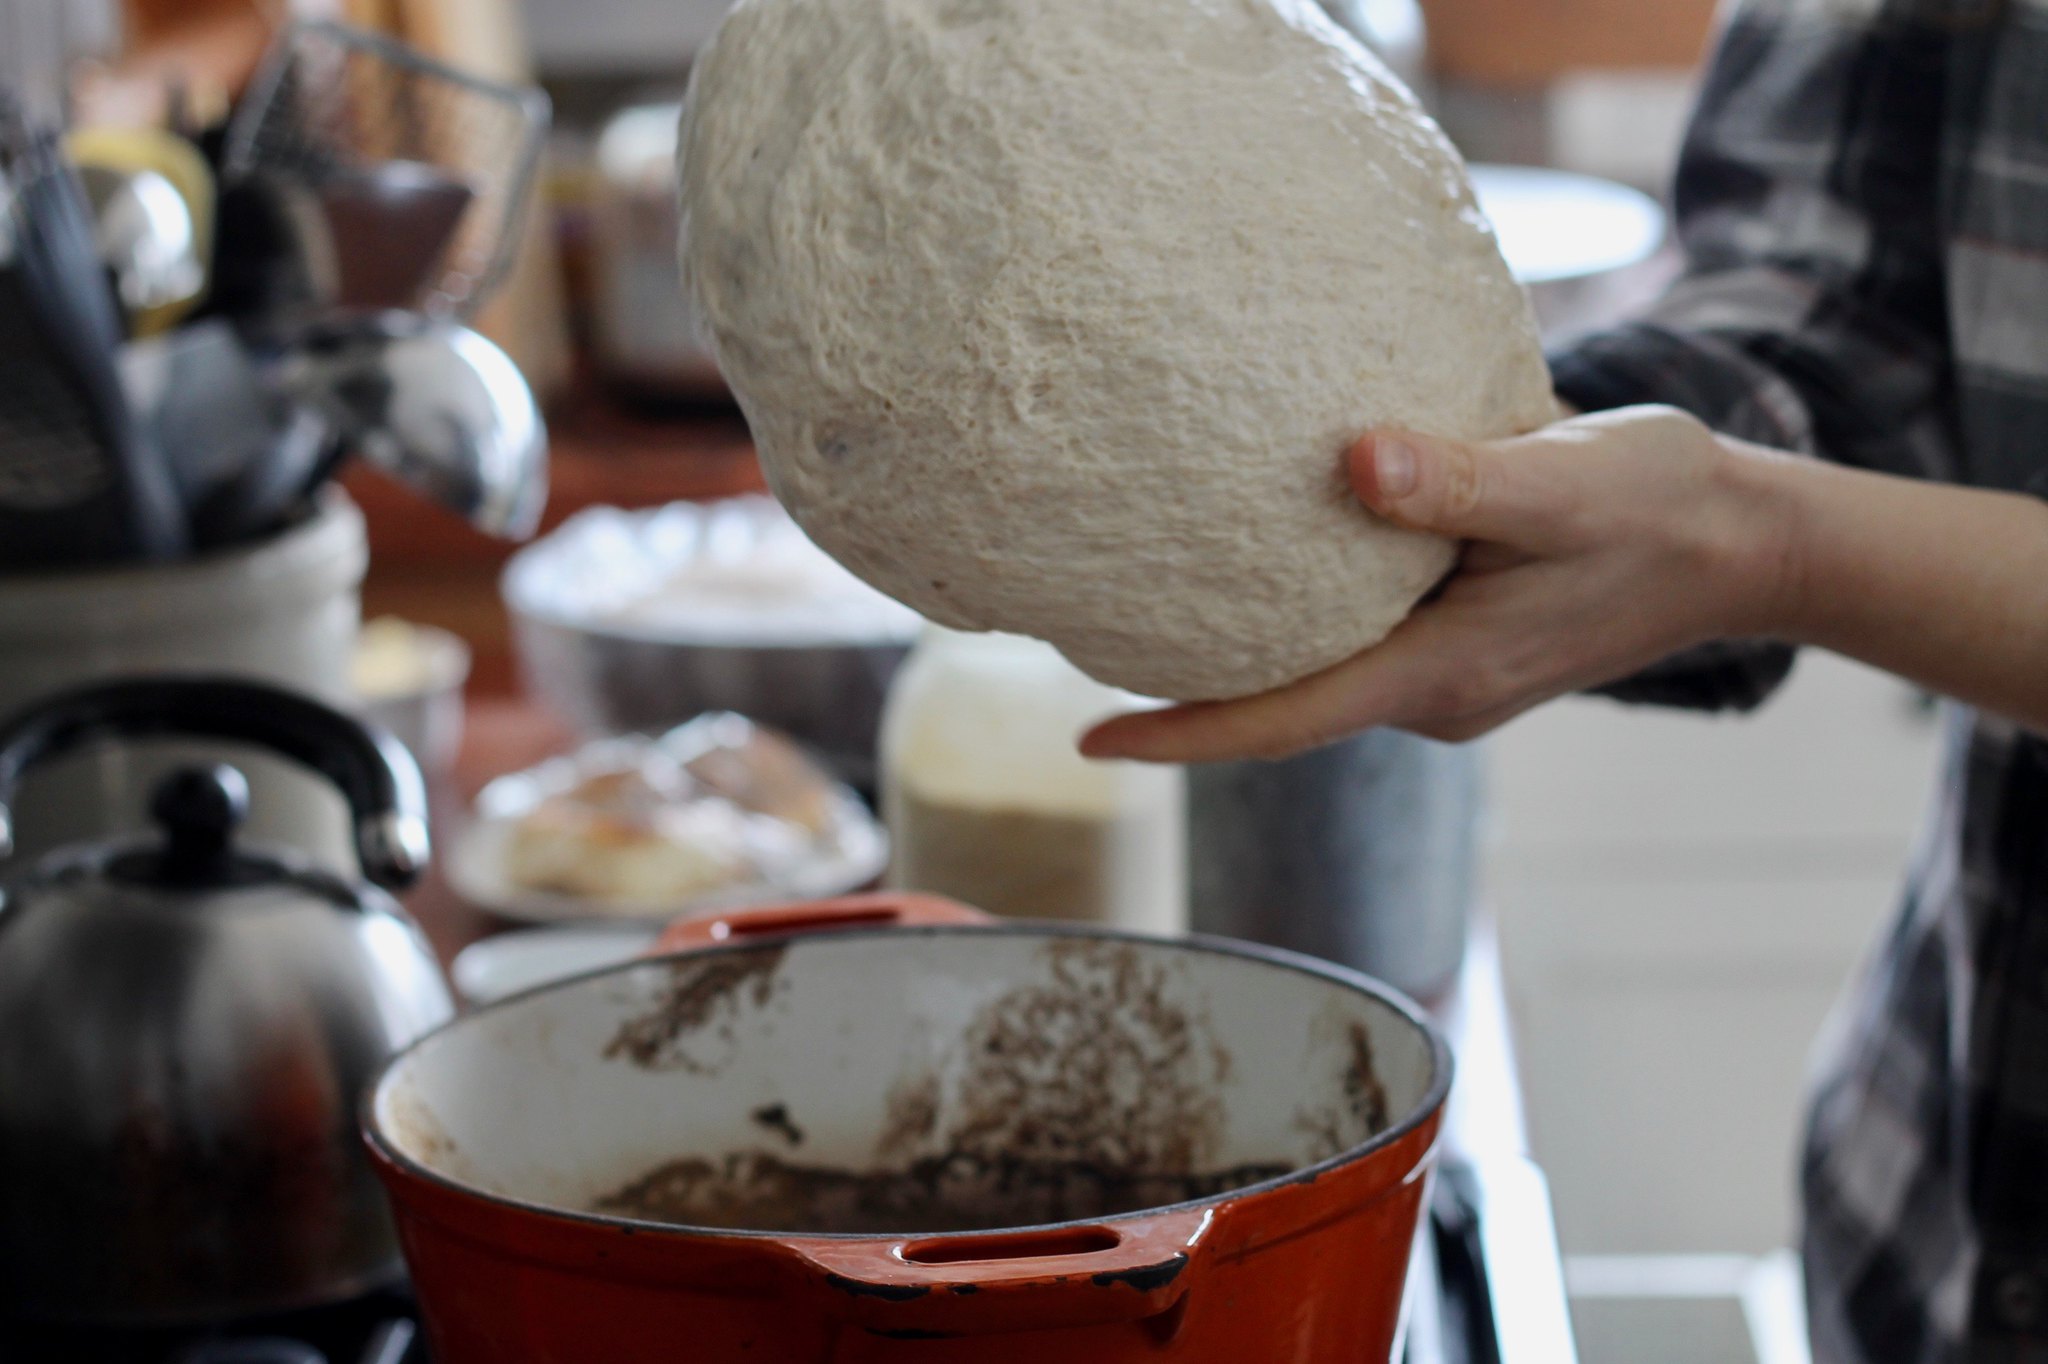
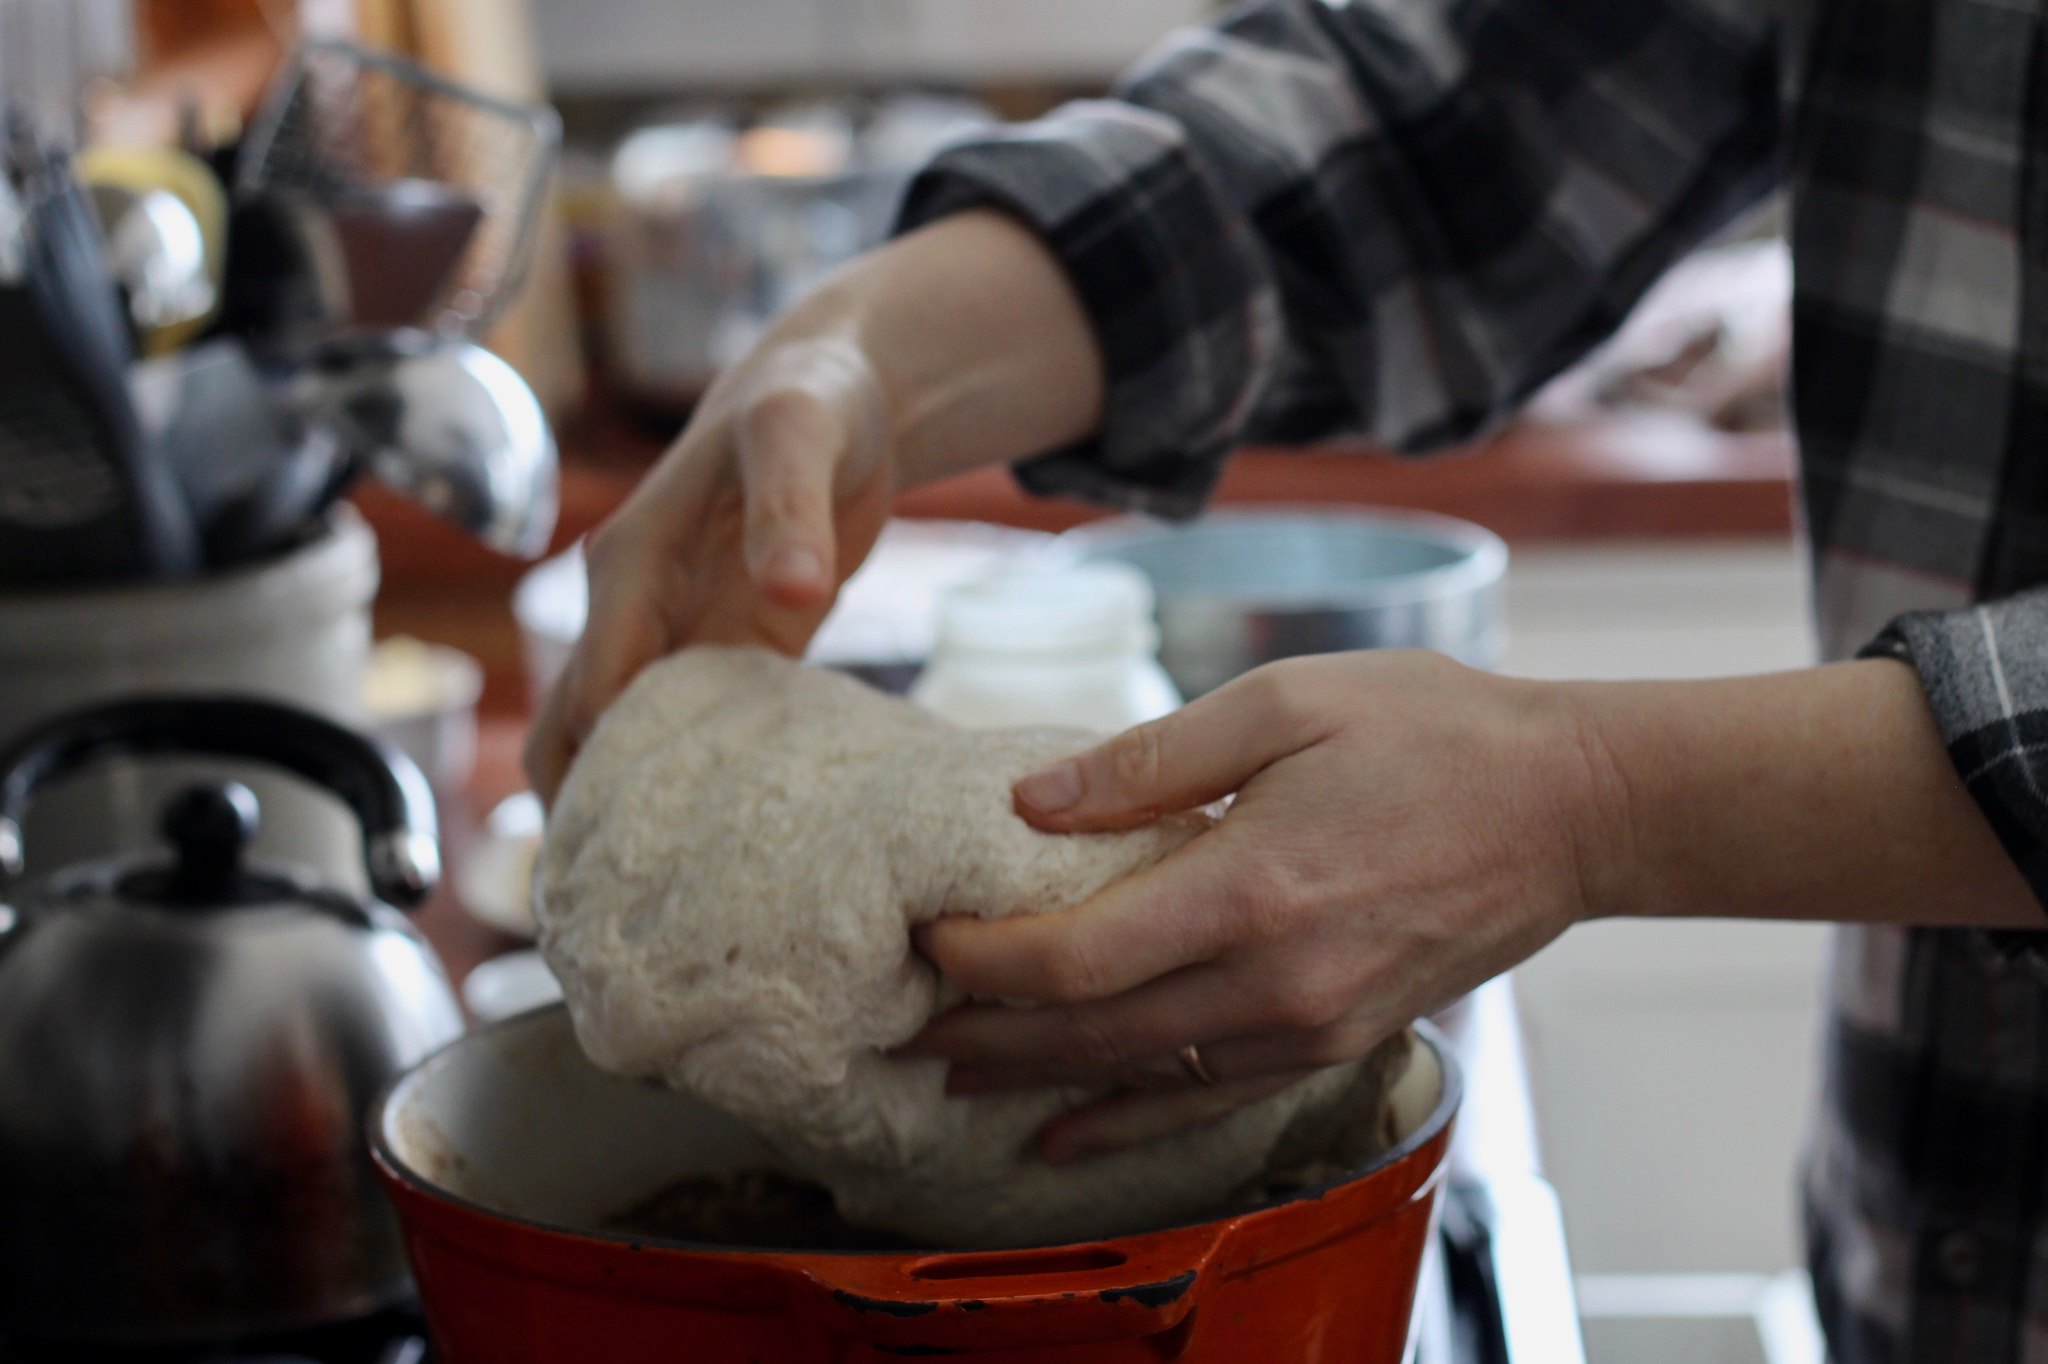
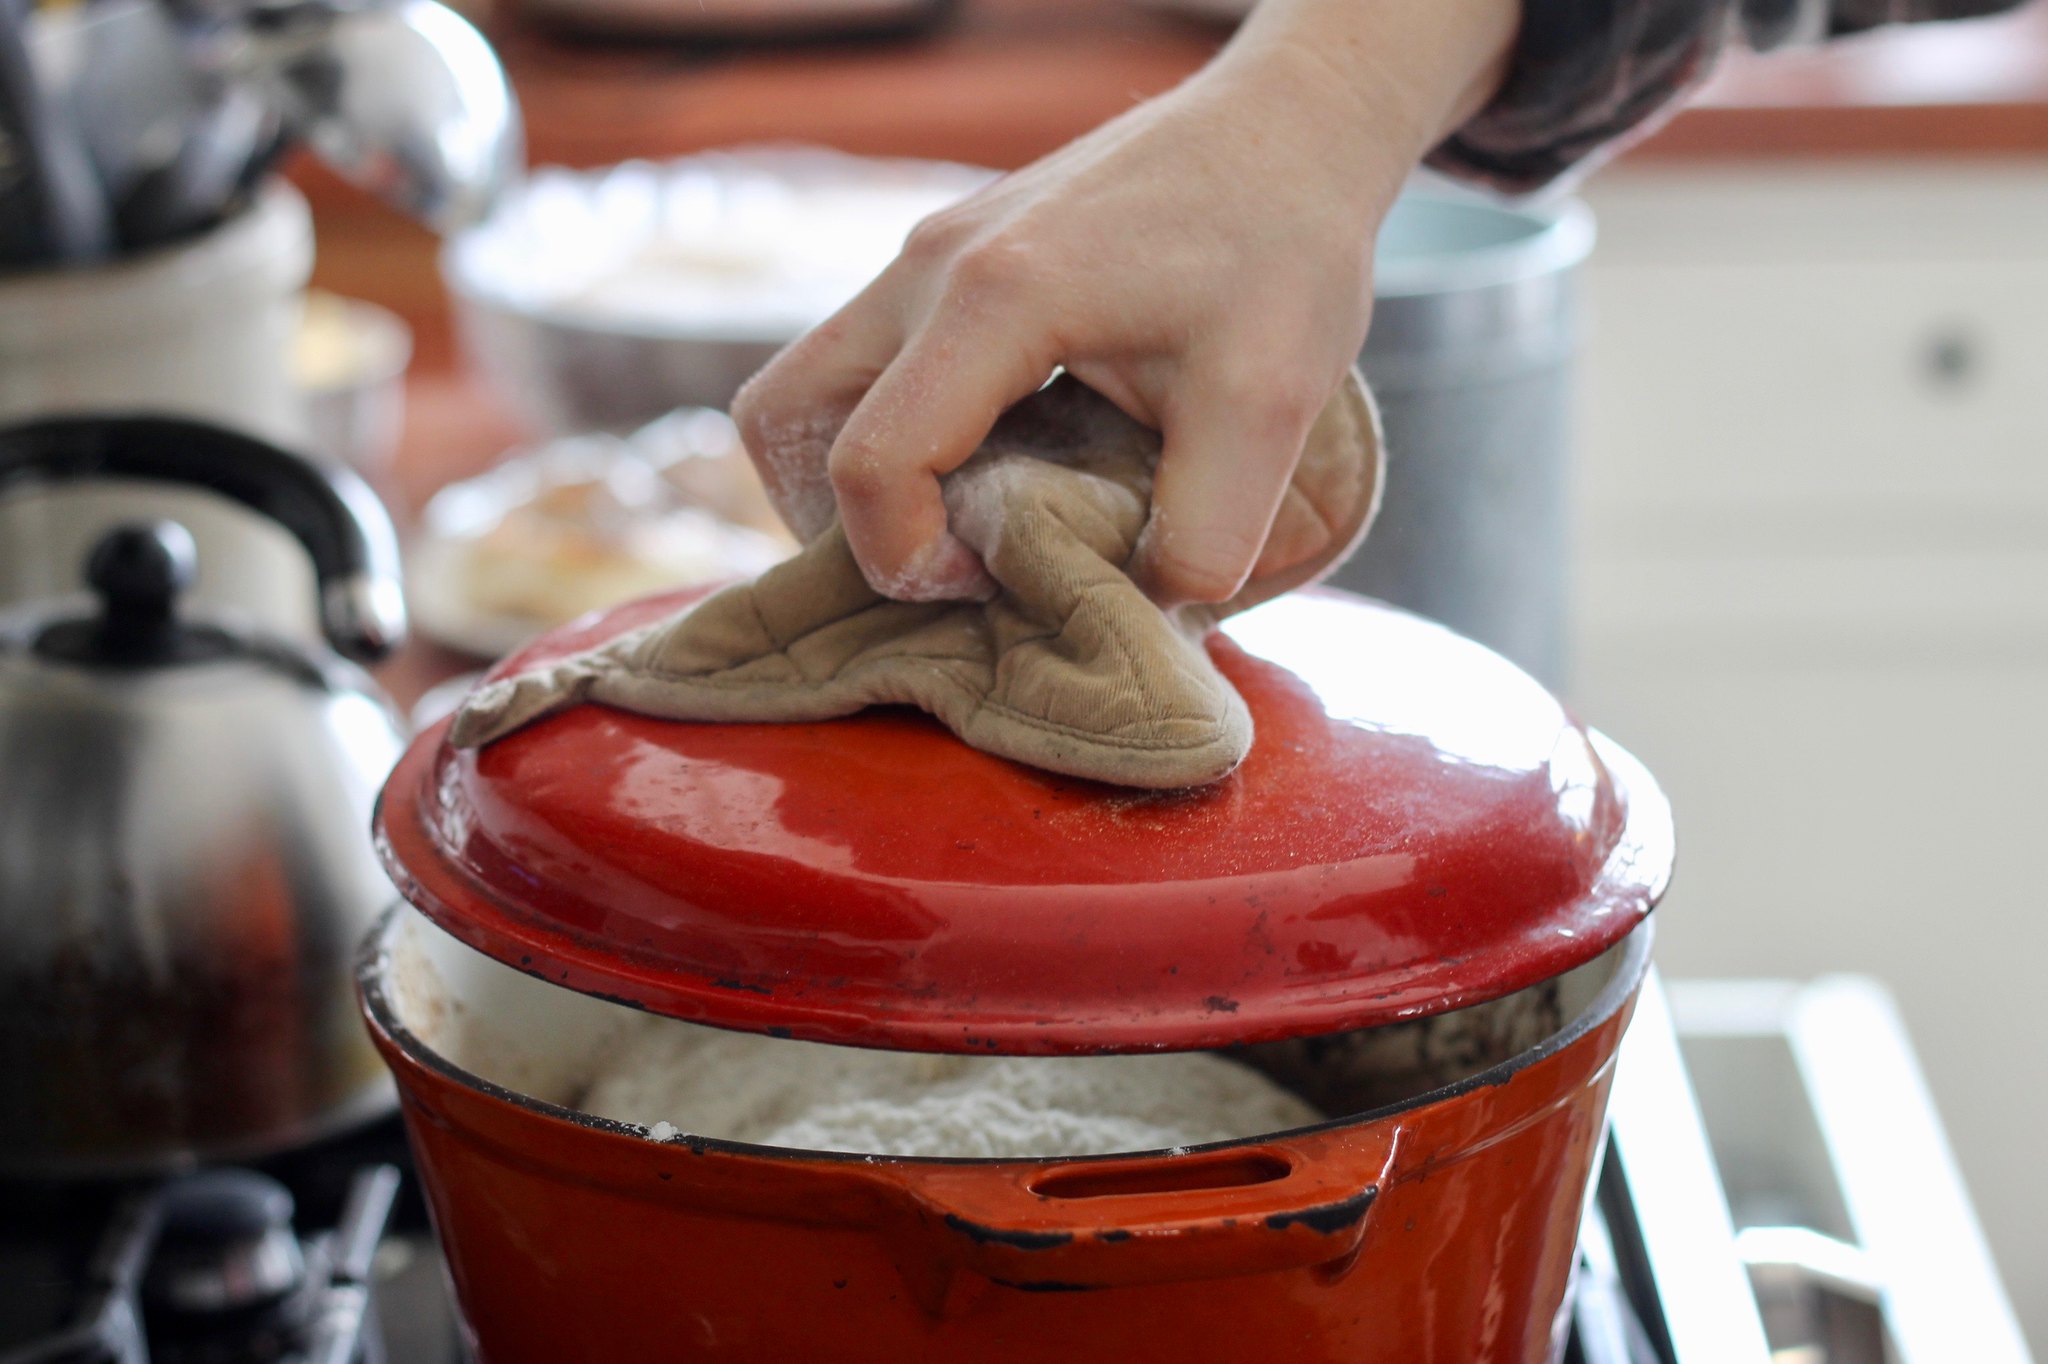
I set it in the oven on a low rack, turn the oven to 450 degrees, and let the whole mess preheat for a good 20-25 minutes. When the iron is hot through and through, I take it from the oven, sprinkle cornmeal in the bottom, and gently turn the dough into the pan, lumpy side down, taking care not to singe my knuckles on the hot sides. I sprinkle the loaf with lots of flour, slash it good, clap the lid on, and then slip it back in the oven.
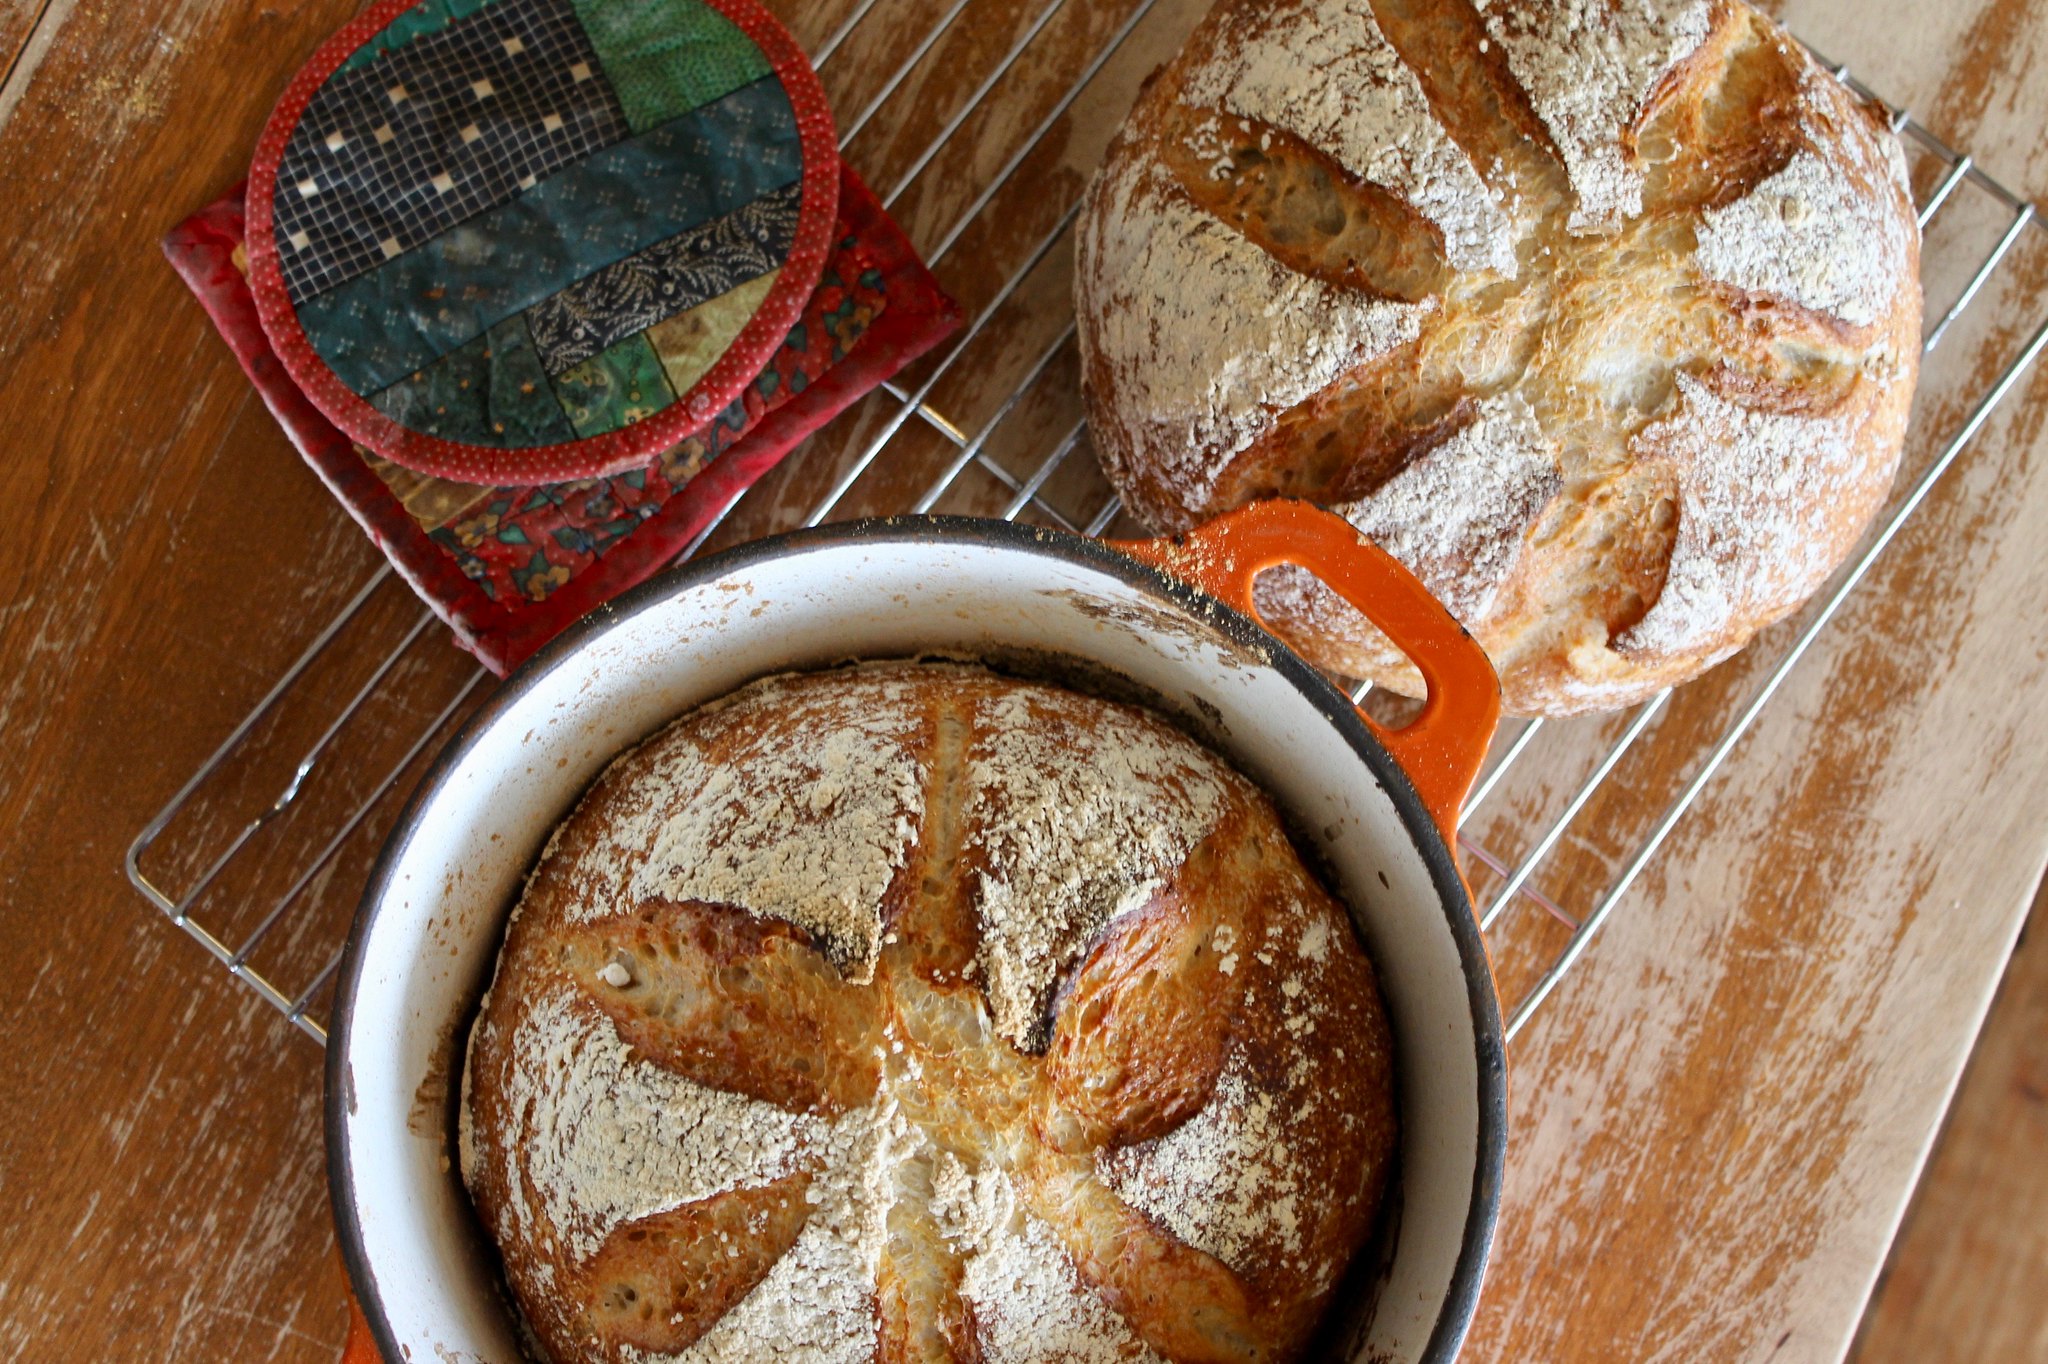
After the first twenty minutes, I remove the lid and continue baking for another twenty. At that point, I reduce the heat to 375 and bake for another ten. Tumble the loaf onto a cooling rack, and repeat the process for the second loaf.
(Note to self: buy a second Dutch oven.)
This same time, years previous: doing stupid safely, the quotidian (1.16.17), all the way under, on kindness, through the kitchen window, day one, spinach lemon orzo soup, crumbs.