About that yogurt cheese I mentioned…

A few weeks back, my friend sent me a link for a yogurt cheese recipe. About the easiest cheese you can make — strain yogurt, stir in salt, strain some more and, bam, CHEESE — it holds great for long periods of time and it’s wildly delicious, too. So naturally, I made some right away.
Turns out, once I tried it, I couldn’t get enough. It was the sort of cheese I craved. The texture reminded me of goat cheese but without the goaty flavor, just a mild, creamy tang. It was super healthy (made from our naturally skim milk, it was low low fat — NOT that I think that’s a good thing!). When we came back from our trip, I dug into a jar of this cheese and it was bliss, the perfect foil to the rich travel food we’d been living on.
But before I tell you more about this cheese, some news. Bad first, and then the good.

Daisy, Butterscotch, Gimli
Thursday evening when my younger son went out to bring in the calves for the night before we headed out to our small group gathering, he couldn’t find Gimli. My husband went searching and found him in the far corner of the field . . . dead. There was no sign of anything — no bite or gunshot wound or fallen branch or rash. Just, a dead calf. My son said Gimli had been acting fine that morning when he’d let him out.
It surprised me how sad I was. I eat our chickens and steers just fine, but a dead healthy calf? I guess it bothered me because it wasn’t supposed to happen now. And not like that, not to the little calf whose birth we so excitedly watched.
I shot off an email to our group, explaining that half of us would be late because a hole needed to be dug, and then I cried a little and packed up the supper things. My daughter and I headed into town then, and some of the guys from our small group came out to help dig. Later that evening, after Gimli was buried and we’d all gathered for supper, we sang our prayer song and then, because our small group is awesome, we toasted Gimli and I felt better. Friends mean the world.
And now for the good news: we’re getting cream!

We’re not sure exactly why. Over the last few weeks, my son has been regularly feeding Daisy alfalfa, and he’s giving her hay, too; the extra roughage is supposed to increase cream production so maybe that’s it? But it might have something to do with the mid-summer grass (fresh green grass is said to produce less creamy milk). And it also might have something to do with Gimli’s death — maybe he was hogging all the cream? Maybe she’s letting down more hind milk now? But I think we’d been noticing the increased cream before Gimli died, so maybe not? Whatever the case, we have cream and, even though it’s not a huge amount, I’m sooo excited!!!
But about that cheese. Since it holds well long-term, yogurt cheese is a fabulous way to use up, and store, loads of fresh milk. Already, I’ve been making about a gallon of yogurt a week. We use it in in smoothies and eat it for breakfast swirled with fruit jam and topped with granola — my lactose-intolerant husband is tolerating it delightfully well! — and now, every couple weeks, I turn a gallon of the yogurt into cheese. (I’m also selling some of the yogurt to friends — if you’re local and want to give it a try, let me know.)

my draining set-up

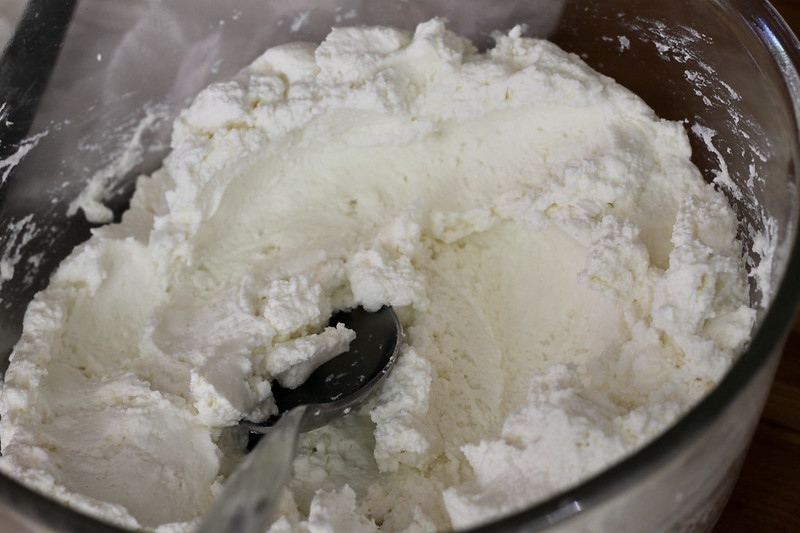
after the first twelve hours

stirring in the salt

back into the cheesecloth

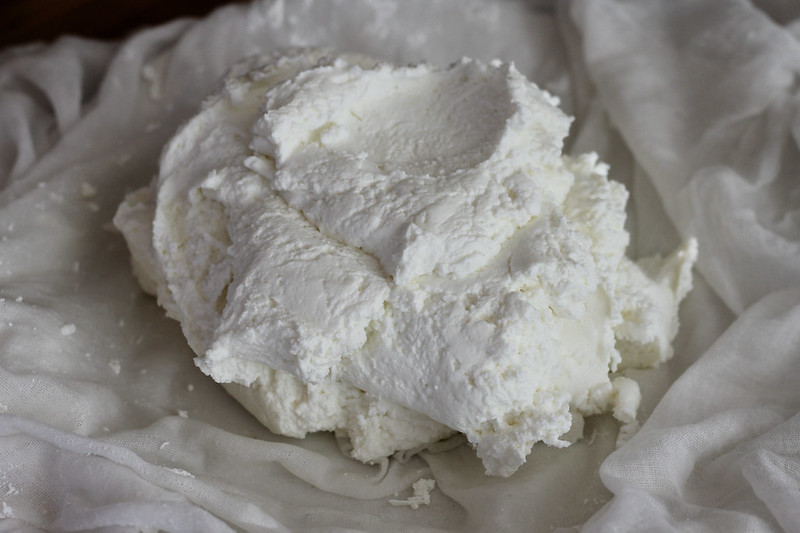
after the second twelve hours

mini cheeseballs!
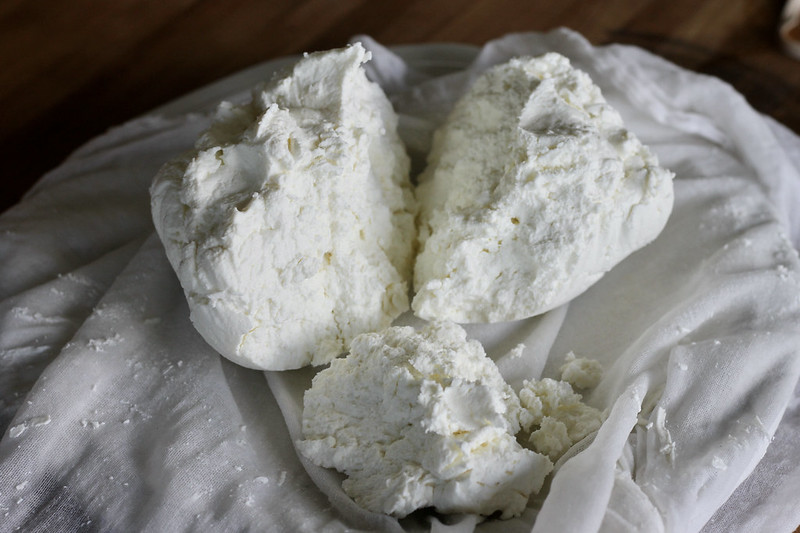
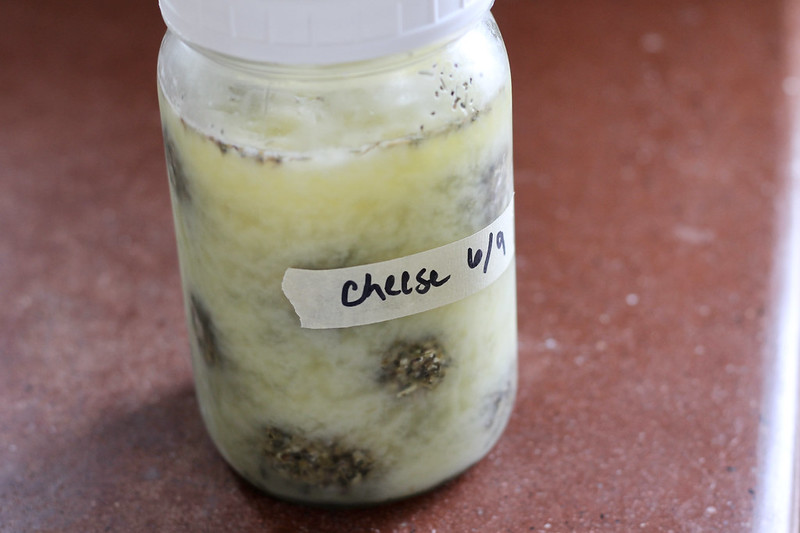
Once the yogurt is finished draining, it’s thick and stiff, sort of like playdough or a shortbread dough. I roll the cheese into little balls and then in dried herbs or freshly ground black pepper and then place them in a glass jar and cover with olive oil. Last time, I added a couple cloves of garlic, some sprigs of fresh rosemary, and some red pepper flakes to one of the jars, and I’ve bought some dried chives to use in my next cheese.


The jars can be stored in a root cellar, if you’re fortunate enough to have one, but for those of you who, like me, don’t have a root cellar, a fridge works just fine. The oil solidifies, so prior to serving the cheese, let the jar sit at room temp for a couple hours so it can liquify. (You can scoop out a ball of chilled cheese with a spoon, if you want, but doing so usually chips and breaks the balls. And no one wants Broken Balls.)

solidified oil
I like to eat this cheese with scrambled eggs, or with beans and rice, or on salad. When my writing group came, I served it with homemade sourdough crackers and drizzled with honey.
And speaking of honey, I love, love, love this cheese for breakfast, spread on a piece of sourdough toast, (sometimes) sprinkled with fresh rosemary, and dripping with honey.

Black pepper yogurt cheese . . . on toast . . . with honey, oh my.

You really ought to try it.
Yogurt Cheese
Adapted from The Homesteading Family.
I’ve yet to try a sweet version, but I’ve heard cinnamon and chopped dried cranberries and/or cherries work well.
2 quarts plain yogurt
2 teaspoons salt, non-iodized (I use Morton’s coarse Kosher salt)
Line a colander with a cheese cloth and place over a large kettle. Pour the yogurt into the cheesecloth. Gather together the ends and tie closed with a string or a sturdy rubber band. Hang the bag of cheese over a large bowl — you’ll get 6-7 cups of whey — and let drain for 12 hours.
Take down the bag and set it on a plate. Open. Transfer the ball of cheese to a bowl and add the salt. Using a fork or spoon, stir it in well. Put the cheese back in the cloth — use the same one; it has good bacteria — and rehang for another 12 hours, this time with a smaller bowl under the bag. (You can hang for longer, up to 24 hours each time, if you want, but I stick with the shorter times.) Discard the whey, or save it to add to smoothies or homemade bread or soup.
After 24 (or 48) hours, the cheese is done. Transfer it to a bowl and shape into small balls. Roll the balls in seasonings, if using (see below), and place in a glass jar. Cover with olive oil and store in a cold cellar or the refrigerator. Like this, the cheese should keep for months.
Variations
Black Pepper Cheese: freshly crack a lot of black pepper onto a plate and roll the cheese in it, coating on all sides.
Italian Herb Cheese: place ¼ – ½ cup dried mixed Italian herbs (must be dried!) into a bowl and roll the cheese in it, coating on all sides. This cheese is excellent spread on crackers and topped with slices of cucumber and onion from this salad.
Garlic and Fresh Rosemary Cheese: tuck a couple sprigs of fresh rosemary, a couple cloves of rough-chopped garlic, and a dash of red pepper flakes to the oil.
Leftover cheese oil can be use in pasta dishes, herbed bread, stirfries, on top of pizza, etc.
This same time, years previous: reflections from Orlando, in which a pit pull bites my butt, the quotidian (7.13.15), in the woods: forts, ticks, and pancakes, soft and chewy breadsticks, a Tuesday morning.
7 Comments
GraceandGrit
If you’re selling the cheese, I’d buy some! Or trade for quail eggs is you prefer.
Jennifer Jo
I’ve gotten a number of requests — I’m considering….
Michelle Steffen
Have you tried cup cheese from the Old Mennonite Community Cookbook yet?
Jennifer Jo
Yup! Right here. We weren’t crazy about it (though the texture was AMAZING), but maybe I should try it again?
Becky R.
Thanks, Jennifer! I love yogurt cheese, but I had never thought to preserve them in OO. Now through google, I see many people just store the jar in a cool location rather than the frig. When I want a snack, I want it now, so I will probably try that. BTW, I also read that some people use whey to cook rice which they say results in a buttery flavor. Just thought I would add to the “what to do with whey” discussion.
kathiekurtz
Is this any different from lebneh? When we lived in KY my neighbor’s Lebonese mother-in-law came to visit me one day and we made lebneh, basically (as I remember) by draining yogurt in a large strainer lined with cheese cloth.
Jennifer Jo
I think it’s pretty much the same thing. Lebneh, though, is a little creamier — thicker than Greek yogurt and thinner than this cheese. In other words, strain lebneh for longer and you have this cheese.