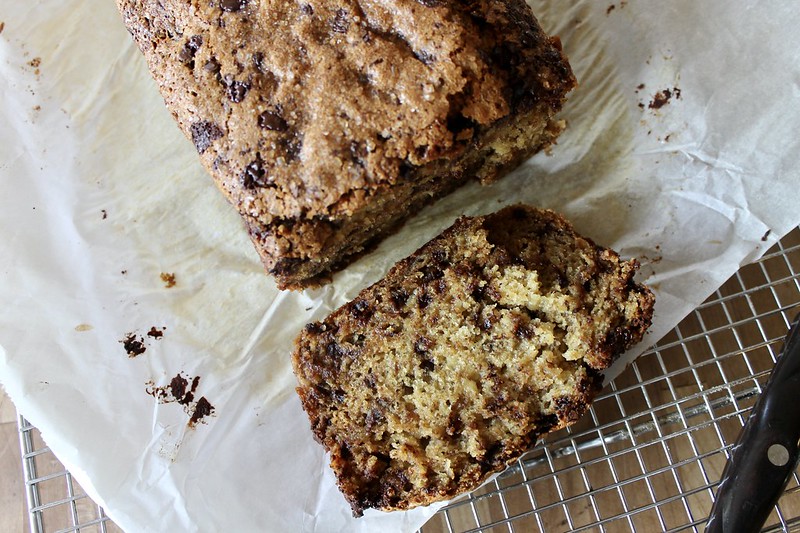
I learned about it from Kate and then I made a big batch, adapting her recipe to suit our tastes and we plowed our way through the stuff. So I made it again yesterday. This time, a triple batch.
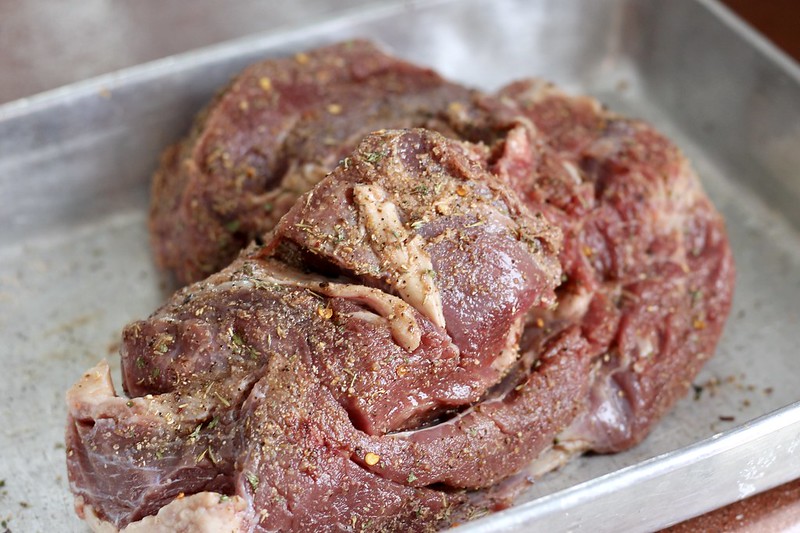
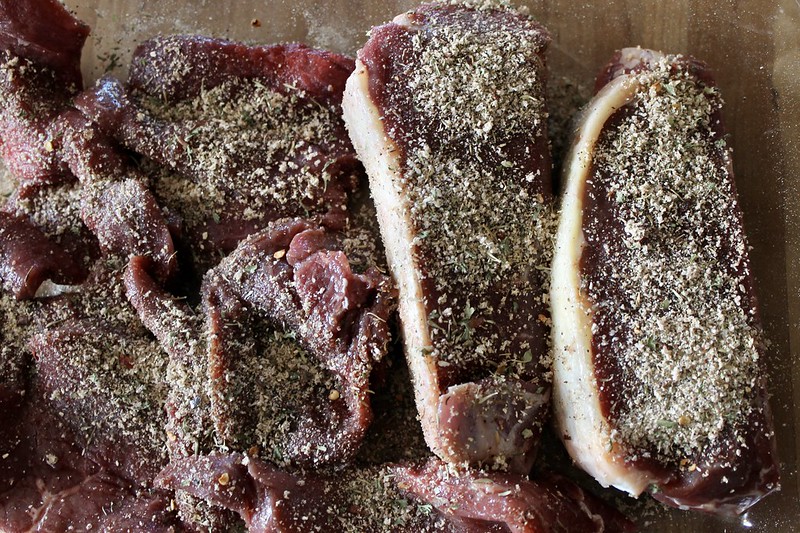
I don’t usually spring for seasoning blends because I’m wary they’ll make all our food taste the same, but mushroom salt, it turns out, simply elevates the food, heightening the flavors and making everything taste that much better. You don’t know it’s there — and yet you do. It’s magic.
(I guess it’s no different than regular salt, now that I think about it. We salt all our food and yet it still manages to taste like what it is: eggs, beans, corn, chocolate. So mushroom salt is like that — just, for meat.)
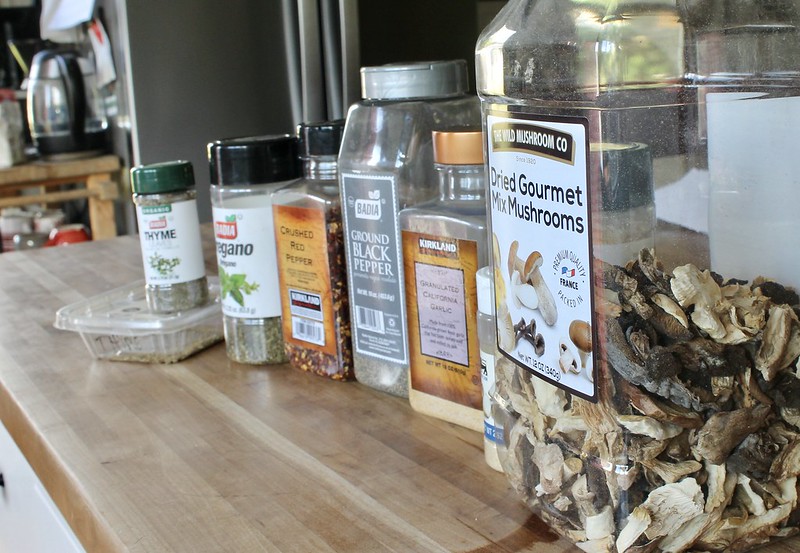
Not up for foraging and drying your own mushrooms? Do like me and buy the dried.
A Costco-sized tub of dried gourmet mushrooms will set you back about 8 dollars (or was it 12?) and will make enough seasoning salt to last a couple years.
And if you don’t like mushrooms, don’t worry. Certain people in my family hate mushrooms and they’re totally fine with this seasoning. It’s all the goodness of mushrooms without any of the negativity.
I use the salt on almost all our beef: mixed into ground beef for burgers, on steaks, on roasts, etc. I hear it’s good on chicken, or tossed into soups, or sprinkled on potatoes, but I haven’t done that yet — I’m not opposed; I just haven’t gotten around to it.
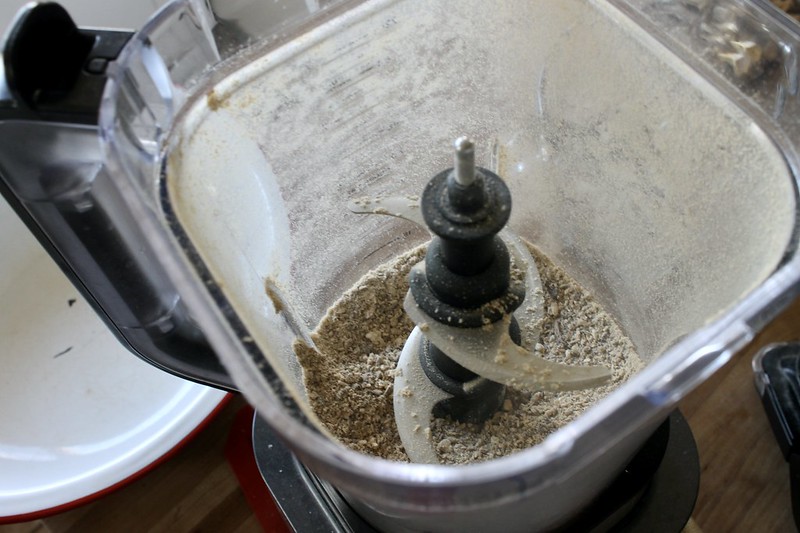
Kate says 2 cups of dried mushrooms should equal about ⅓ cup powder. I halved the red pepper and swapped out some of the thyme for oregano (the ingredient list reflects these changes). And this time around I didn’t have onion powder so I threw a bunch of dried onion flakes into the blender when I was grinding the mushrooms.
2 cups dried mushrooms, ground to a powder ⅔ cup salt 3 tablespoons onion powder 2 tablespoons dried thyme 2 tablespoons red pepper flakes 1 tablespoon dried oregano 1 tablespoon black pepper 1 tablespoon garlic powder
Pulverize the dried mushrooms in a food processor or blender. It’ll take a good minute or two, and even then it won’t be a fine powder, but that’s okay. Also, be aware that quite a bit of mushroom dust will be created during the grinding process. It will stink and everyone will pitch a fit, but persevere. The dust will settle (literally and figuratively).
Toss the mushroom powder with the remaining ingredients. Pour the mushroom salt into jars, keeping one on the counter for daily use and freezing the others.
Those buns, the ones my aunt had me help her make for the wedding, were delicious — my mother got all swoony over them — but in the moment, I didn’t think much about them. I was too busy making them while keeping half an eye on the three-ring circus that was the wedding prep.
But back home, reader Peggy asked for the recipe, and then when my aunt sent me the recipe, I decided that I probably ought to make them for myself. I mean, they were good, and I liked my aunt’s method: how she mashed in the room-temp lard and butter, added a bit of whole wheat for interest, substituted folding-and-stretching for kneading, smooshed down the buns and then brushed the tops with egg wash and sprinkled on the sesame seeds.
adding room temperature lard and butter to the sponge
Immediately after mixing in the flour, the dough will be sticky and marbled with streaks of fat.
My aunt and I had a whole bunch of back-and-forth over these buns. Here are the takeaways.
Takeaway One: This recipe is a hybrid combination of standard bread, the sourdough method of rising and stretch-and-folds, and brioche dough.
Stretch…
And fold!
Did you catch that? NO KNEADING.
After a series of stretch-and-folds, that are alternated with breaks to allow the dough to rest, the dough will lose its stickiness and feel thoft and thupple.
Takeaway Two: If using raw milk, heat it to 180 degrees and then cool it back down to lukewarm, because, my aunt explained, raw milk contains an enzyme that inhibits gluten formation (or maybe the yeast’s rising), I did not know this!
Takeaway Three: Be gentle with the final risen dough so as to not cause the gluten to seize back up.
Takeaway Four: I told my aunt to add salt to the wash, because that’s what we do in the bakery, and then after the wedding she read an article that explained how the salt keeps the egg washed bun tops from getting sticky, yet another little fact I didn’t know!
I made the buns to go with the potato soup we were having for dinner, and the leftovers I split in half, leaving a hinge on one side, and then bagged up in old hamburger bun bags.
Now I’m inspired me to make these buns on the regular: hamburgers, hot dogs (I’ll just make long ones), sandwiches, pulled pork, etc.
It remains to be seen whether or not I can stay abreast of our bun usage.
homemade buttah, mmmm
Wedding Buns Adapted from my aunt’s recipe. (Check our her cookbook here!)
If doubling the recipe, use 3 regular eggs. (For the wedding, my aunt and I made four double batches.)
for the dough: 2 cups milk 1½ cups water ⅓ cup honey 2 small eggs 2 tablespoons yeast 1200 grams bread flour (1 cup of which is whole wheat flour), divided 4 ½ teaspoons salt ¼ cup soft butter ¼ cup soft lard
for the topping: egg wash: mix together 2 egg yolks, a couple tablespoons of cream (and/or water), and a pinch of salt sesame seeds, optional
to make the buns: Heat the milk to lukewarm and then pour into a large mixing bowl, along with the water, honey, eggs, yeast, and 615 grams of the flour (1 cup of which is the whole wheat flour). Let rest for 20-30 minutes, or until bubbly.
Once the dough (the sponge) is bubbly, stir in the fats, pressing them against the side of the bowl with the back of the spoon to help them mash in. Add the remaining 585 grams of bread flour and the salt. Stir well, until mostly incorporated. The dough will still be quite sticky, and you may see lumps of fat. This is fine!
Cover the dough with a towel and let rise at room temperature. After 30-45 minutes, or when the dough is noticeably poofy, lift and fold the dough, lifting and folding once from each side. Repeat the lift-and-fold two or three more times over the course of several hours. Once the dough seems more uniform, and a bit less sticky, let it rest, undisturbed, until it’s doubled in size.
Gently pour the dough onto a lightly floured surface. Cut the dough into 85 gram portions and shape into rolls. Place the rolls on a parchment-lined baking pan (if using half sheet pans, it’s 15 rolls per pan) and let them rest briefly to relax. Once the dough has relaxed, press it flat with your fingers.
Cover the trays of buns with a towel and let them rise for about an hour. When the buns are puffy (they will still look a little gnarly), brush them with the egg wash and sprinkle with sesame seeds, if you’d like.
Bake the buns for 16-20 minutes at 350 degrees, rotating at about the 10-minute mark. Leftover buns can be split, bagged, and frozen.