In my home, the Saturday before our monthly church potluck is fraught with wishy-washiness, last minute decisions, miniature anxiety attacks, and too much time spent in the kitchen. You would think that someone such as myself who loves to cook would be tickled pink to take food to a potluck, but if you thought that about me then you would be very wrong. The truth is that potlucks leave me in a mild state of panic.
There are so many things to take into consideration when preparing food to carry out because the normal cooking worries (not burning the food and making sure it actually tastes good) are amped up and combined with other potluck-specific worries, such as transportation, presentation, storage, and last minute assemblage. Furthermore, I want my potluck offering to use up some of my vast stores of food—no fancy ingredients that call for a special trip to the grocery store, please!—and not necessitate that I spend my whole Saturday sweating over the stove. And one more thing: It would be an added bonus if the dish would cause people to swoon in ecstasy and wonder aloud to their neighbor who in the world made such a fabulous dish, and then come scurrying over to my chair, pen in hand, to request the recipe. Yes, that would be nice.
The final bottom line (after all those other bottom lines) is that I want my food to be enjoyed and eaten. As Mr. Handsome says, when taking food to a potluck, the goal is to come back with an empty dish.
(If you read between the lines, you’ll realize that this is becoming an essay on my shortcomings as a cook: not only do I occasionally burn, or under-cook, my unseasoned and unattractively-slapped-together dishes, but I’m also stingy, selfish, and lazy. I am not a kitchen goddess. Sorry to burst your bubble.)

In any case, on the Saturday before our last Sunday potluck, I made a list of ideas as a way to combat my brain-freeze. Soups were out of the question, and I didn’t waste ink on all the little sides dishes, like carrot sticks and deviled eggs and loaves of bread, because everybody takes that type of food, me included, and I knew I could always fall back on those options in a pinch. No, I was searching for Solid Potluck Fare, and in the end it boiled down to two things: side dishes and casseroles.
So many times my casseroles are just second-rate dishes; in other words, leftover rice and chunks of meat tossed into a crock-pot and pronounced dinner. While I don’t mind eating that type of food, I can’t bring myself to combine food that tastes best served separately, or combined only a few moments before eating, and contribute it to a potluck. If I make a casserole, it needs to be a first-class combination that I wouldn’t want to eat any other way.
(I could, of course, make two dishes and then place them beside each other in the serving line, but there are two problems with that little arrangement. First, when people take the time to butter bread or scoop the barbequed meat into the dinner rolls, the line backs up. Second, and more importantly, when food is served separately you run the risk of people not putting the foods together properly, and when they find out that it was you that made that dry cake, they wrinkle their noses at your cooking abilities when really it was their own fault for not knowing that the Three Berry Sauce and the bowl of freshly whipped cream were meant to be served with that cake. I hate it when that happens.)
Some of the ideas that I included on my potluck list included spinach-cheese crepes (I hope to write about these later), baked hash brown potatoes, pesto dip and crackers, layered bean dip and chips, potato salad, baked corn, baked beans, baked Brie with bread, macaroni and cheese, and tortilla pie.
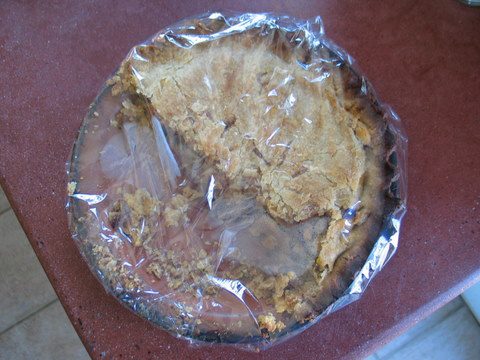
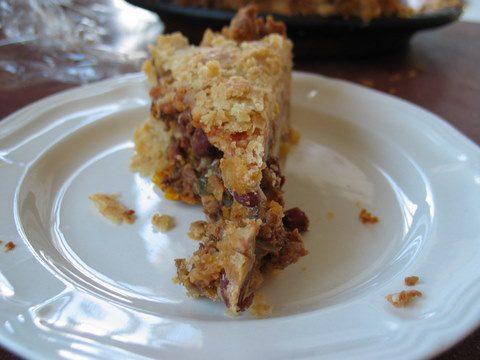
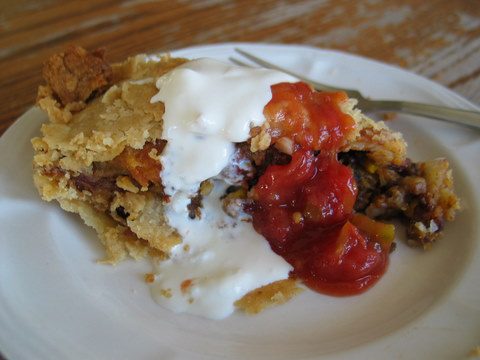
It was the tortilla pie that I ended up taking this last time around, and I was pleased with how simple it was to make and transport. I mixed up the filling on Saturday, and then on Sunday morning before church I made the crust and assembled and baked the pie. The servers only had to heat it up for about twenty minutes in the oven before slicing it and setting it on the table.
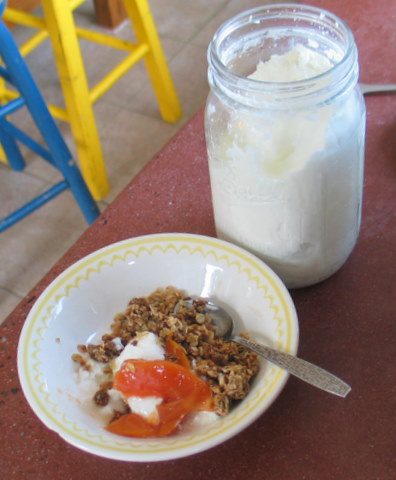
The only downside was that the recipe says to serve the pie with sour cream and salsa. I toyed with the idea of spreading the condiments on top of the pie, first the sour cream and then the brilliant red salsa, but I was afraid the crust would turn soggy, so I scooped my homemade sour cream and salsa into their respective pint jars, labeled them, and hoped for the best.
While nobody fell at my feet pleading for the recipe, I heard rumors that some favorable sentiments were expressed. And the pie plate came back empty.
Tortilla Pie
Adapted from recipes given to me by my girlfriends Erika and Shannon.
For a vegetarian version, simply omit the ground beef and increase the amount of beans.
This recipe makes a large amount of filling, way more than you need for one pie. Any leftover filling may been frozen in quart-sized containers—one quart of filling makes a nine-inch pie. To use the frozen filling, simply thaw it at room temperature and proceed with the directions for assembling the pie.
The measurements are estimates. If you want a meatier pie, decrease the amount of beans. Likewise, if you want a spicier pie, amp up the chili powder or toss in some jalapeño peppers.
For the filling:
1 pound ground beef
1 onion, diced
1 green pepper, diced
2-4 teaspoons chili powder
1-3 teaspoons cumin
1 teaspoon salt
1/4 teaspoon black pepper
3-4 cups cooked beans (black, red, pinto, etc.)
1-2 cups salsa
1 cup frozen corn
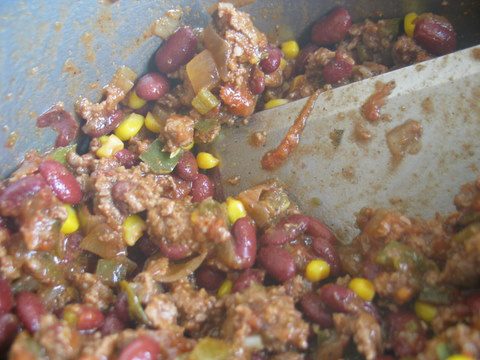
Brown the ground beef with the onion and pepper. Add the next six ingredients (down through the corn) and stir well. Remove the pan from the heat.
To assemble a 9-inch pie:
about three cups of grated cheese (Monterey Jack, Colby, cheddar)
3 large flour tortillas or 6-8 small corn tortillas
1 quart of the meat and bean filling
1 double, unbaked, 9-inch pie crust
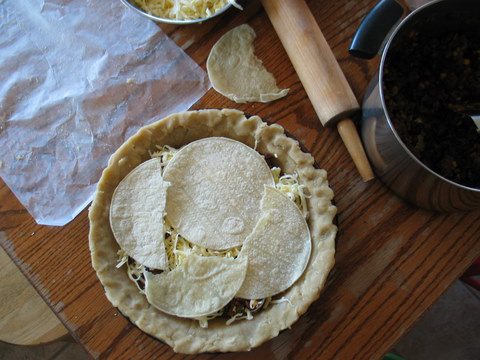
Line the pie plate with the bottom crust. Spread a third of the meat filling over the bottom, sprinkle on some of the cheese, and lay a tortilla on the cheese. Repeat the layering process two more times. Place lots of cheese on top of the last tortilla, then lay the top crust over the pie (it will make a rather high mound, but it will cook down as it bakes) and cut slits into it so that the steam can escape. Crimp the edges and bake the pie at 350 degrees for about 50 minutes.
Serve hot. Garnish, if desired, with salsa, sour cream, guacamole, black olives, and cilantro.