I taught myself how to make yogurt about ten years ago when Mr. Handsome and I were living in Nicaragua. There the cows were so skinny that there was no cream in the milk, but I was still able, somehow to make thick, creamy yogurt (quite possibly it was because of the lack of sanitation and consequently the abundance of bacteria). Incubating the milk was a cinch—just four hours in a thermos.
When we came back to the States, I had to refigure everything. The milk was pasturized and the little cups of yogurt that I bought from the store to use as starter didn’t seem to have the same kick. A thermos didn’t work anymore, either, for whatever reason.
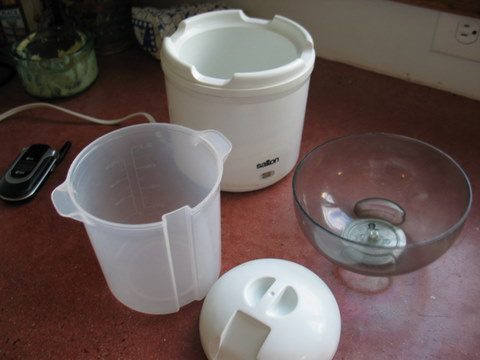
I finally bought a yogurt maker, a Salton.

I experimented with different plain yogurts and discovered that Dannon’s plain yogurt worked well. The resulting yogurt was runnier then what we had in Nicaragua, but it would do.
For the past several years we have been buying raw milk from a farm
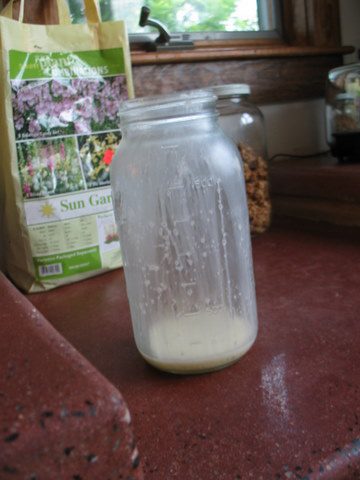
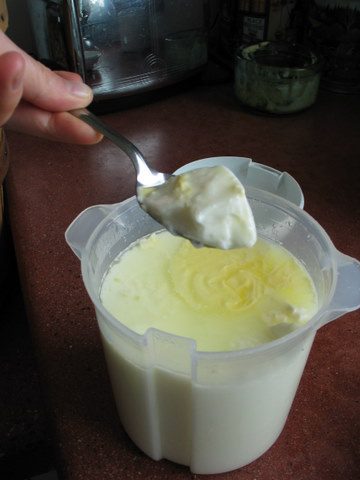
and the yogurt is thicker—bacteria is good, you know.
Mama JJ’s Yogurt
If you are buying your milk from a store, make sure it is not ultra-pasteurized. Also, the more local the milk is, the better it works; I haven’t had much luck with the generic store-brand milk. I prefer 2 % milk, or even whole, but skim will work fine, too. If you are using raw milk, just partially skim it.
Powdered yogurt starter can be bought from a number of places, including the Lehman’s catalog and New England Cheesemaking Supply Company, but I think the store-bought plain yogurts, like Dannon and Stoneyfield, are good enough. The key is to use the less-processed yogurts, the ones that don’t have all the blessed bacteria zapped out of them. In subsequent batches, you can just use your own yogurt as starter for the next batch. Once your yogurt is established, you only need about 1/4 cup of yogurt to start a new batch. You don’t need to get a new starter unless your yogurt becomes contaminated and starts to taste funny—I haven’t used a new starter in a long, long time, maybe a year.
4 cups milk
½ cup plain yogurt
1. Pour four cups of milk into a saucepan. Heat it on medium high heat until it’s steaming and a skim has formed on top. Do not let it boil. (If it does, don’t worry. It should still work. You just don’t want to make a habit of it, mostly because it makes a horrific mess and you won’t want to do a deep clean of your stove every time you make yogurt.)

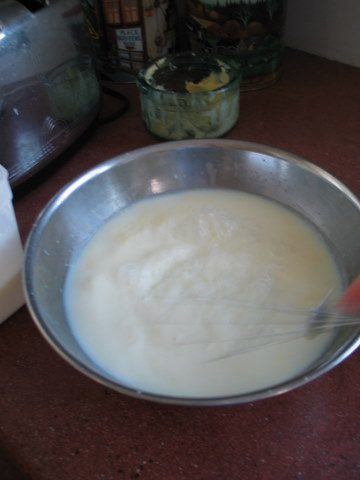
2. Pour the hot milk into a bowl to cool.

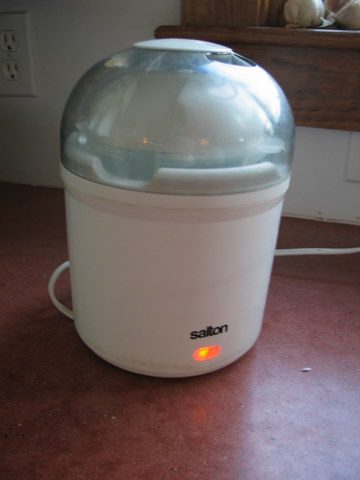
3. Plug your yogurt maker in so that it can warm up.
4. When the milk has cooled to lukewarm (I just test it with my finger, but if you’re using a thermometer, the milk should be about 110-120 degrees, though I have heard that it can be as high as 130 degrees), add the starter yogurt and whisk vigorously.

5. Pour the mixture into the incubator and let it sit for 4-8 hours, or until firmly set (some yellowish whey may be floating around on top—that’s normal). The yogurt becomes more acidic the longer it is in the incubator, so you want to get it out as soon as it has set.

6. Put the container of yogurt directly into the fridge (not the whole incubator, of course, just the container which holds the yogurt) and let it set, undisturbed for 12 hours, or overnight. Before transferring it to a new container, gently pour off and discard any whey that has risen to the top.
When you are ready to eat it, scoop out what you need, plop it into a bowl, add your sweetener (jams, fruit sauces, honey, etc), and enjoy.

Don’t forget to save a quarter cup to start your next batch.
Note: Click here for a creamier yogurt.