• The simplest sauce

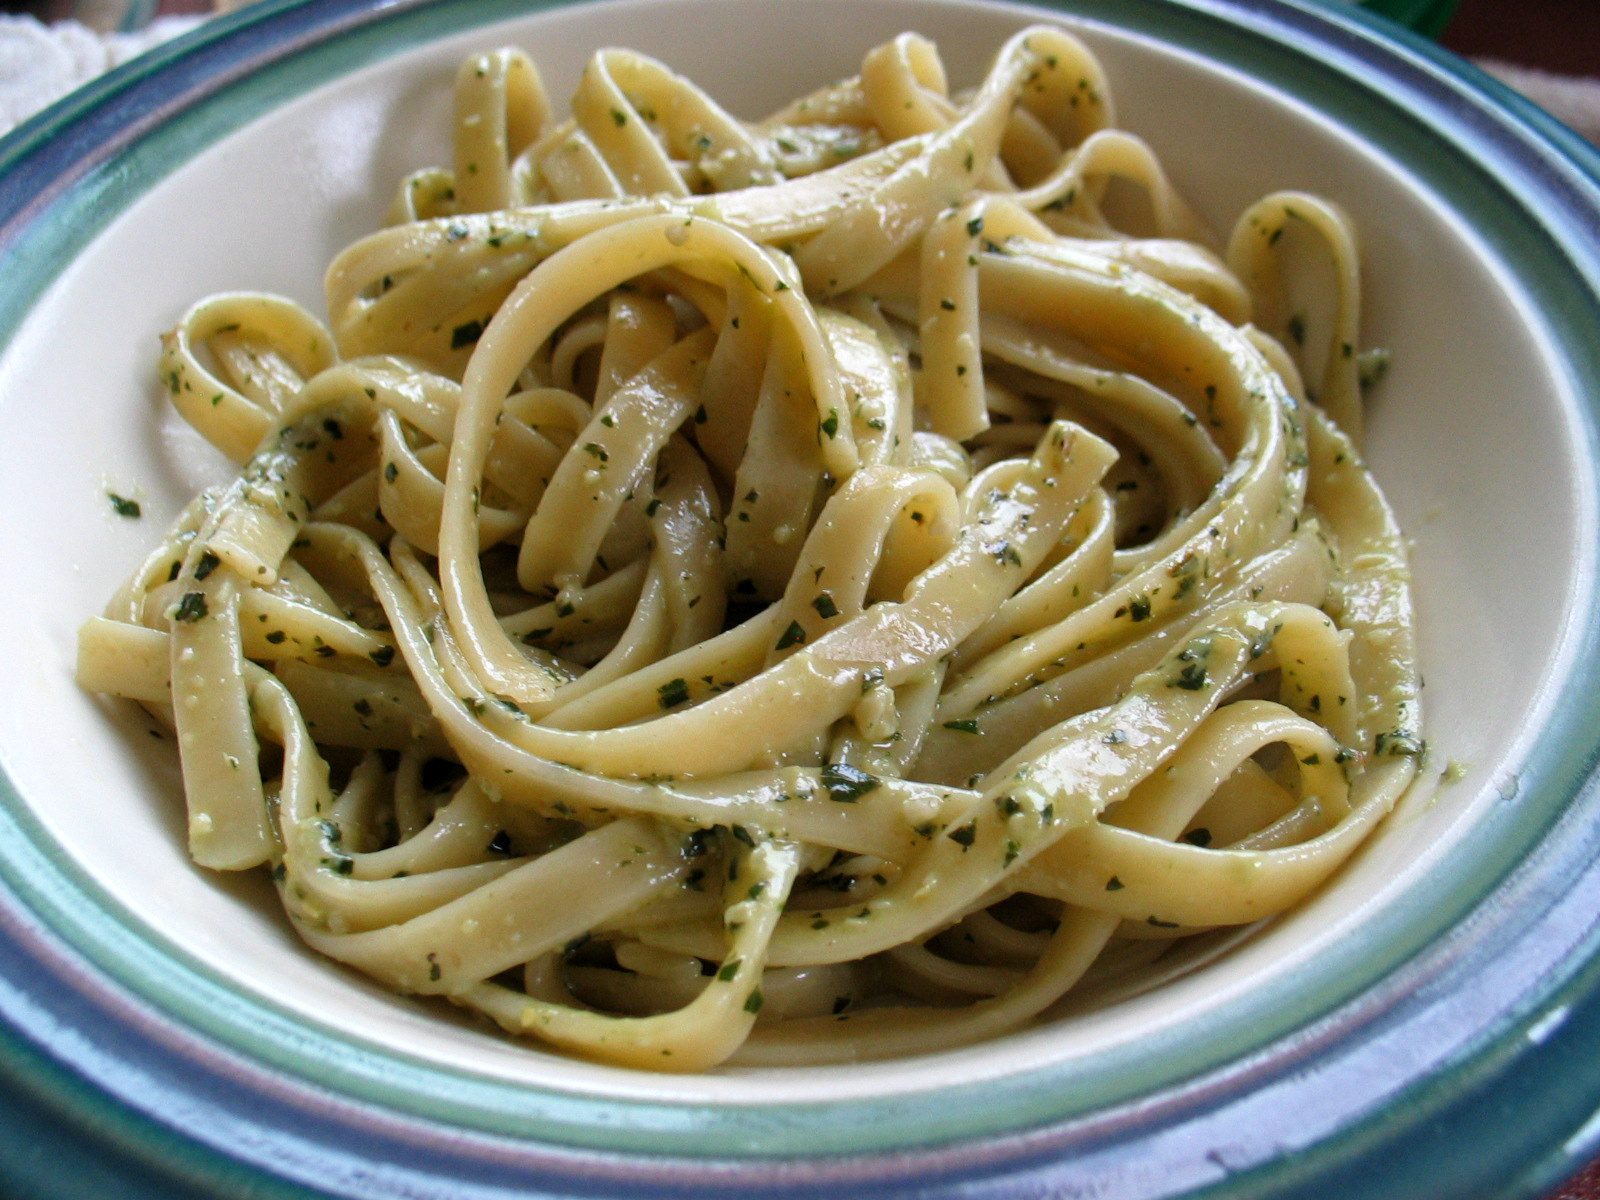
    I didn’t grow up with home-canned spaghetti and pizza sauce. Up until several years ago when I started making my own, I was content to add a couple cans of plain, store-bought tomato sauce to a pot of sauteed onions, garlic, green peppers, and herbs. It worked, and I was happy.

    But then I started experimenting with my own sauce and promptly fell in love with both the method and the results. It’s a slow process, and not a very pretty one, truth be told, one that involves buckets of sweat and boatloads of dirty dishes. Broken down, the process goes like so: the tomato picking (or acquiring), the blanching, peeling, and coring, the chopping, simmering, and pureeing, and then, of course, the canning. If you’re making a pizza or spaghetti sauce, there’s also the onions, garlic, and peppers to clean, chop, and saute, the fresh herbs to gather, clean, chop, and measure, and so on and so on, till your kitchen walls are redly be-speckled and you’re swearing under your breath.

    I totally understand why some people might be daunted. Heck, I’m daunted some days.

    And yet, I still do it. Keeping one eye cocked on the lazily simmering pot of tomatoes as it reduces, playing chemist with fresh and dried herbs, ladling the final product into pint jars—it’s a process packed with satisfaction, dirty kitchen be damned.

    Over the past couple days, I’ve been experimenting with some new tomato sauces. My friend (I think she took pity on me after looking at pictures of our dismal garden) called me up to see if I wanted two five-gallon buckets of tomatoes. Well, duh, yes.


    The day she called, I had gleaned several pounds of tomatoes from our pathetic garden and was already experimenting with SouleMama’s carrot tomato soup, so when the buckets of tomatoes landed in my lap, I happily branched out to experiment with a new pizza sauce (more on that later) and this roasted tomato sauce.

    It’s the simplest sauce I’ve made to date, so listen up, people. There are only three steps.


    1. Roast: toss halved tomatoes with olive oil, salt, and pepper, and roast them in a hot oven for three-quarters of an hour.


    2. Blend: whiz them up with a hand-held immersion blender (Eh? You have not a magic kitchen wand? Fool! Cheapskate! You mocketh the culinary arts with your inauthentic wizardry! Take thyself to a kitchen store and buy one henceforth! Now, away with you!)

    3. Can: ladle into mason jars and process in a hot water bath.

    Attention Weary Kitchen Workers! Please note, there is no blanching, no peeling, and no stove-top reducing. Verily, I tell you, straighten your aching shoulders and attack those last few tomatoes with renewed vigor! Hark, your job is nearly done! Delicious sauce will soon be yours.

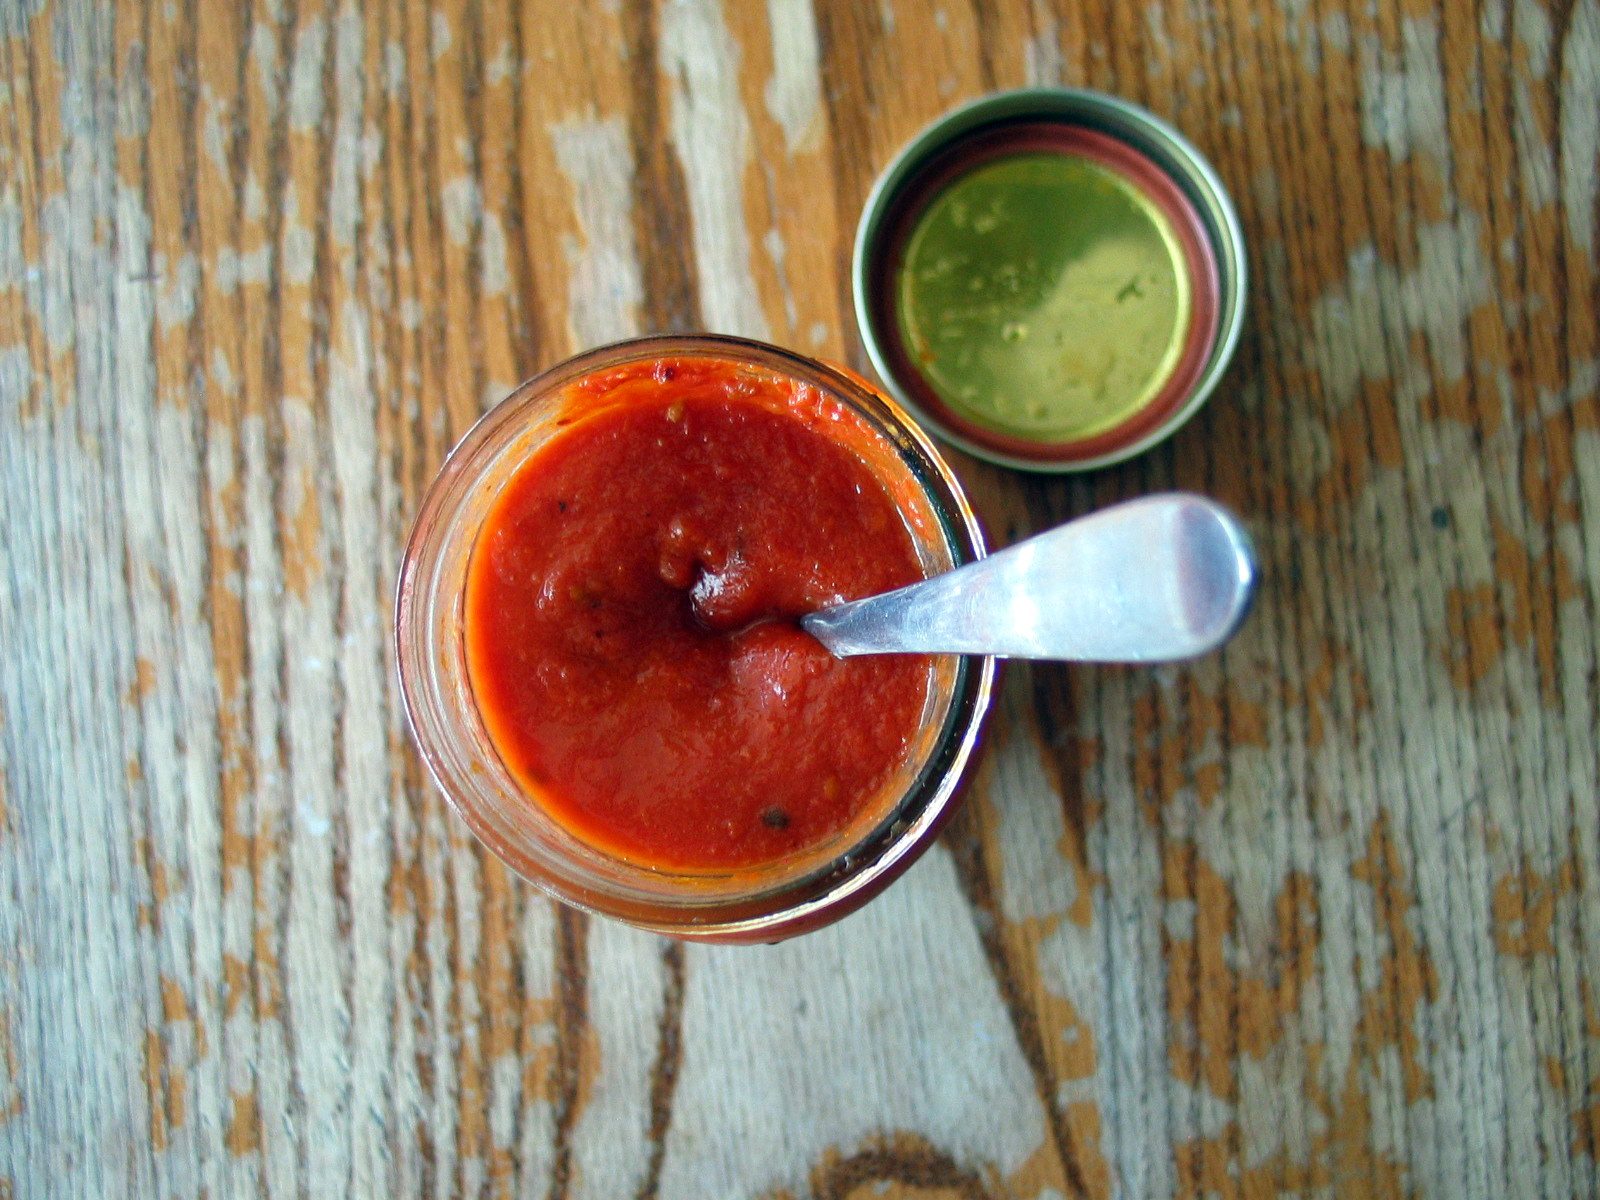
    And is it ever delicious, oh my. Thanks to the time in the oven, the sauce is richly flavored and caramel-y sweet. It’s gorgeous, too—a dark red, flecked with bits of black from the tomatoes’ blistered backs. Vibrant, musky, sexy, oo-la-la, and yum. It’s all of that, and more.


    Roasted Tomato Sauce

    I add citric acid (purchased in the canning section of my grocery store) to the jars when canning as a precaution against the olive oil’s neutralizing qualities; if you omit the oil (but don’t!—it tastes so good), there is no need for the acid.

    8-9 pounds paste tomatoes, washed, cored, and halved
    ½ cup olive oil
    sea salt
    ½ – 1 teaspoon black pepper
    citric acid, to add to the jars before/if canning

    Toss the tomatoes with the olive oil, 2 teaspoons salt, and pepper. Divide them between two large baking sheets and bake at 400 degrees for 40-50 minutes, rotating the trays halfway through. The pans will fill up with tomato juice (careful when turning!) and some of the tomato tops will blister black.

    Dump the roasted tomatoes into a large stock-pot and whiz well with an immersion blender. Or, if you no magic kitchen wand, you can get the job done with a blender. (If, by any chance, your sauce isn’t as thick as you’d like, now’s the time to cook it down a bit more—simply cook on low heat, stirring every few minutes.)

    Season well (I added another tablespoon of salt, a little at a time, tasting after each addition) and ladle the sauce into jars. Add citric acid (½ teaspoon for quart jars, 1/4 teaspoon for pints), wipe the rims, lid, and process the jars in a water bath—once the water boils, allow 15 minutes for pints and 20 minutes for quarts.

    Yield: approximately 6 pints

    This same time, years previous: apple crisp topping, pasta with sauteed peppers and onions

  • Thoughts I have

    Have you ever heard of making pesto with butter? I hadn’t until several weeks ago, and then I made it as fast as possible because it involved butter and I lurve my buttah.


    Perhaps it’s no coincidence that if you remove the last two letters of the word “butter” you get “butt.” It’s where butter goes.

    I’m still taking belly dancing. I often practice before bed. My room is the only place in the house with a full-length mirror (though I have to open the closet door to get to it), and before bed is the only time I have when I can concentrate on my groovy moves without a pack of kids hip-boinking me.

    Mr. Handsome is not amused by my antics. He spends his days in chimneys, under houses, on roofs, inside drippy showers, rolling around in insulation, whacking his thumb with hammers (though I’m sure he’ll want me to tell you that only happens once in a blue moon as he’s an accomplished carpenter who knows the difference between a digit and a nail) and comes home completely beat. So when I start tick-tocking across the carpet, he makes a great show of loudly groaning, flopping over on his belly, and covering his head with his pillow. Considering that belly dancing is supposed to be a bit on the sensual side, this does not bode well—for me as an up-and-coming belly dance star … or for our relationship.

    But still, I practice. I practice all the moves: the tush-push, the snake arms, the Egyptian, the hip slides, the hip circles, the tail bone circles, etc. I am very dedicated.

    I am not nearly so dedicated about my running. I had been running first thing most mornings, but now that a chill darkness is seeping into my running time, I dropped it faster than a hot potato. I’d rather go for a walk in the late afternoon or do snake arms before bed.


    Didn’t this post start out about basil? Geez. The state of my brain is an absolute mess. Such helter-skelter thoughts I have.

    You know, they say that to write is to think clearly. I am living proof that this is a lie.


    Buttery Basil Pesto
    Adapted from Jennie of In Jennie’s Kitchen

    This pesto is creamier and less pungent than that of the straight olive oil variety. I don’t know that I like this kind better than the other, but everyone in my family loved it. I think they might have liked it better.

    There is one big plus to this version of pesto: it doesn’t turn an unappealing brown when exposed to air. In fact, I kept a loosely-covered jar of it in my fridge for several days and it didn’t change color at all. Amazing.

    1 ½ cup basil leaves
    2-3 cloves garlic, sliced
    ½ cup pine nuts
    ½ cup freshly grated Parmesan cheese
    1/4 teaspoon salt
    1/8 teaspoon black pepper
    8 tablespoons butter, at room temperature, cut into 8 pieces
    ½ cup olive oil

    Combine the first six ingredients in the bowl of a food processor and pulse till roughly chopped. Add the butter and pulse till well mixed. (It may form a large unwieldy ball—if it does that, cease pulsing.)

    While the machine is running, slowly add the olive oil (it will dissolve the unwieldy ball, if you have one) till the mixture is a creamy-nubbly mess.

    Store in the fridge for several days, well-covered, or freeze.

    Yield: enough pesto for two pounds of pasta.

    This same time, years previous: Basil Pesto (what a coincidence!)

  • Crazy good

    I am not an icing person. Yes, I like my icings (especially this one and this one and this one), but aside from a few chaste swipes while mixing and decorating, I don’t like to eat it straight up. Icing is to top off a cake, not to be masticated all by itself. That some people go to bakeries and buy shots of frosting turns my stomach. I’m much more about the cake part of the equation.

    You can probably see where this is going. I’ve already blown my predictable self out of the water by first twiddling my thumbs all summer long and then beginning our homeschool studies in FREAKIN’ AUGUST. Considering this track record, the following statement comes as no surprise: FORGET THE CAKE AND GIVE ME THE ICING. Not just any icing, mind you, but this one.


    Chocolate Malted Milk with a splash of strong coffee—whoa baby!

    I’ve gone from never eating a shot of icing to consuming close to about five while decorating the cupcakes. I ate it straight out of the bowl, swooped up off the counter (where I accidentally plopped copious quantities while trying to shove it into the decorator bag), and squirted directly out of the decorator tube onto my finger. I licked spoons. I scraped bowls. I was completely and totally out of control. I ate so much I got the shakes. To keep from eating myself into a coma, I plunged the dirty bowl under water and buried the decorator bag in the trash.

    Then I went on a long walk when Mr. Handsome came home. The fresh air set me straight. So straight, in fact, that I had a cupcake (with lots of icing) and milk for dessert with no ill effects. The Baby Nickel, on the other hand, went berserk.


    I don’t know anything about malted milk. I’m not a malted milk person. My mother didn’t feed me malt. (She fed me carob and to this day I abhor the stuff. Thankfully, her detour into Health Nut Land was short lived. Me and my brothers emerged relatively unscathed.) (Except for my carob abhorrence.) And Mr. Handsome didn’t take me to trendy hamburger joints for malted milkshakes when we were dating. He took me to Denny’s. And a football game. (I still don’t see the point of bulky men running around a field in tight little pants.) And to his brother’s wedding (we were mortifyingly late and there wasn’t even any hanky-panky involved; we were just lost, like normal). And to cheap movies. There were a few dark, country roads and some deserted church parking lots thrown in for, um, you know.

    And that’s about all we had time for because then we got married.


    Because I don’t know anything about malted milk, I really have nothing to say about this frosting. Anything I do say will make it sound unappetizing (it’s kind of grainy and tastes a bit like toasted barley) when in reality it is kind of grainy with a hint of toasted barley….and it tastes perfectly wonderful. Let’s just say, if you like malted milk, you’ll love this.


    One more thing: the addition of coffee shines through enough so that the kids noticed. I love it when coffee shines through.

    Chocolate Malted Milk Frosting

    If you are coffee adverse, swap it for milk or cream. If there is no chocolate malted milk on hand, plain malted milk will suffice.

    1 stick butter
    1/8 teaspoon salt
    1 teaspoon vanilla
    ½ cup chocolate malted powder
    ½ cup unsweetened cocoa powder, sifted
    1 pound confectioner’s sugar, sifted
    1/4 cup very strong coffee, cooled to room temperature
    1 tablespoon cream

    Cream together the butter, salt, and vanilla. Beat in the malt, cocoa, and sugar. Add the coffee and cream and beat till creamy smooth and it reaches a spreadable consistency, adding more cream if needed.

    This same time, years previous: Nectarine Cobbler and Odds and Ends