I know it’s post-Easter and no one is really interested in more sweet stuff, but I’m going to post this recipe anyway. Because I really like these little chocolate peanut butter eggs.

It doesn’t have to be Easter for you to make this candy, of course. You don’t have to shape it into Easter eggs. You can shape it into circles or squares or trapezoids. No matter the shape, the candy will still taste fantastic.

I had a bit of a difficult time making this candy. The filling part was simple enough, but the chocolate, well. I flubbed it up real good. What started out as a peaceful culinary enterprise (read: no kids, NPR’s Acoustic Café playing in the background, lots of peanut butter goo to nibble on) quickly deteriorated when the chocolate seized up and shook its belligerent grainy fist in my face.
How difficult can it be to melt chocolate? As it turns out, it can be plenty difficult. The recipe said to melt six cups of chocolate chips with a third cup of shortening, but because I have an allergic reaction to the word “shortening”—it makes me think of stick glue, Teflon, and insulation all rolled into one, so I’m not overly enthusiastic about mixing it in with my food, especially not my chocolate—I did what any respectable, uninformed candy-making person would do: I substituted butter.
Don’t ever substitute butter for shortening when melting chocolate because it! will! not! work! The chocolate halfway melted and then morphed into a dry, brown mass that would never, not in a million years, be able to coat little lopsided ovals of peanut butter.
Thankfully, there was more chocolate in my cupboard. I melted some bars of Ghirardelli, without the addition of butter or shortening, and it coated the eggs beautifully. Between that chocolate and some of the other half-opened bars and bags of chocolate languishing on the floor of the cupboard (both the Hershey’s dark and some generic dark chips worked fine, but the Ghirardelli was the smoothest and consequently the easiest to use), I managed to cover the fifty-plus eggs. I planned to drizzle them with some white chocolate as a finishing artsy touch, but the ancient Ghirardelli white chips that I found in the back of the cupboard refused to melt, but by that time I no longer really cared; I just wanted to be done with chocolate, and I gladly threw the nasty waxy crumbs into the compost.
Now, several days later, I’m glad I persisted in struggling through that tedious task. The eggs are classic and delicious, well-worth a couple hours of suffering, er, learning.

Ps. The bowl of rock-hard chocolate is still sitting on my counter—what to do with it? Truffles, perhaps?
Chocolate-Covered Peanut Butter Eggs
Adapted from our local newspaper, The Daily News Record, April 8, 2009 (and I think they got the recipe from a local candy maker, Mrs. Warfel, but I’m not positive about that).
I used creamy natural peanut butter (with salt) for about one-third of the peanut butter, but I think the instructions (the part that I neglected to tear out of the newspaper so I can not refer back to them) said that you can use all-natural peanut butter.
This recipe makes a lot of candy; you may want to halve it, or else plan to give some away as gifts.
8 ounces cream cheese, room temperature
1 stick butter, room temperature
18 ounces creamy peanut butter
1 teaspoon vanilla
2 pounds confectioners’ sugar
6 cups semisweet chocolate chips or good quality chocolate bars
1/3 cup shortening, optional
In a large mixing bowl cream together the cream cheese, butter, peanut butter, and vanilla until smooth. Add the confectioners’ sugar and beat till creamy. (At this point you may refrigerate the mixture until you are ready to shape the candies, or you can proceed with the recipe without further delay.)
Shape the peanut butter mixture into the desired shapes and set them on a wax paper-lined cookie sheet. Refrigerate the candy for at least half an hour before dipping them in the chocolate.
Melt the chocolate chips in the microwave (along with the optional shortening) and stir till smooth. Coat the candy with the chocolate (set several piece of the candy into the bowl of chocolate and spoon the chocolate over them until they are totally covered), and using a fork to lift the candy out of the chocolate, set the candy back on the wax paper-lined cookie sheet.

Chill the candies in the refrigerator until the chocolate has hardened and then transfer them to an airtight container. Store the candies in the refrigerator.
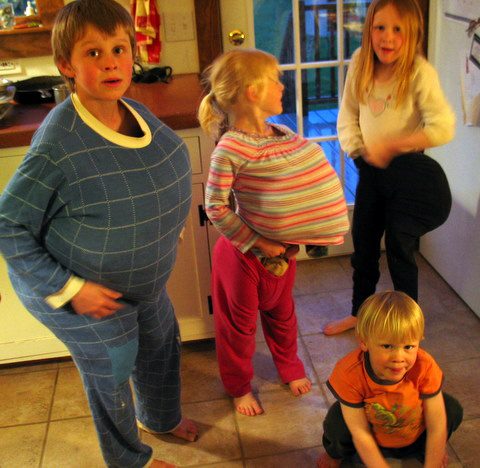

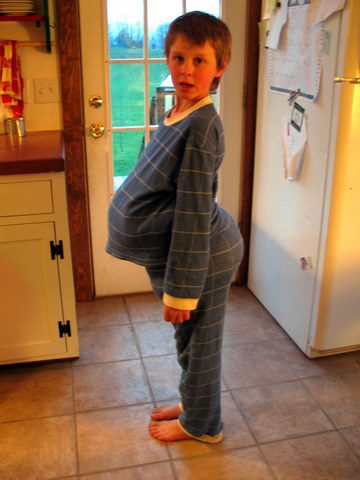
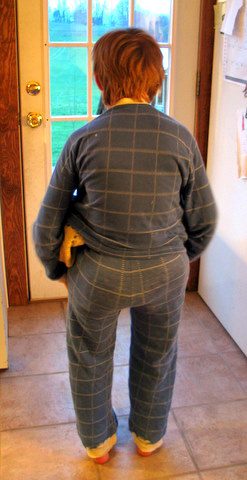
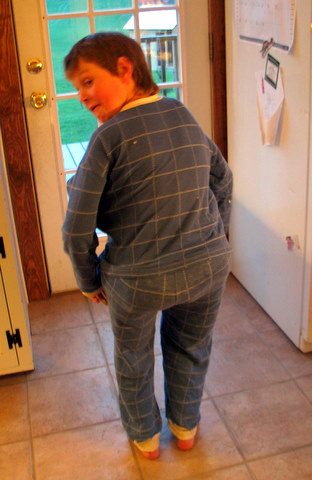
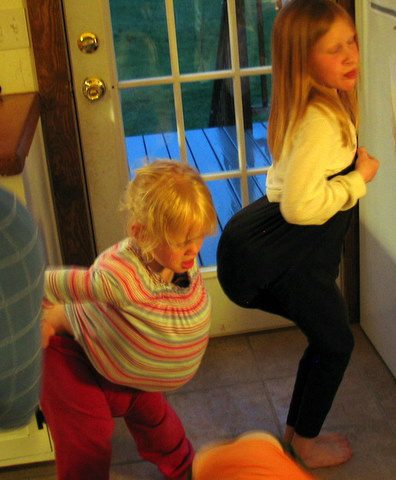
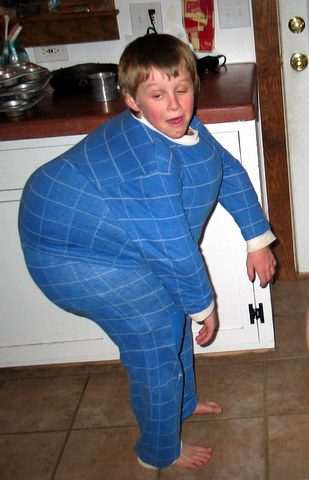
 Do all children do this?